Makeover reveal days are my absolute favorite. But, if you are anything like me, elaborate projects take time, lots of saving, and they can’t just happen on a whim. Not every makeover project is going to look like an entirely different space when you finish. Sometimes, it’s about identifying small, do-able, budget friendly ways to make small updates. And today, that’s what my easy, two-hour small butler’s pantry makeover is all about.
*Posts on KelleyNan.com may contain affiliate links. Click HERE for full disclosure.*
I shared this tiny space, positioned in between the kitchen and dining room, a few months ago when I organized everything behind those doors and drawers (HERE). I love having it but wanted something just a little more custom and “me” – beyond the bare bones builder-grade space we’ve used for the past three years. It’s also an area that is seen by almost anyone who sets foot in our house. I kept putting it off because even though the little butler’s pantry bar area is small, the short list of changes I wanted to make wasn’t cheap. I wanted to add tile backsplash (which would require tile and labor). I wanted to add recessed and in-cabinet lighting (which would require an electrician). I wanted a different countertop (hello $$$). You get the idea. Even in a teeny little alcove, that gets expensive! And I have other priorities before I would even consider tiling the space. So, I decided to take on an abbreviated, manageable mini-makeover.
I’ve said before, I like being resourceful but when it comes to elaborate DIYs, I am not your girl. I know the extent of what I feel comfortable doing (quickly and without training) and what I was willing to try. So, I identified the areas that most desperately needed updating, came up with an affordable way to transform them, and set to work.
Two-Hour Small Butler’s Pantry Makeover – The Simple Plan
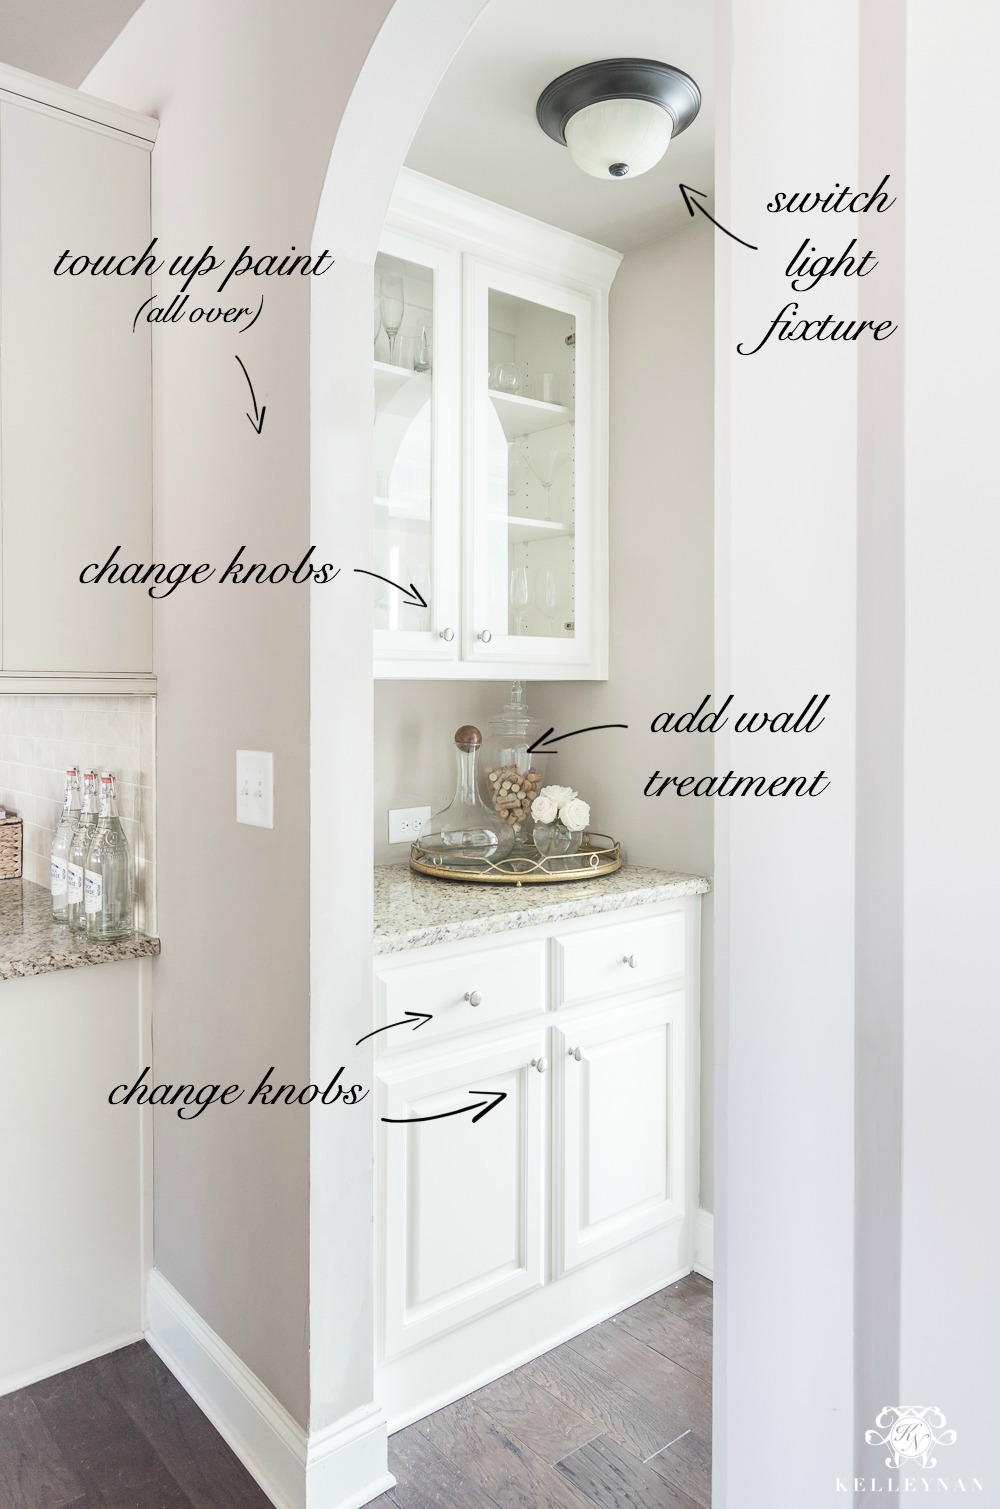
Here’s a look back at how the small butler’s pantry bar area looked most recently. Full admission- what you don’t see are the paint splotches that I had smoothed out in editing. Last year, I went a little cray on the paint touch-ups and didn’t realize I hadn’t switched paint colors when I started working around the kitchen. Once it dried and my paintbrush was clean, I vowed to fix it the following day. We’ve been living in a semi-speckled kitchen ever since. Here are the areas I identified…
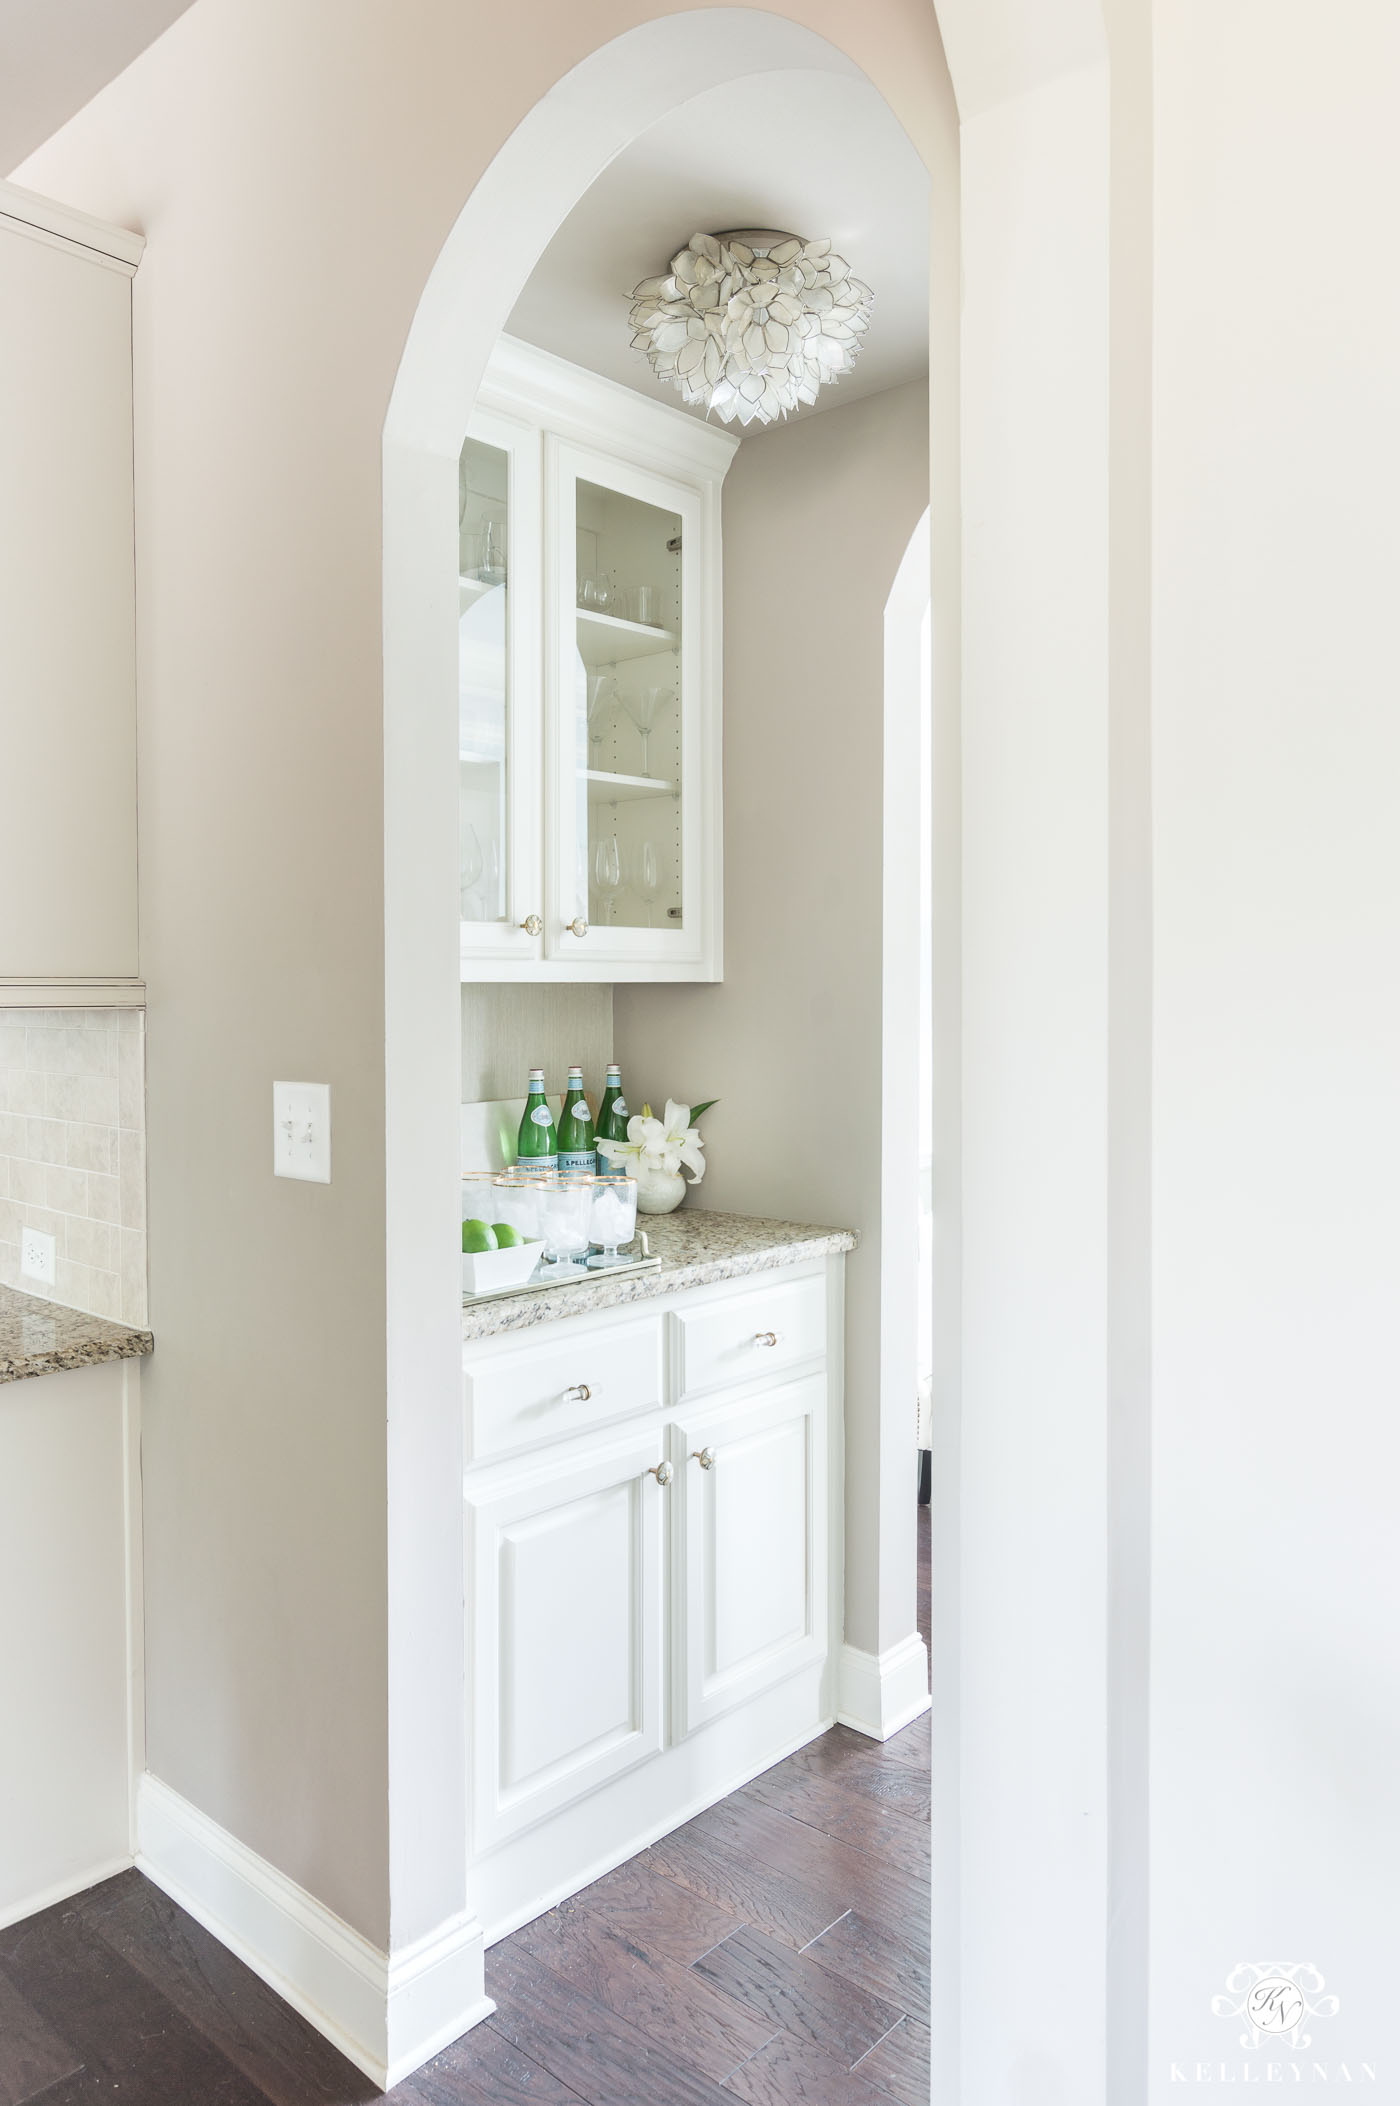
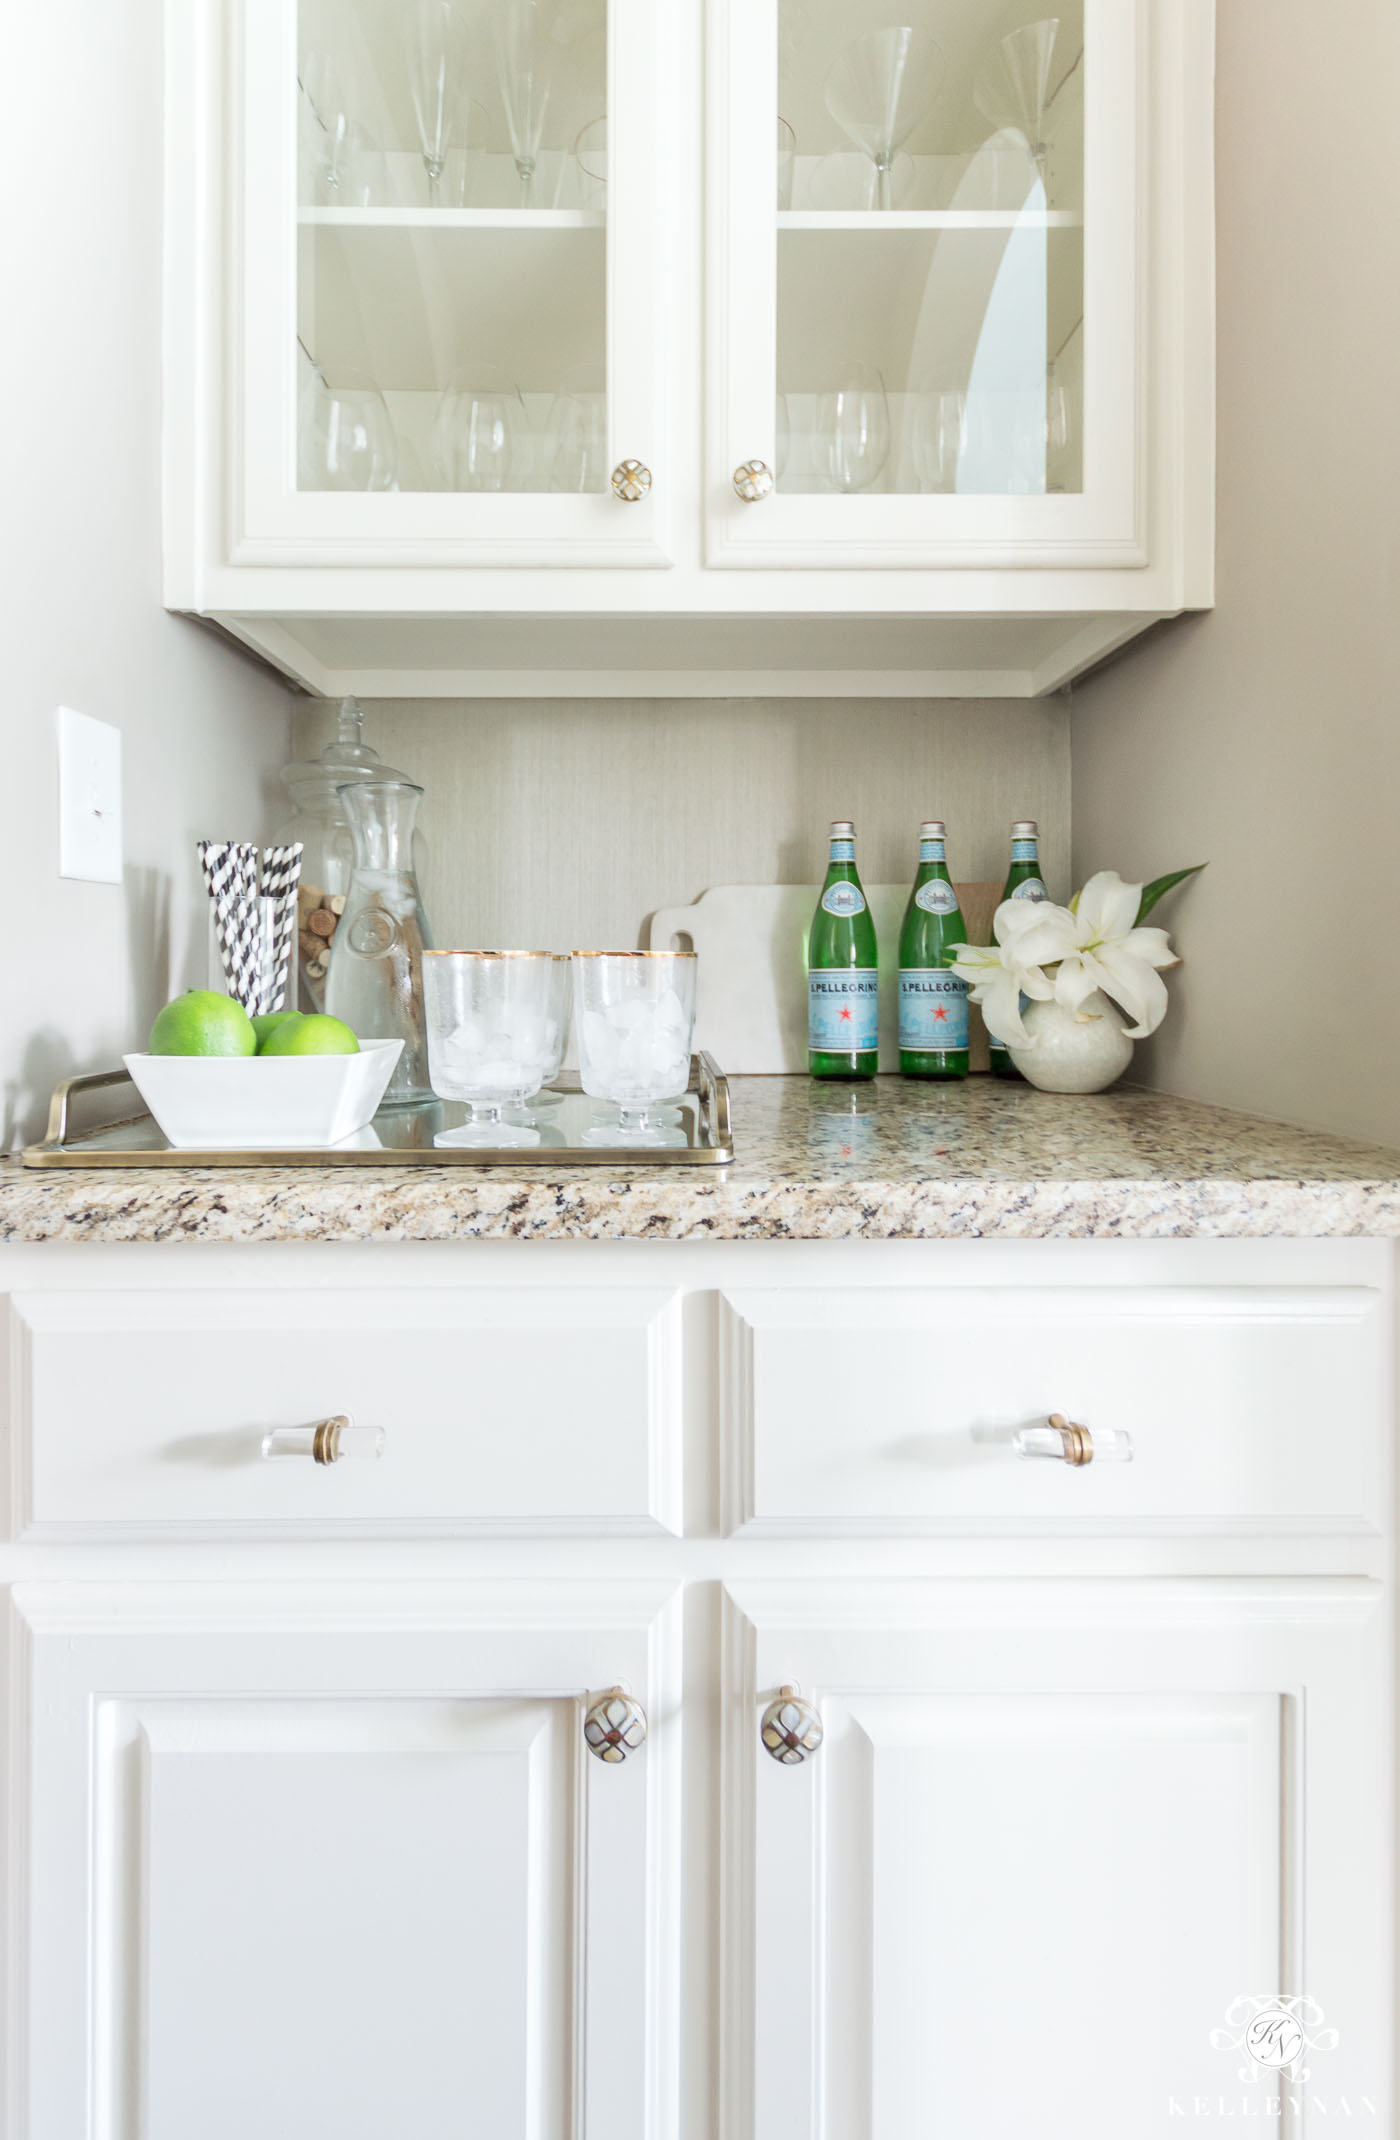
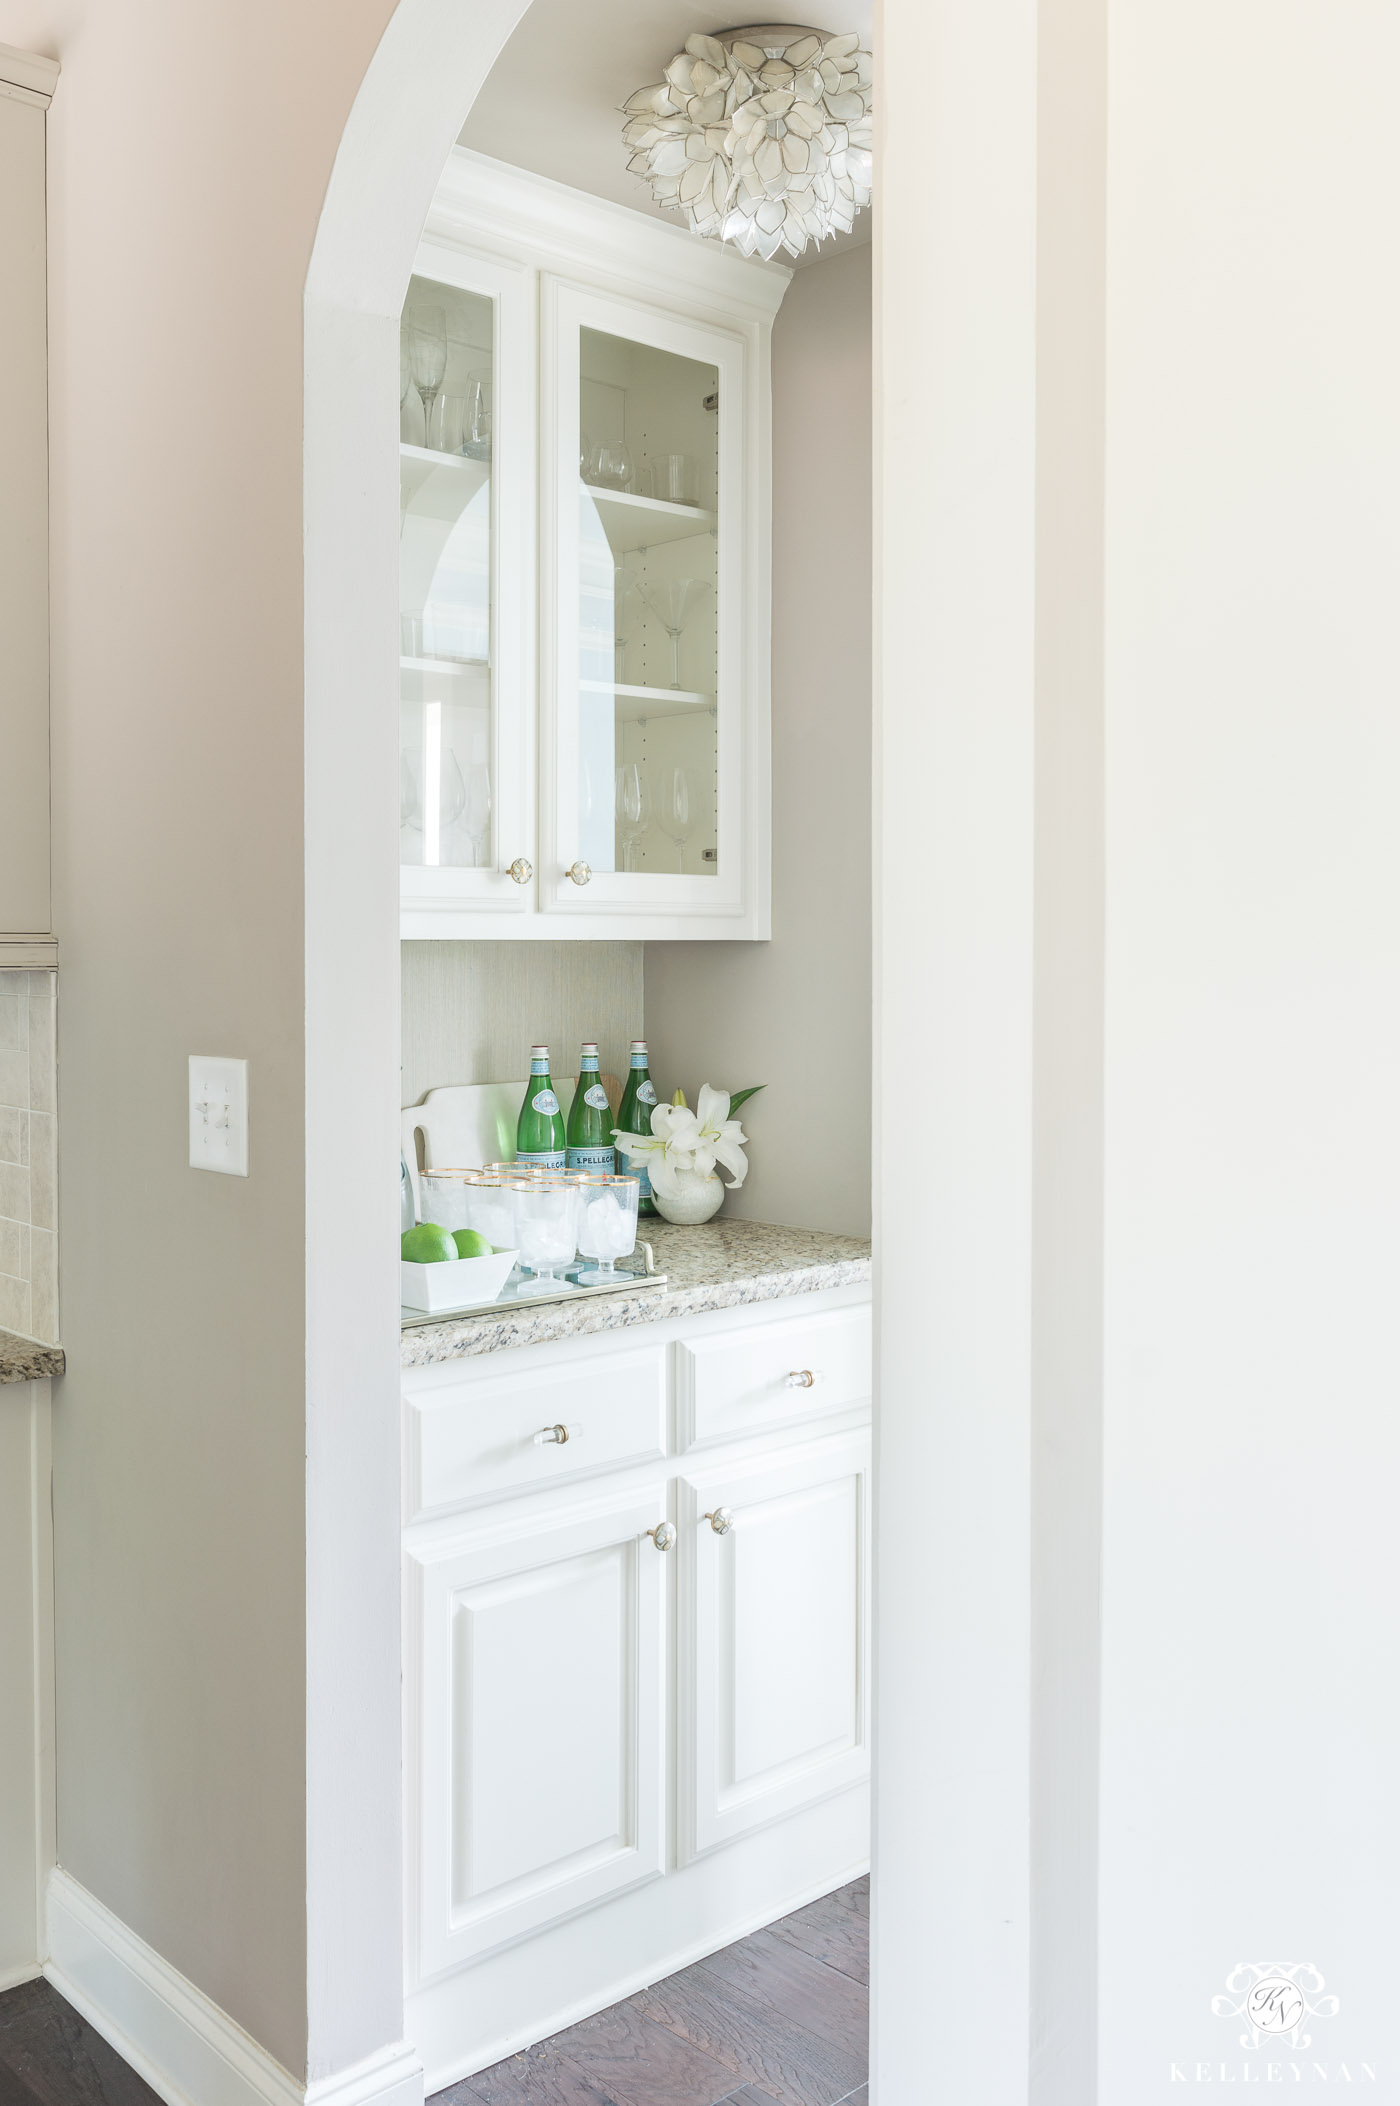
and here’s the end result!
It’s recognizably the same space but with a few details, so much better! There are basically four areas I identified that I was able to update on a budget and knock out in about two hours.
1. A PRETTY FLUSH MOUNT LIGHT TRADE UP
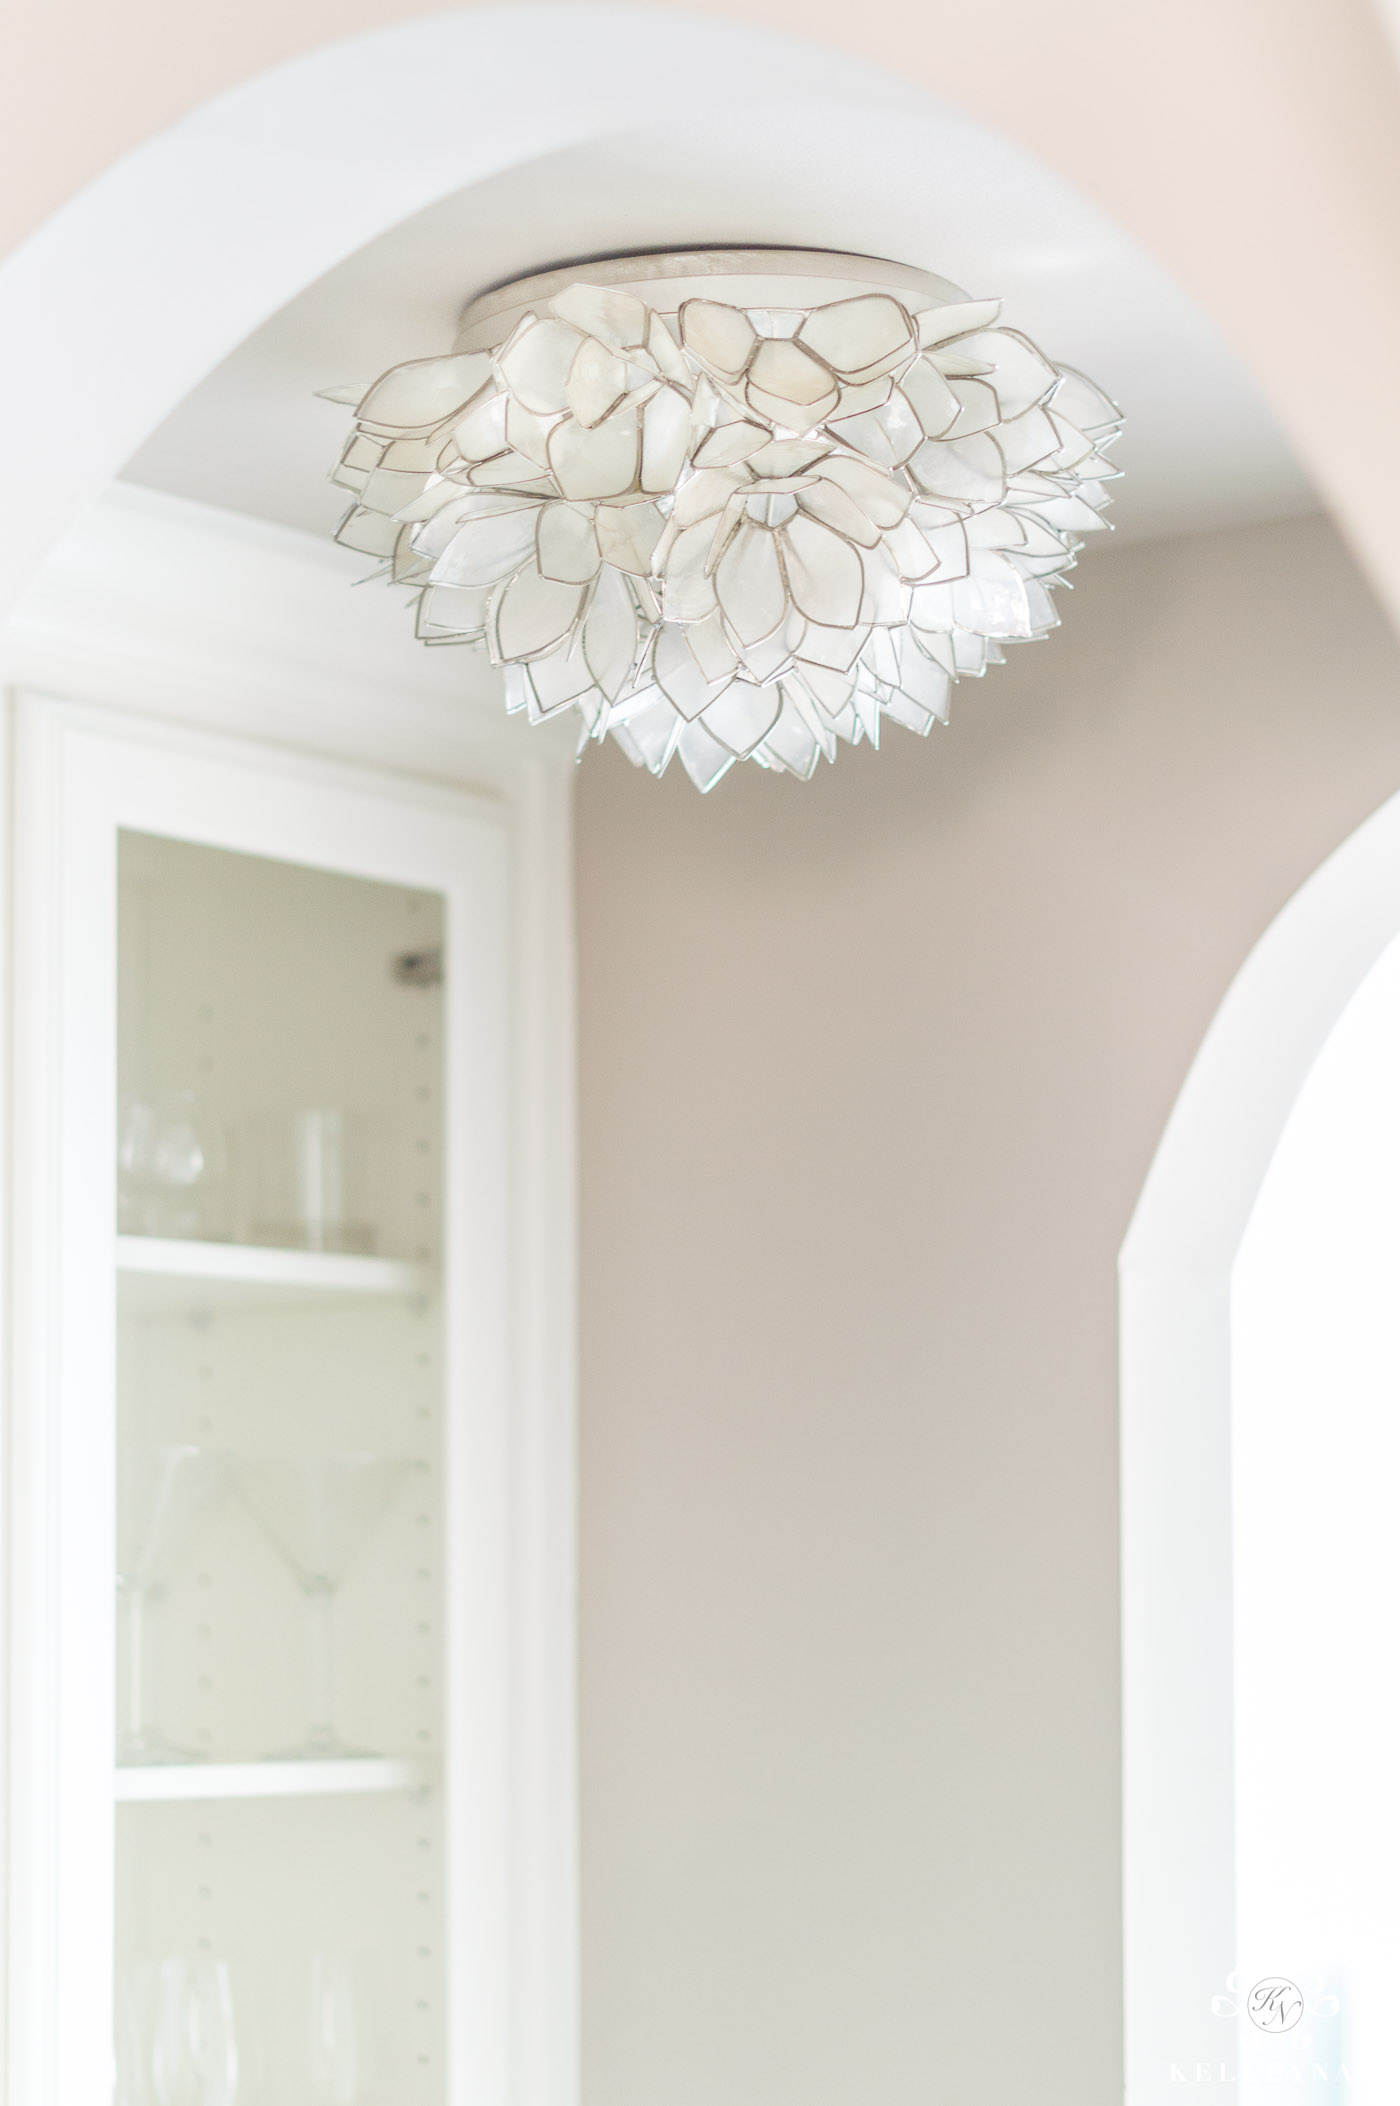
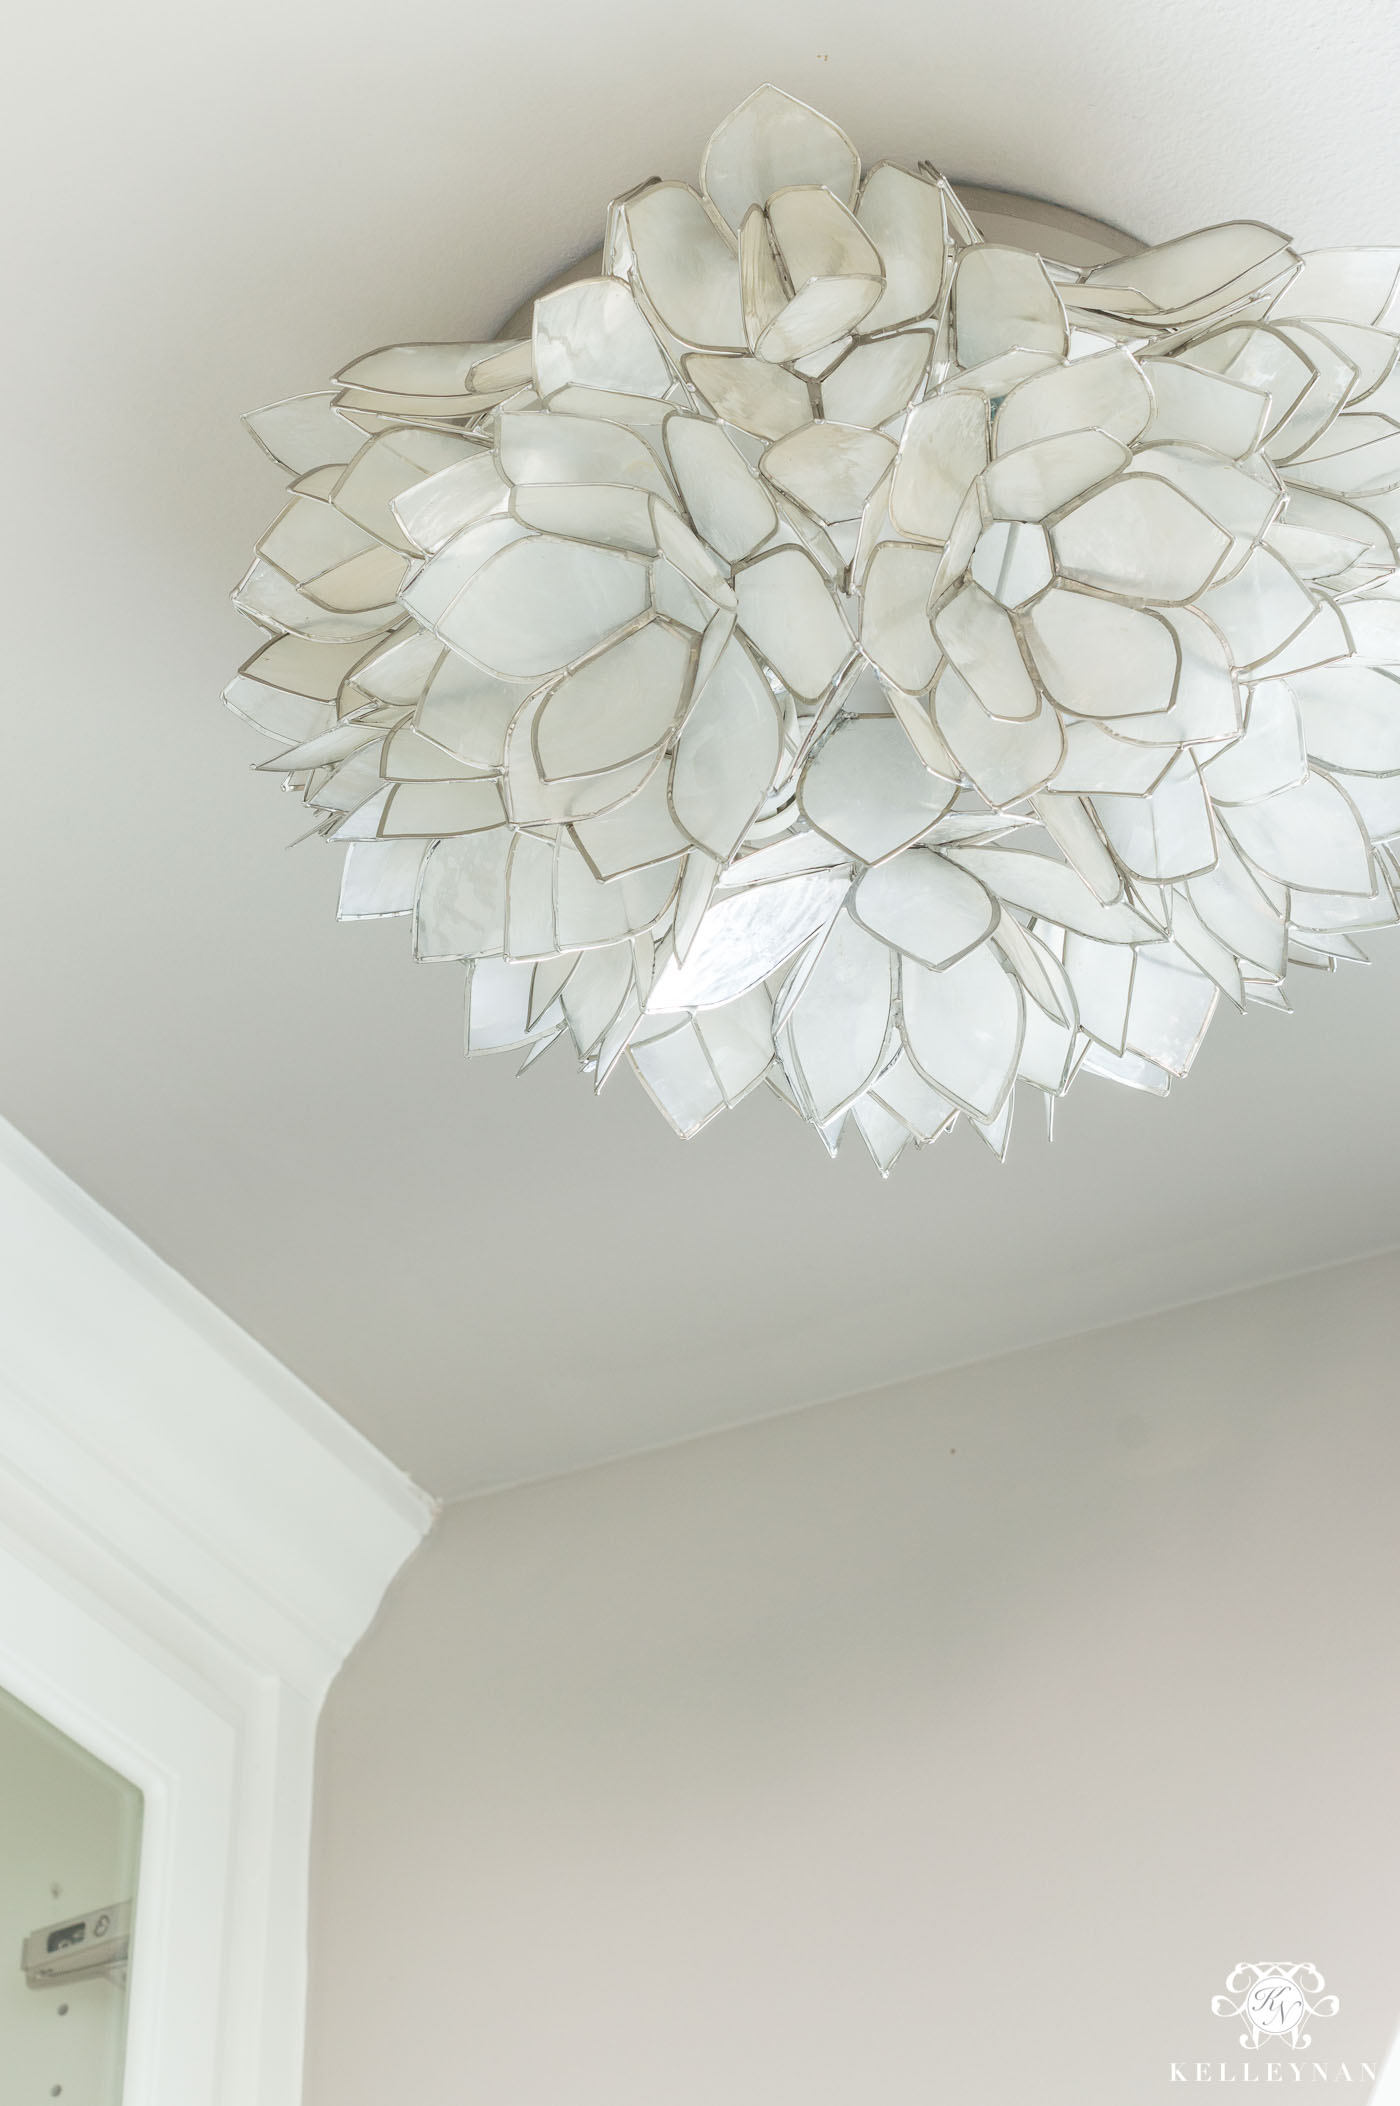
I’m still working my way through the house to ultimately claim my domain as “boob-light free!”. Because the butler’s pantry is book-ended by the dining room’s elaborate chandelier and the champagne kitchen pendants (and breakfast nook chandelier), I wanted something that complimented all those fixtures without competing with them, while still making it’s own sweet little statement. And then I found the lotus blossom capiz flushmount.
It was the perfect, dainty light that fit the space so well and married all three rooms together. I ordered it several months ago, knowing it wouldn’t ship until now. Once it arrived last week, I went ahead and pulled the rest of the space together. As a bonus, right now for the holiday weekend, you can get it on sale (HERE) for 15% – 30% off (plus free shipping) with code SAVEMORE 😉
It should be noted that Dave actually tackled the fixture installation because – you guys – that’s just not me haha.
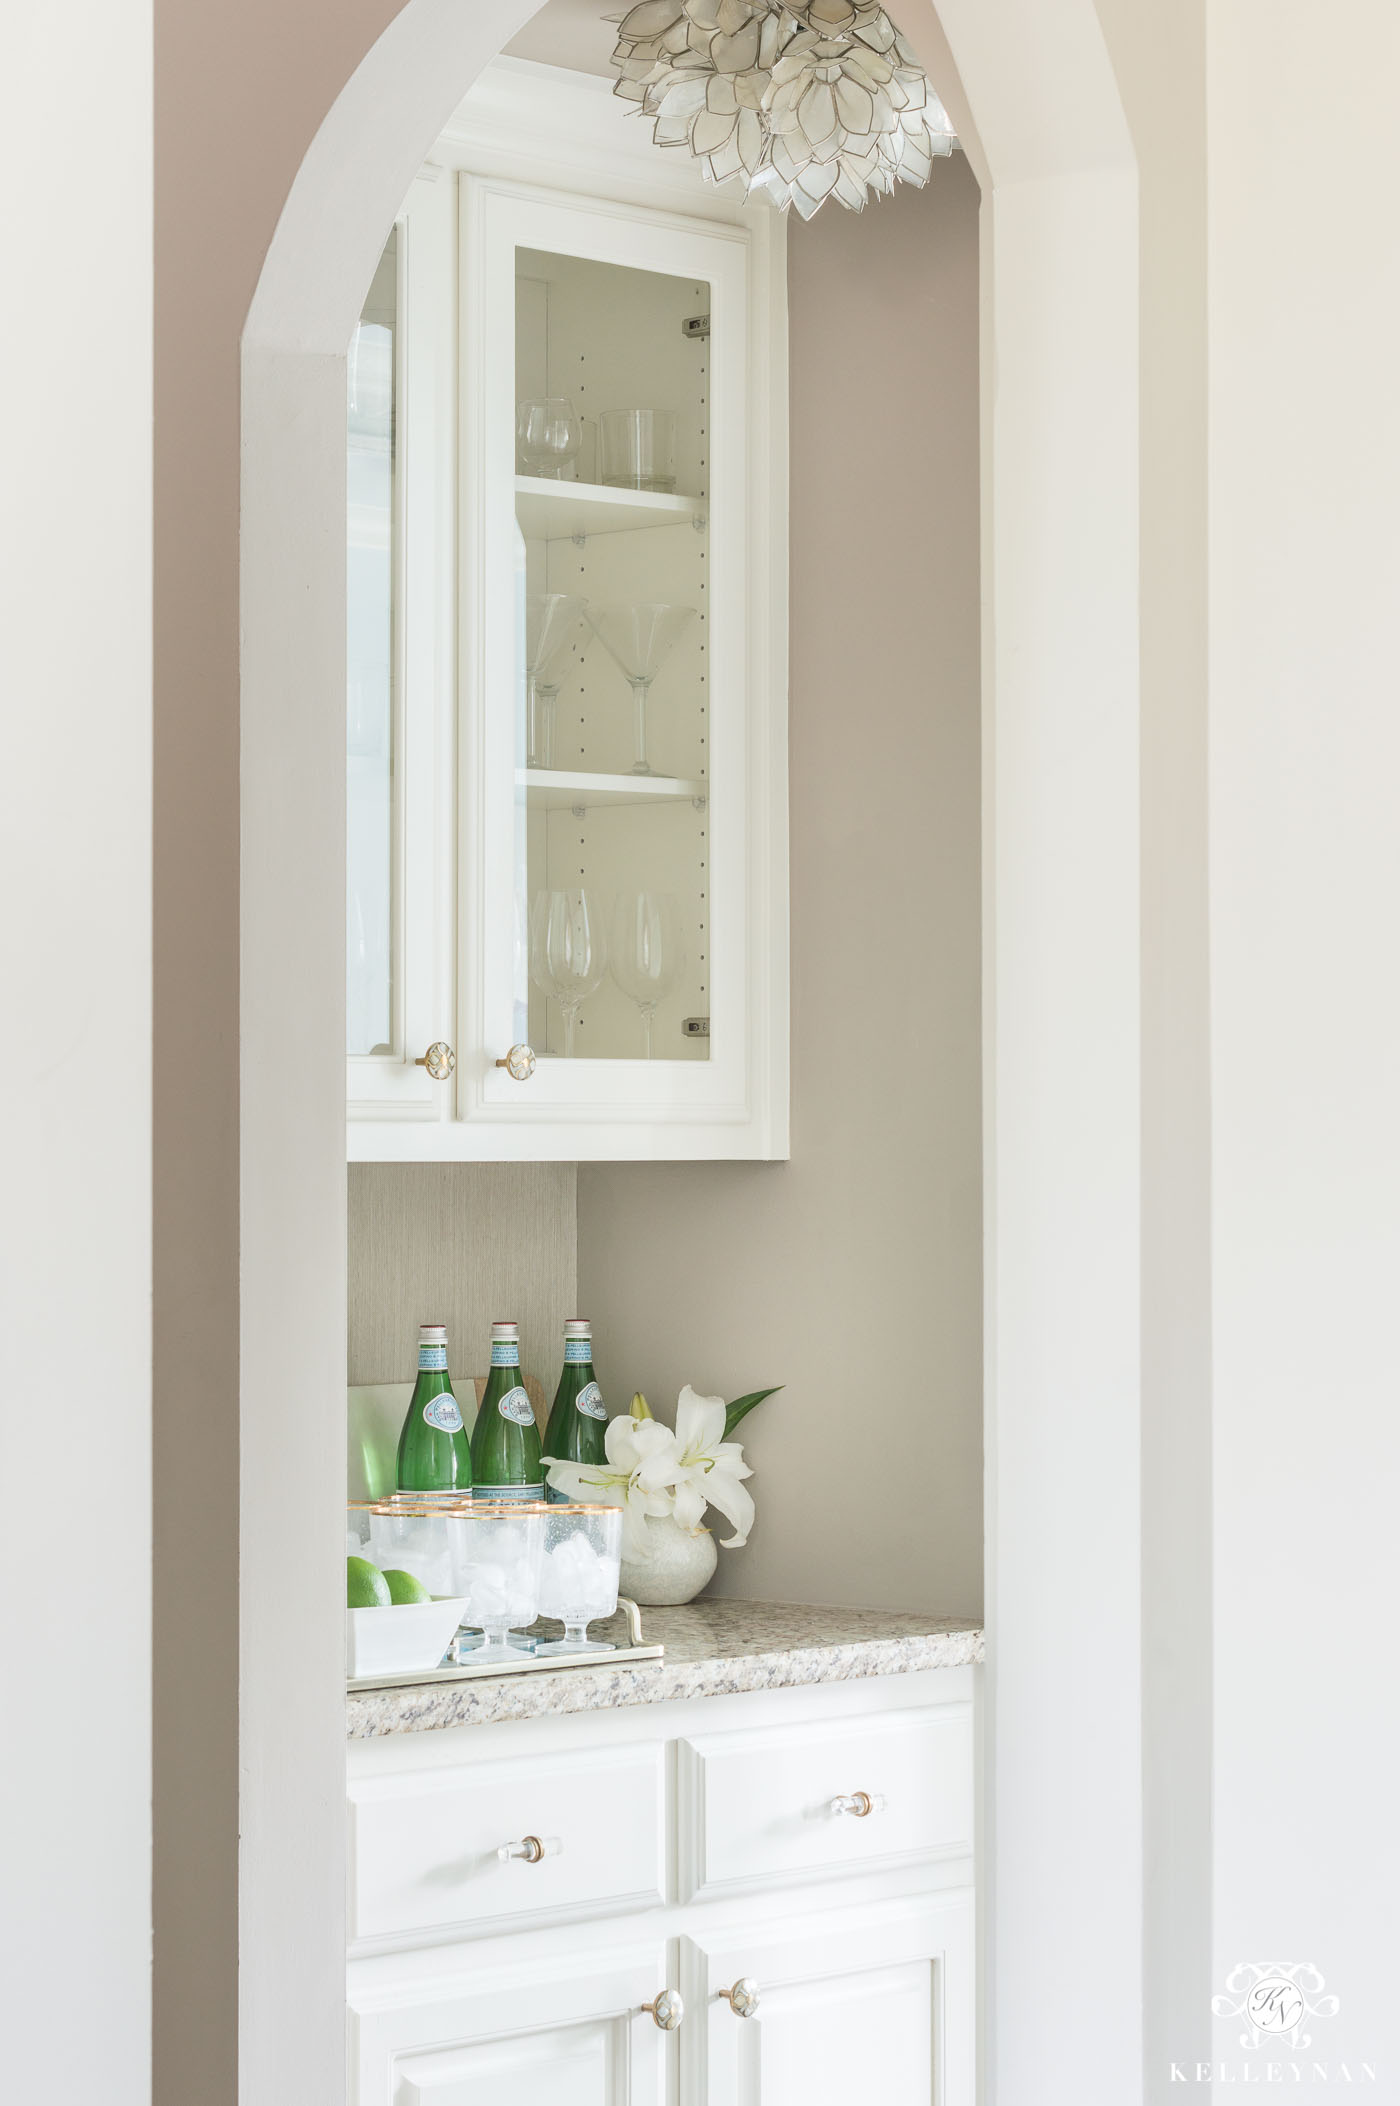
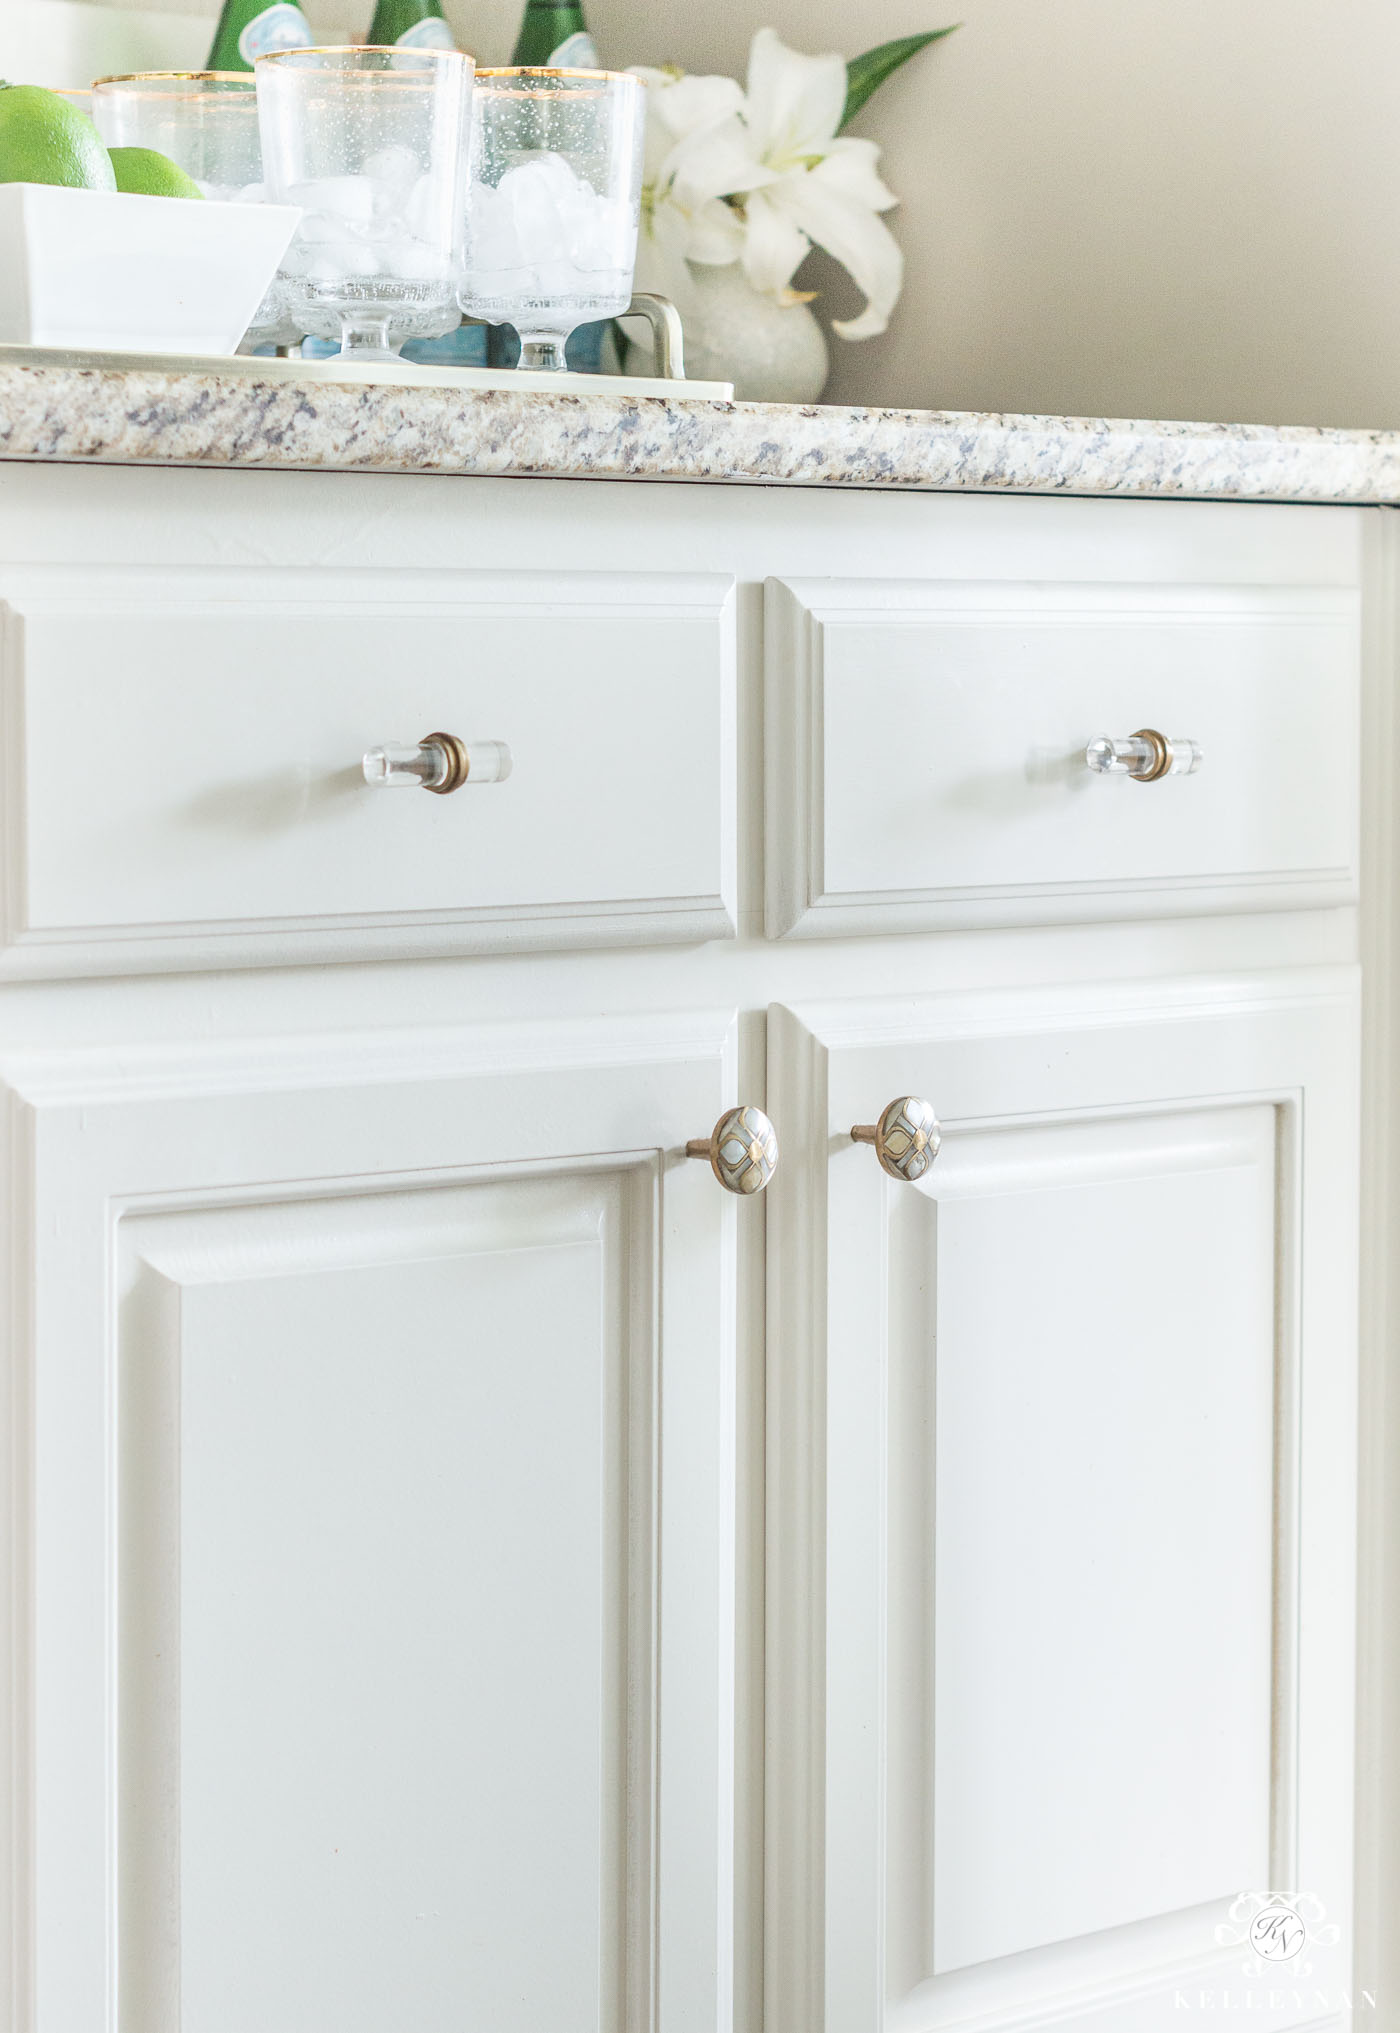
2. CHANGING OUT THE CABINET HARDWARE
This part was an easy, no-brainer. In a perfect world, I would have been able to add pulls to the drawers but this is an easy, no-drill-and-patching-required type of transformation so I set out in search of knobs with single holes, exclusively. Again, I wanted to keep my traditional kitchen (and its hardware) in mind, along with coordination of my new light fixture. You guys, there are a lot of cool knobs out there but I had a hard time finding ones that fit my full list of criteria.
Scroll & Tap to Shop
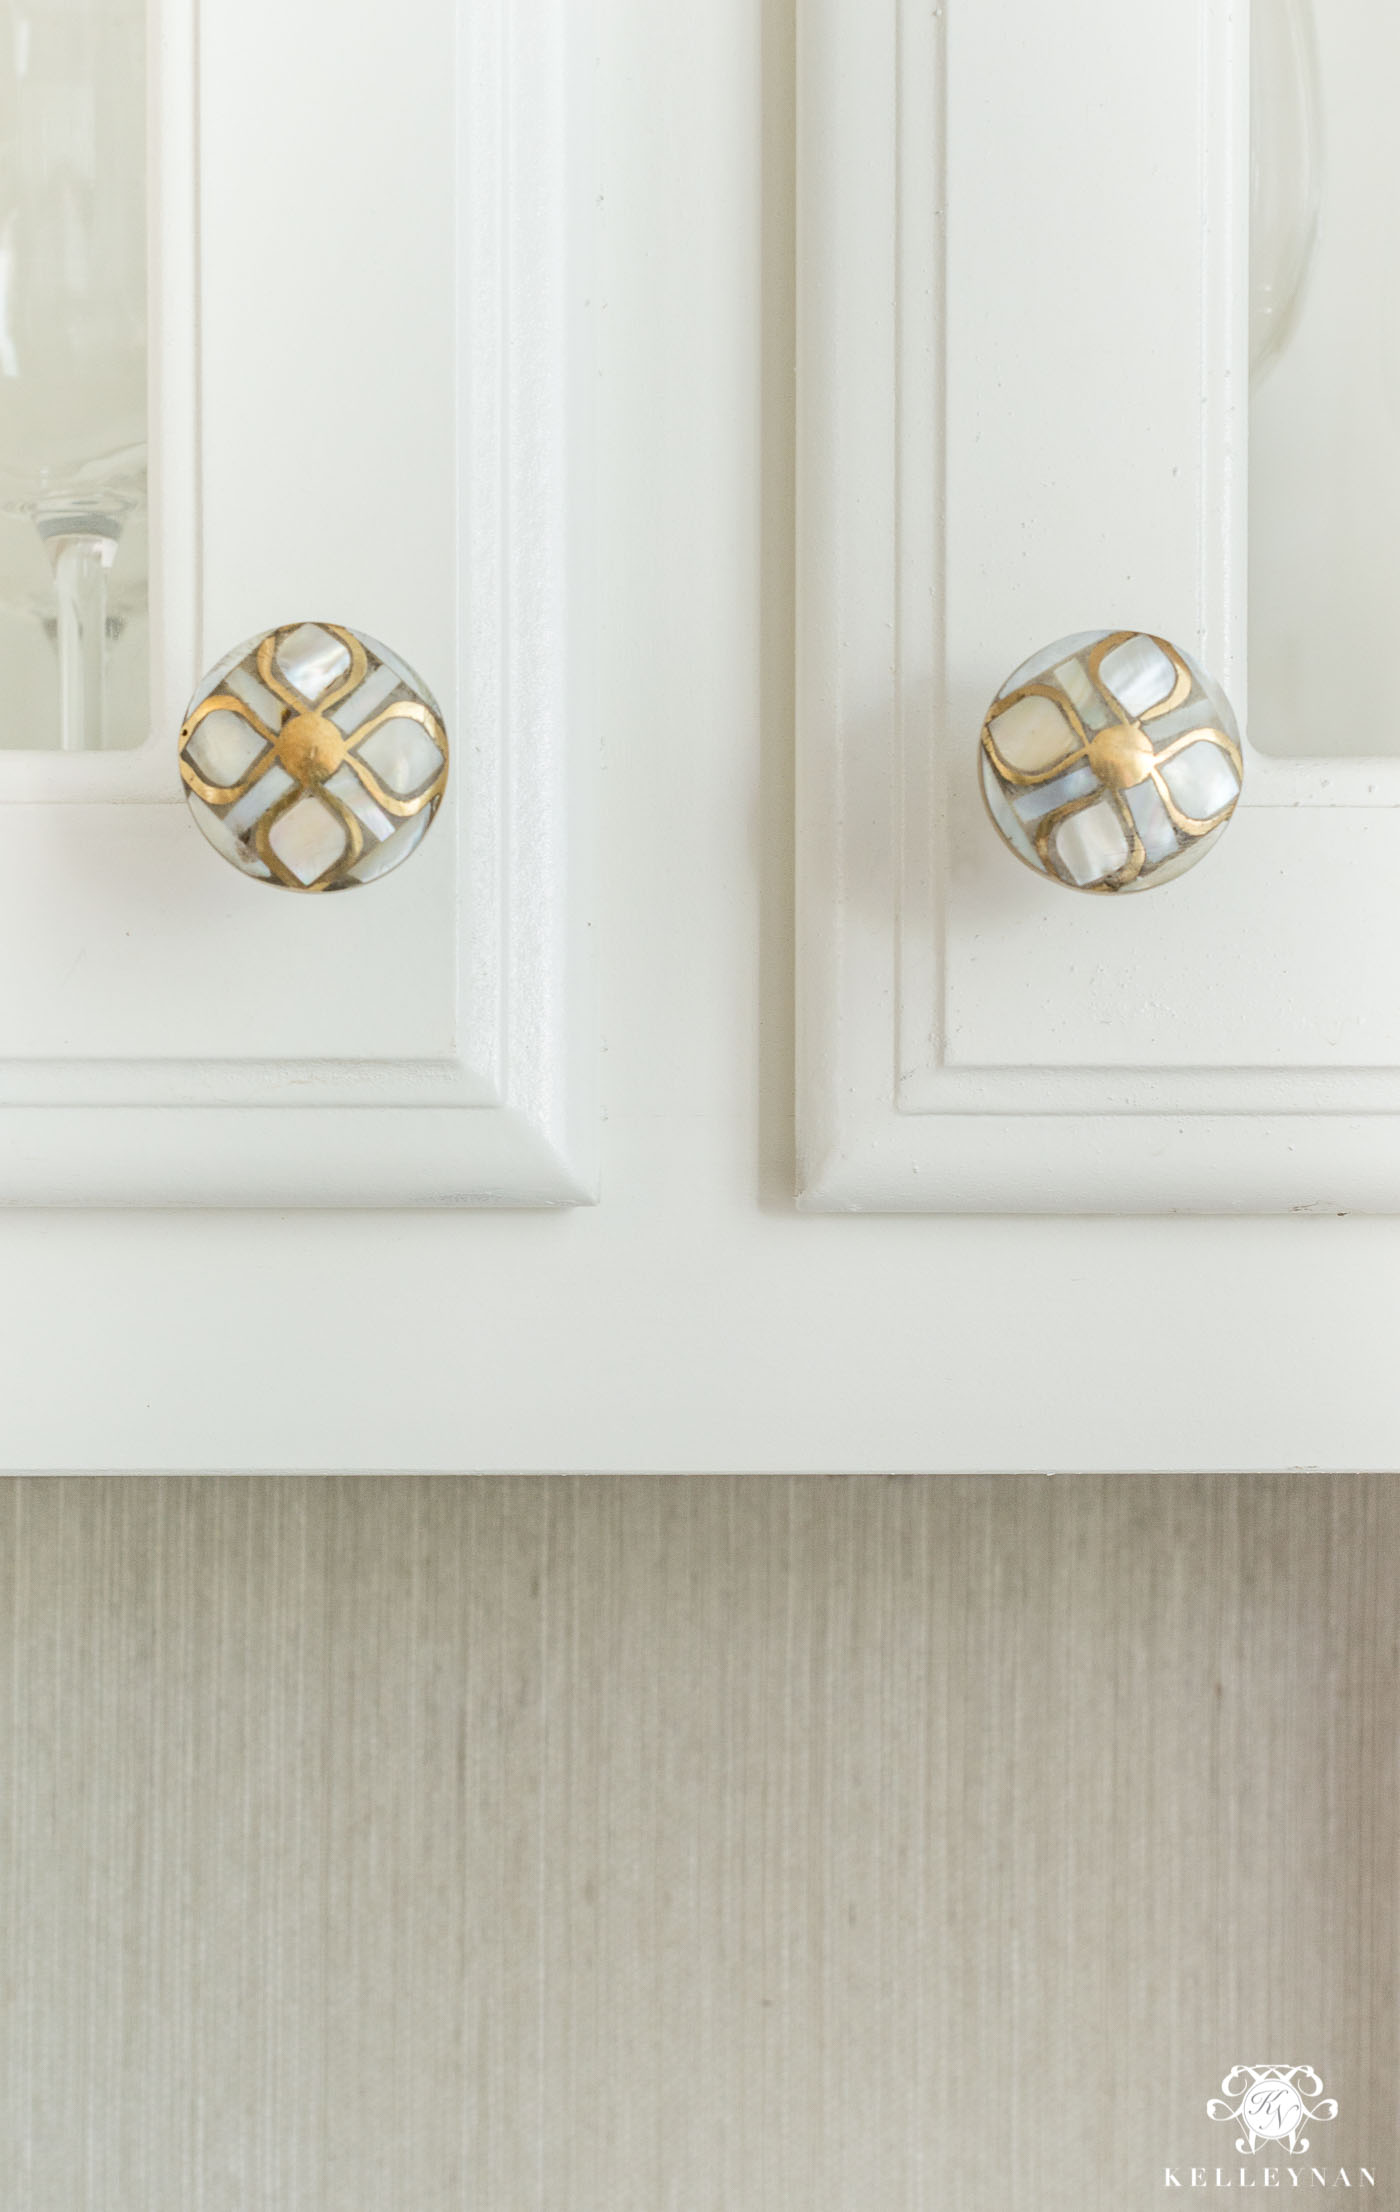
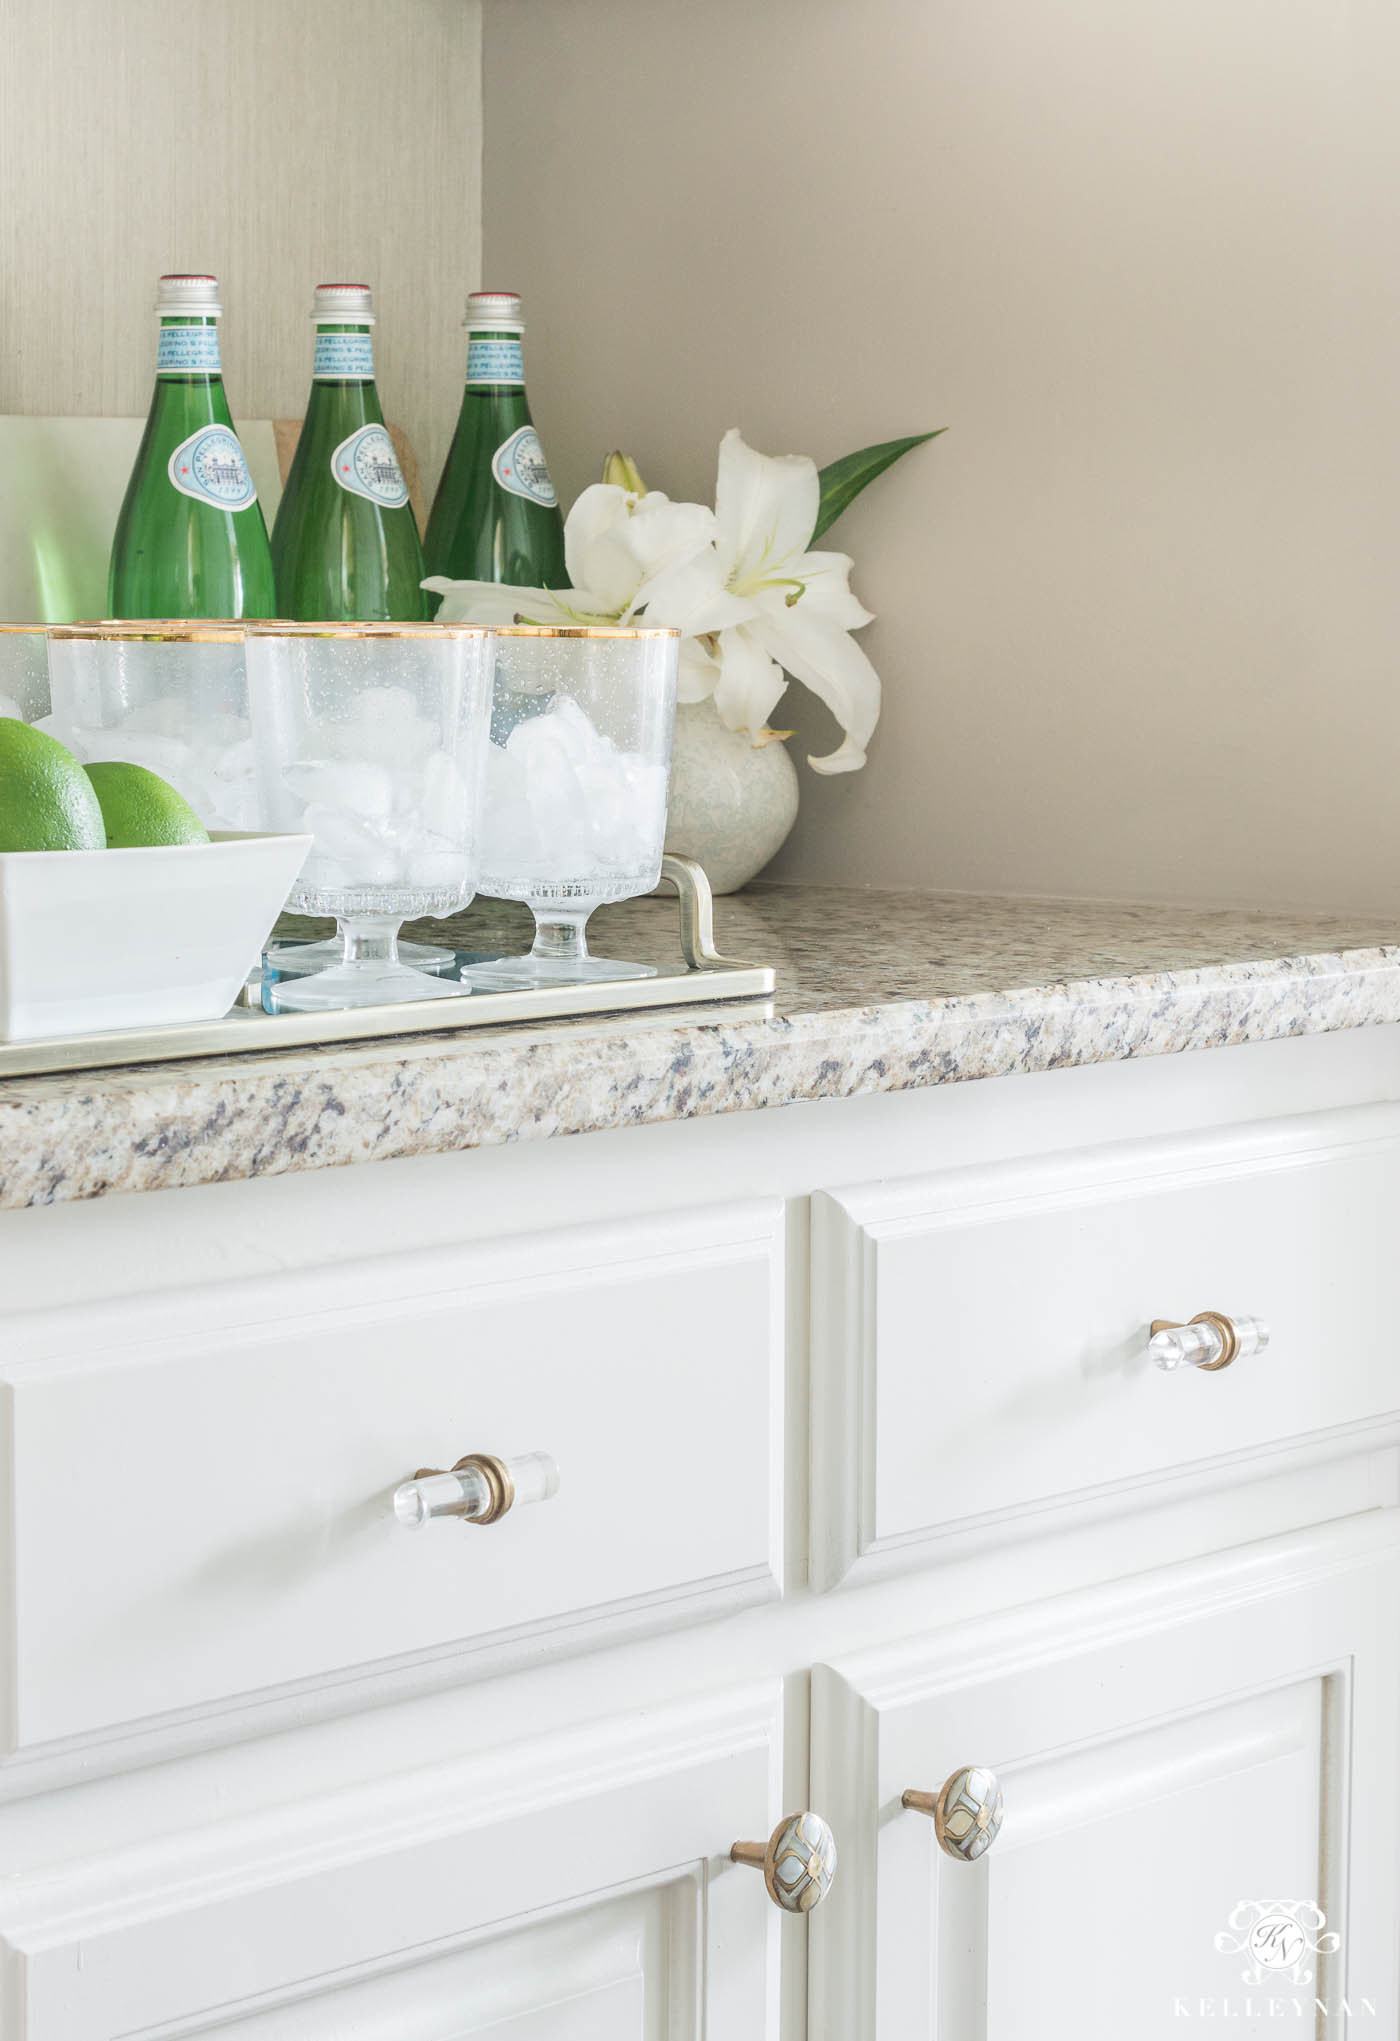
I like brass in this small space but solid brass in the midst of my other hardware and finishes was too much. When I started searching for capiz/pearlescent knobs to tie in with the light fixture, I found these mother of pearl knobs (HERE), accented in just the perfect amount of brass. One of my best friends, Kris of DrivenByDecor.com has used the sister of these in several projects and claims it as her all-time, favorite go-to. When they arrived, I could see why 😉
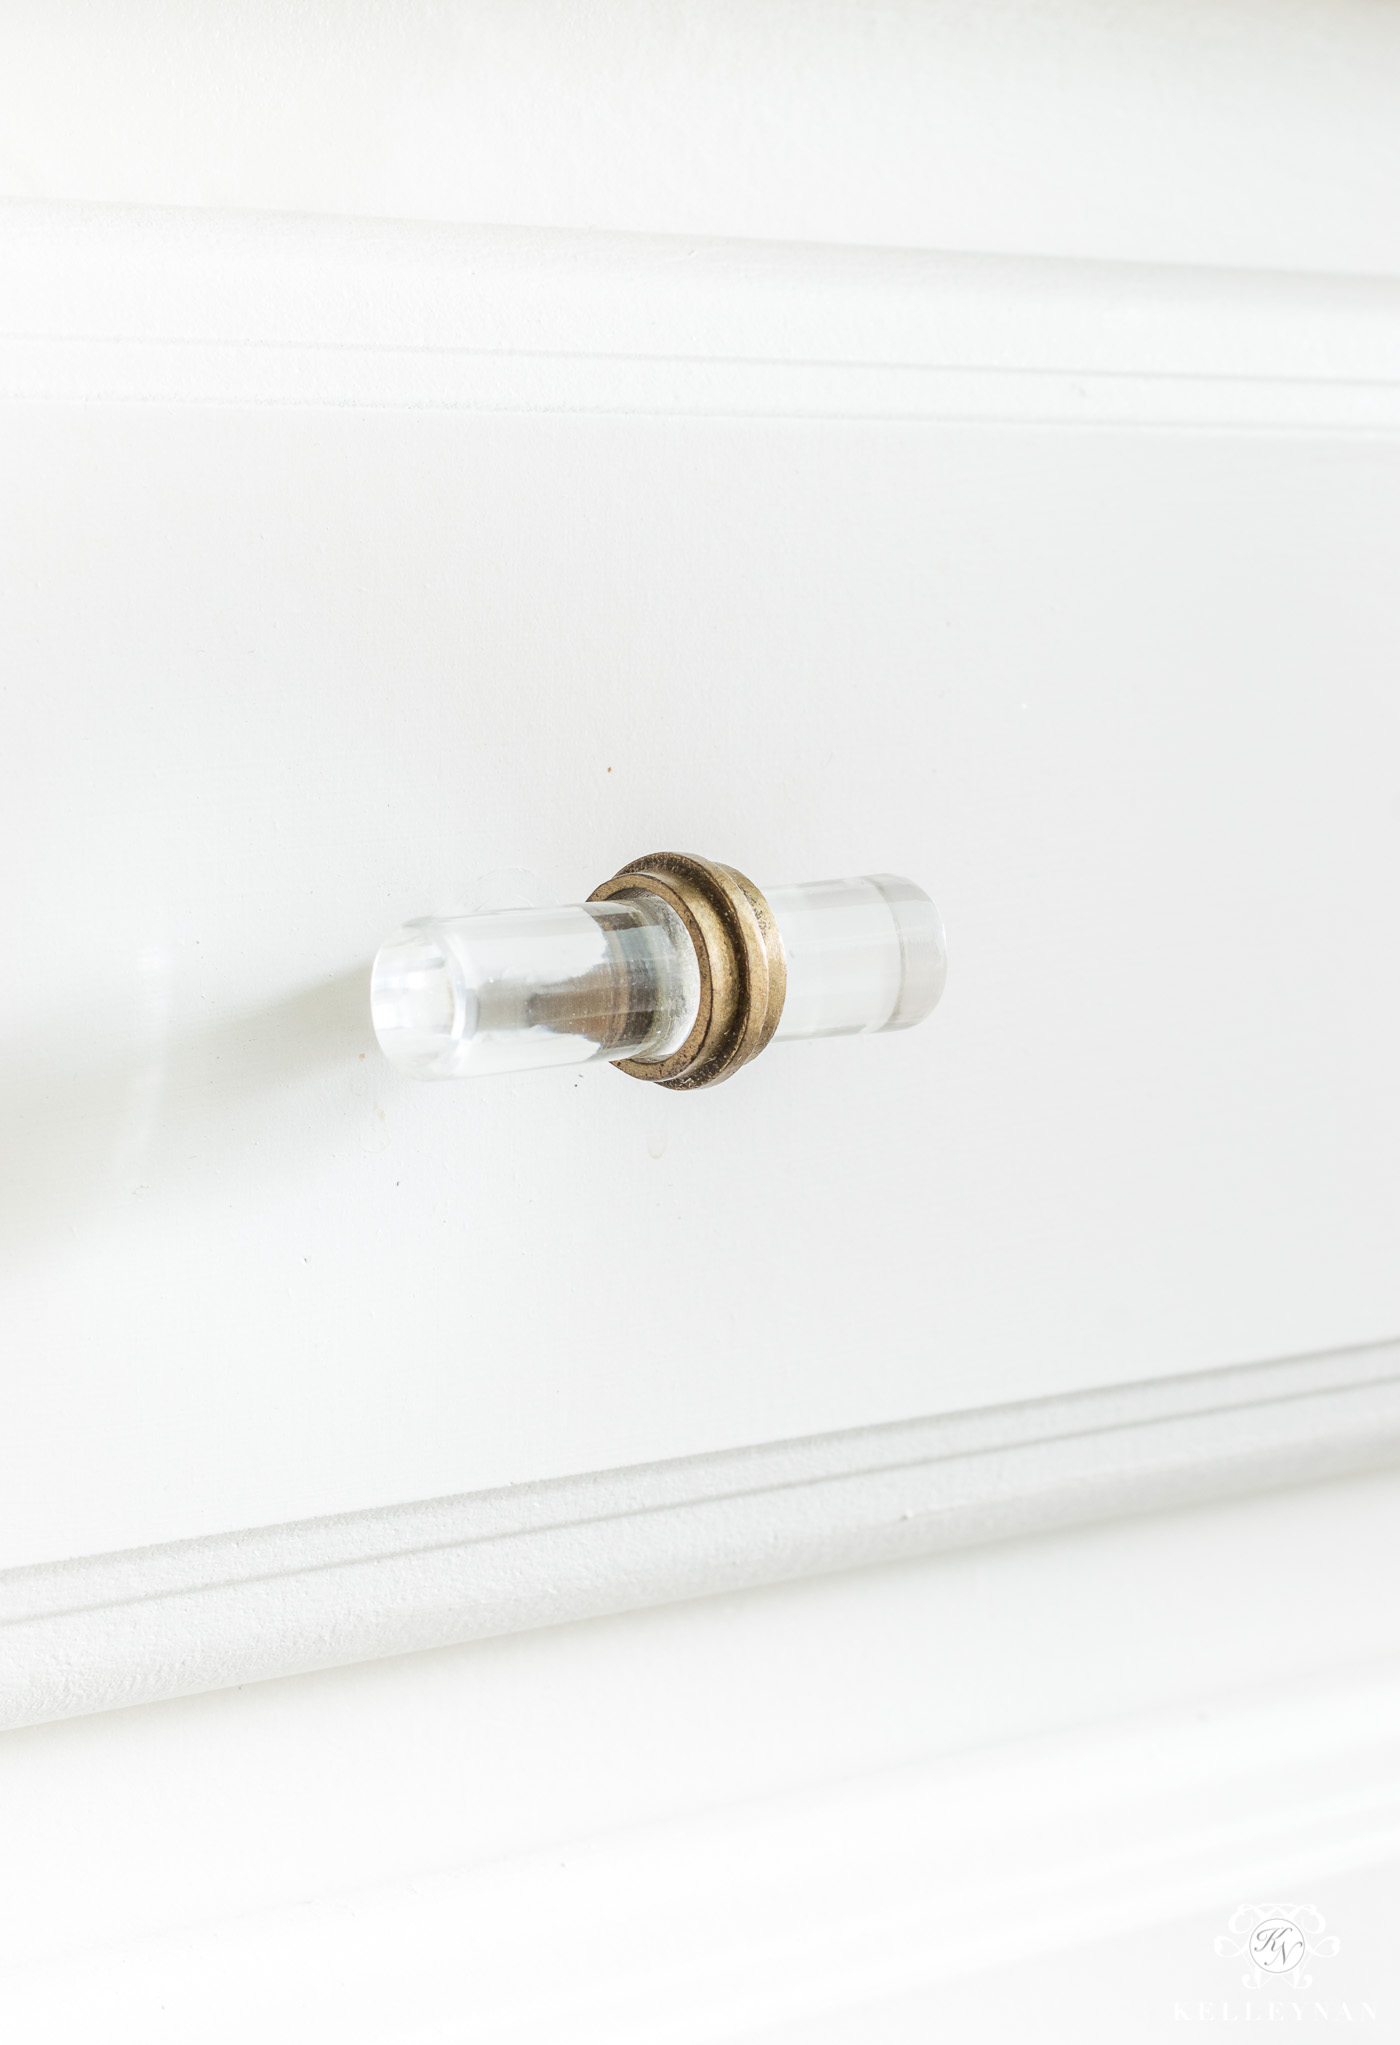
I also found these little acrylic t-bar pulls (HERE), again, with just the right amount of understated brass. I wasn’t sure which I would prefer in person and after getting both styles (they are both 20% off right now, plus free shipping!) and testing them in different configurations on the drawers and cabinets, I decided the little butler’s pantry called for both ;). I also decided the spares were too good to send back so I’ll be using them in some other place in the house- maybe on a piece of furniture.
Even though I wasn’t about to labor over drawer pulls, these little t-bars are a perfect compromise.
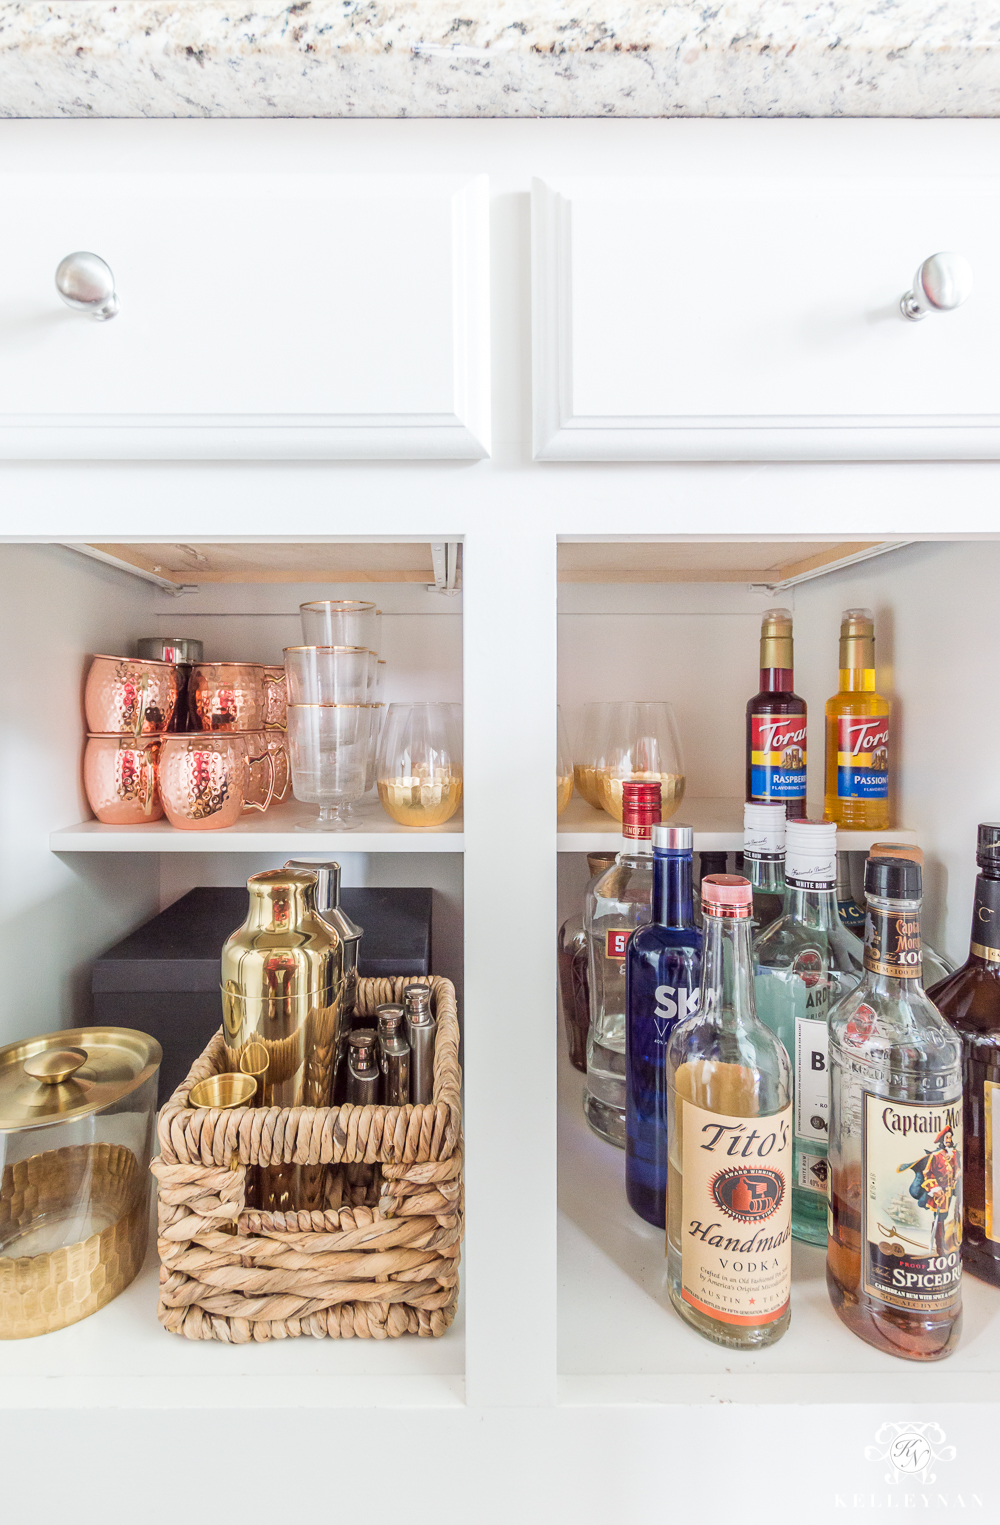
And in case you missed how everything is organized within the cabinets and drawers, here’s a look back.
You can see the full post and all the details HERE.
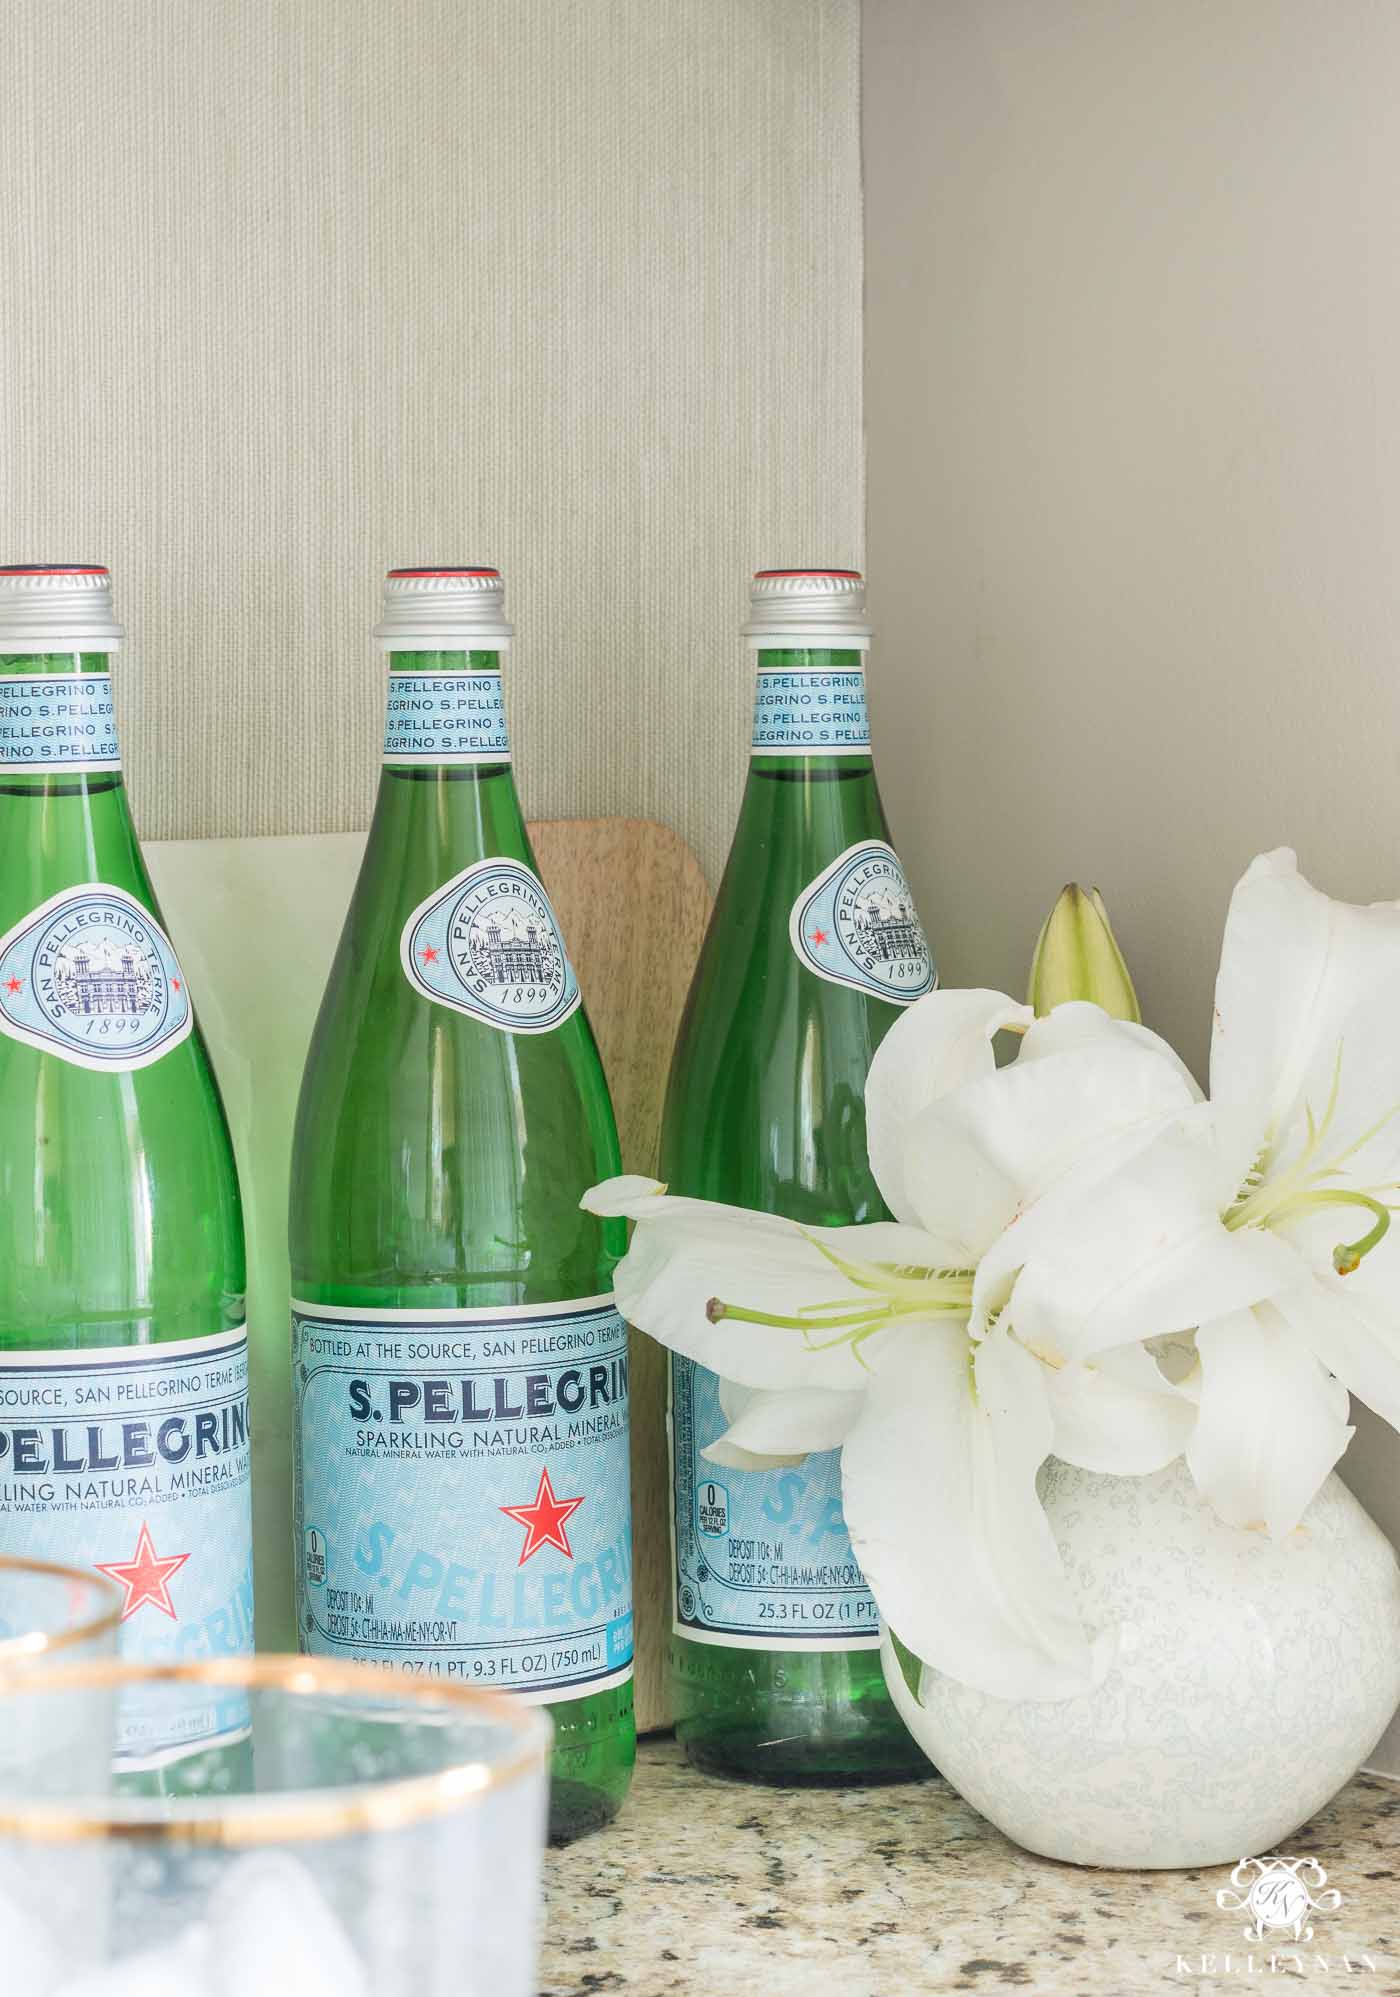
3. A Grasscloth Wall Detail for the Win
The most “out there” item on my wish list was tiling the backsplash of this little bar alcove. We already established that was so far out of the realm of being a possibility but next to the light, it was the thing I was most desperate to change. Bare, greige drywall was not working for me. I started brainstorming what I could do that was inexpensive and something I was capable of. I remembered the spare grasscloth I had from my office makeover two years ago (see the full makeover HERE). Even though I had the actual grasscloth, it took an expert quite a bit of time (and money) to run a single drop on each of my book cases. I never thought I would attempt any sort of true wallpaper but the little wall area was so small… just maybe?? I had my first “wallpapering experience” when I transformed my toilet room last year (see the full makeover HERE). But, temporary, removable, vinyl wallpaper is much different than fraying, substantial grasscloth. Ultimately, I decided to forego any tutorial and just go for it. (As one who has zero idea of what they’re doing would do haha)
It may be my proudest moment ever – I totally conquered that little 2×3 foot space. Not to detract from my success but had it not been one small, cut rectangle I wouldn’t have tried it. Not that you shouldn’t – if you are a go-getter, you absolutely should. But, I don’t have the patience or temperament for it. One small cut is a lot different than multiple drops.
No joke, before using the paste intended for it, I seriously considered double sided tape haha. Even with a fresh X-Acto knife blade, the fraying was real. I also thought I would run the grass cloth horizontally but it was literally one-inch too short. So, vertical it was! Oh, and I totally regret not getting a picture of how I trimmed out the outlet- that little cut rectangle deserves serious bragging rights 😉
Just that little bit of texture on the back wall made such an improvement. Plus, it was free and finished in half an hour. That’s a project I can get behind! The grasscloth I used is no longer available but I found a near identical paper HERE.
4. A Little Fresh Coat of Paint Goes a Long Way
After making small changes that made such a difference, of course I had to end the kitchen paint strike. I fished around in the basement for the matching three-year old bucket of Perfect Greige paint I needed, eventually clearning a path from under the stairs and prying the sealed lid open. Thank goodness it blended well – not perfectly but to the naked eye, it’s pretty dang good. I was hopeful but knowing my luck, I was surprised it was such a close match. *Praise Jesus!* And then of course, if you give a mouse a cookie… so I ended up hauling my paint bucket all over the kitchen and breakfast nook. Hey, it was a good day!
In two hours, I was able to take this builder-grade, basic small butler’s pantry up to code with custom touches for about $280.
Sources & Space Details
Scroll & Tap to Shop
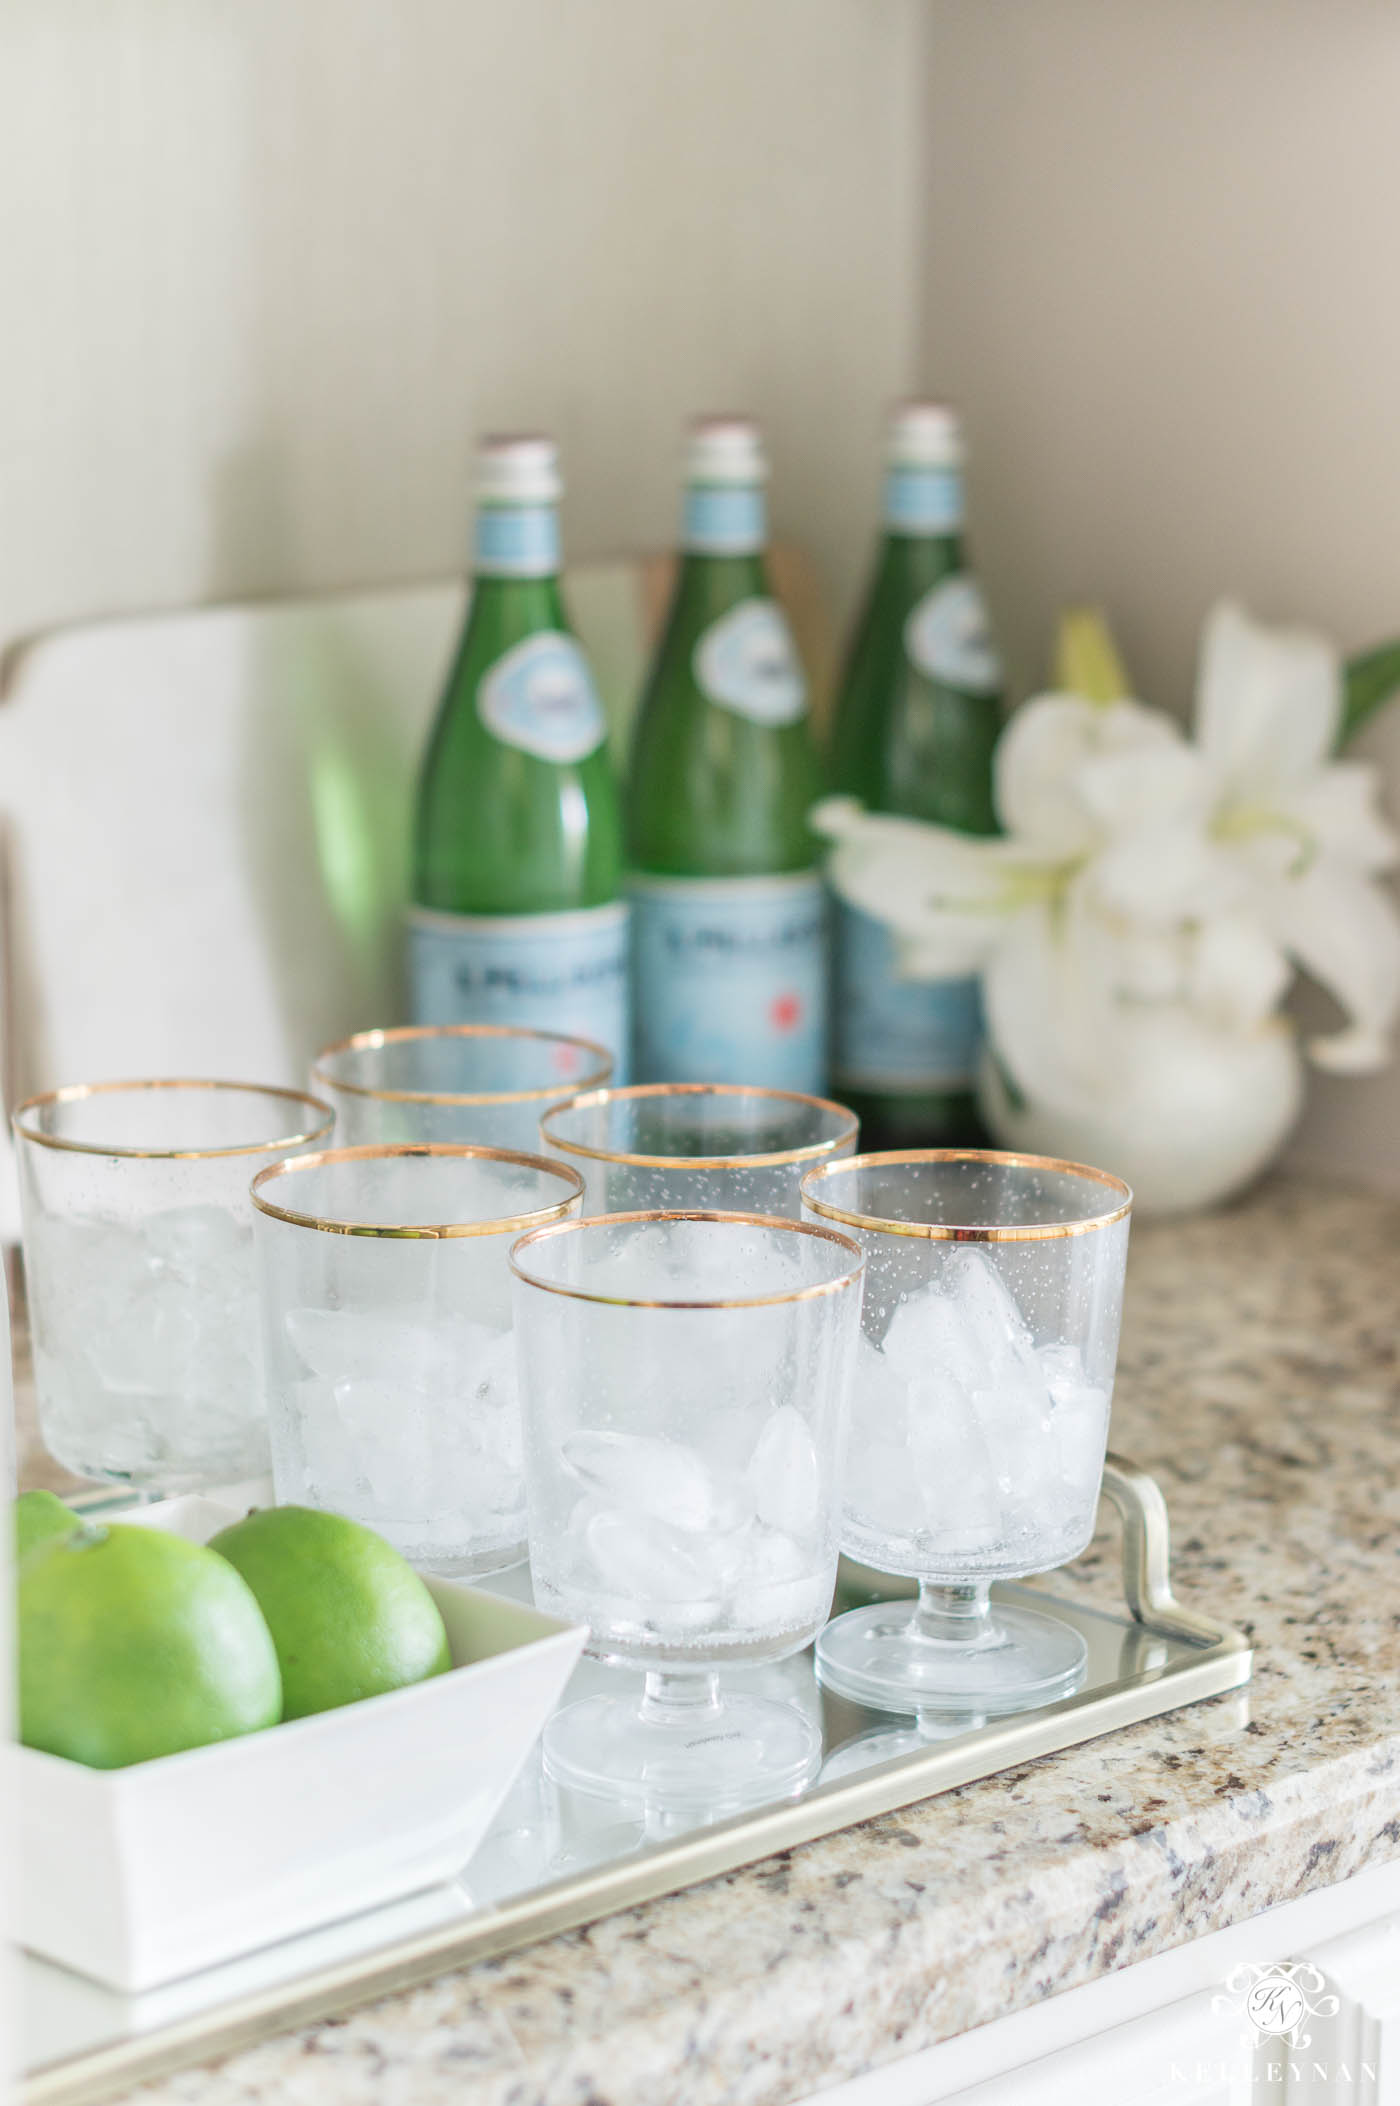
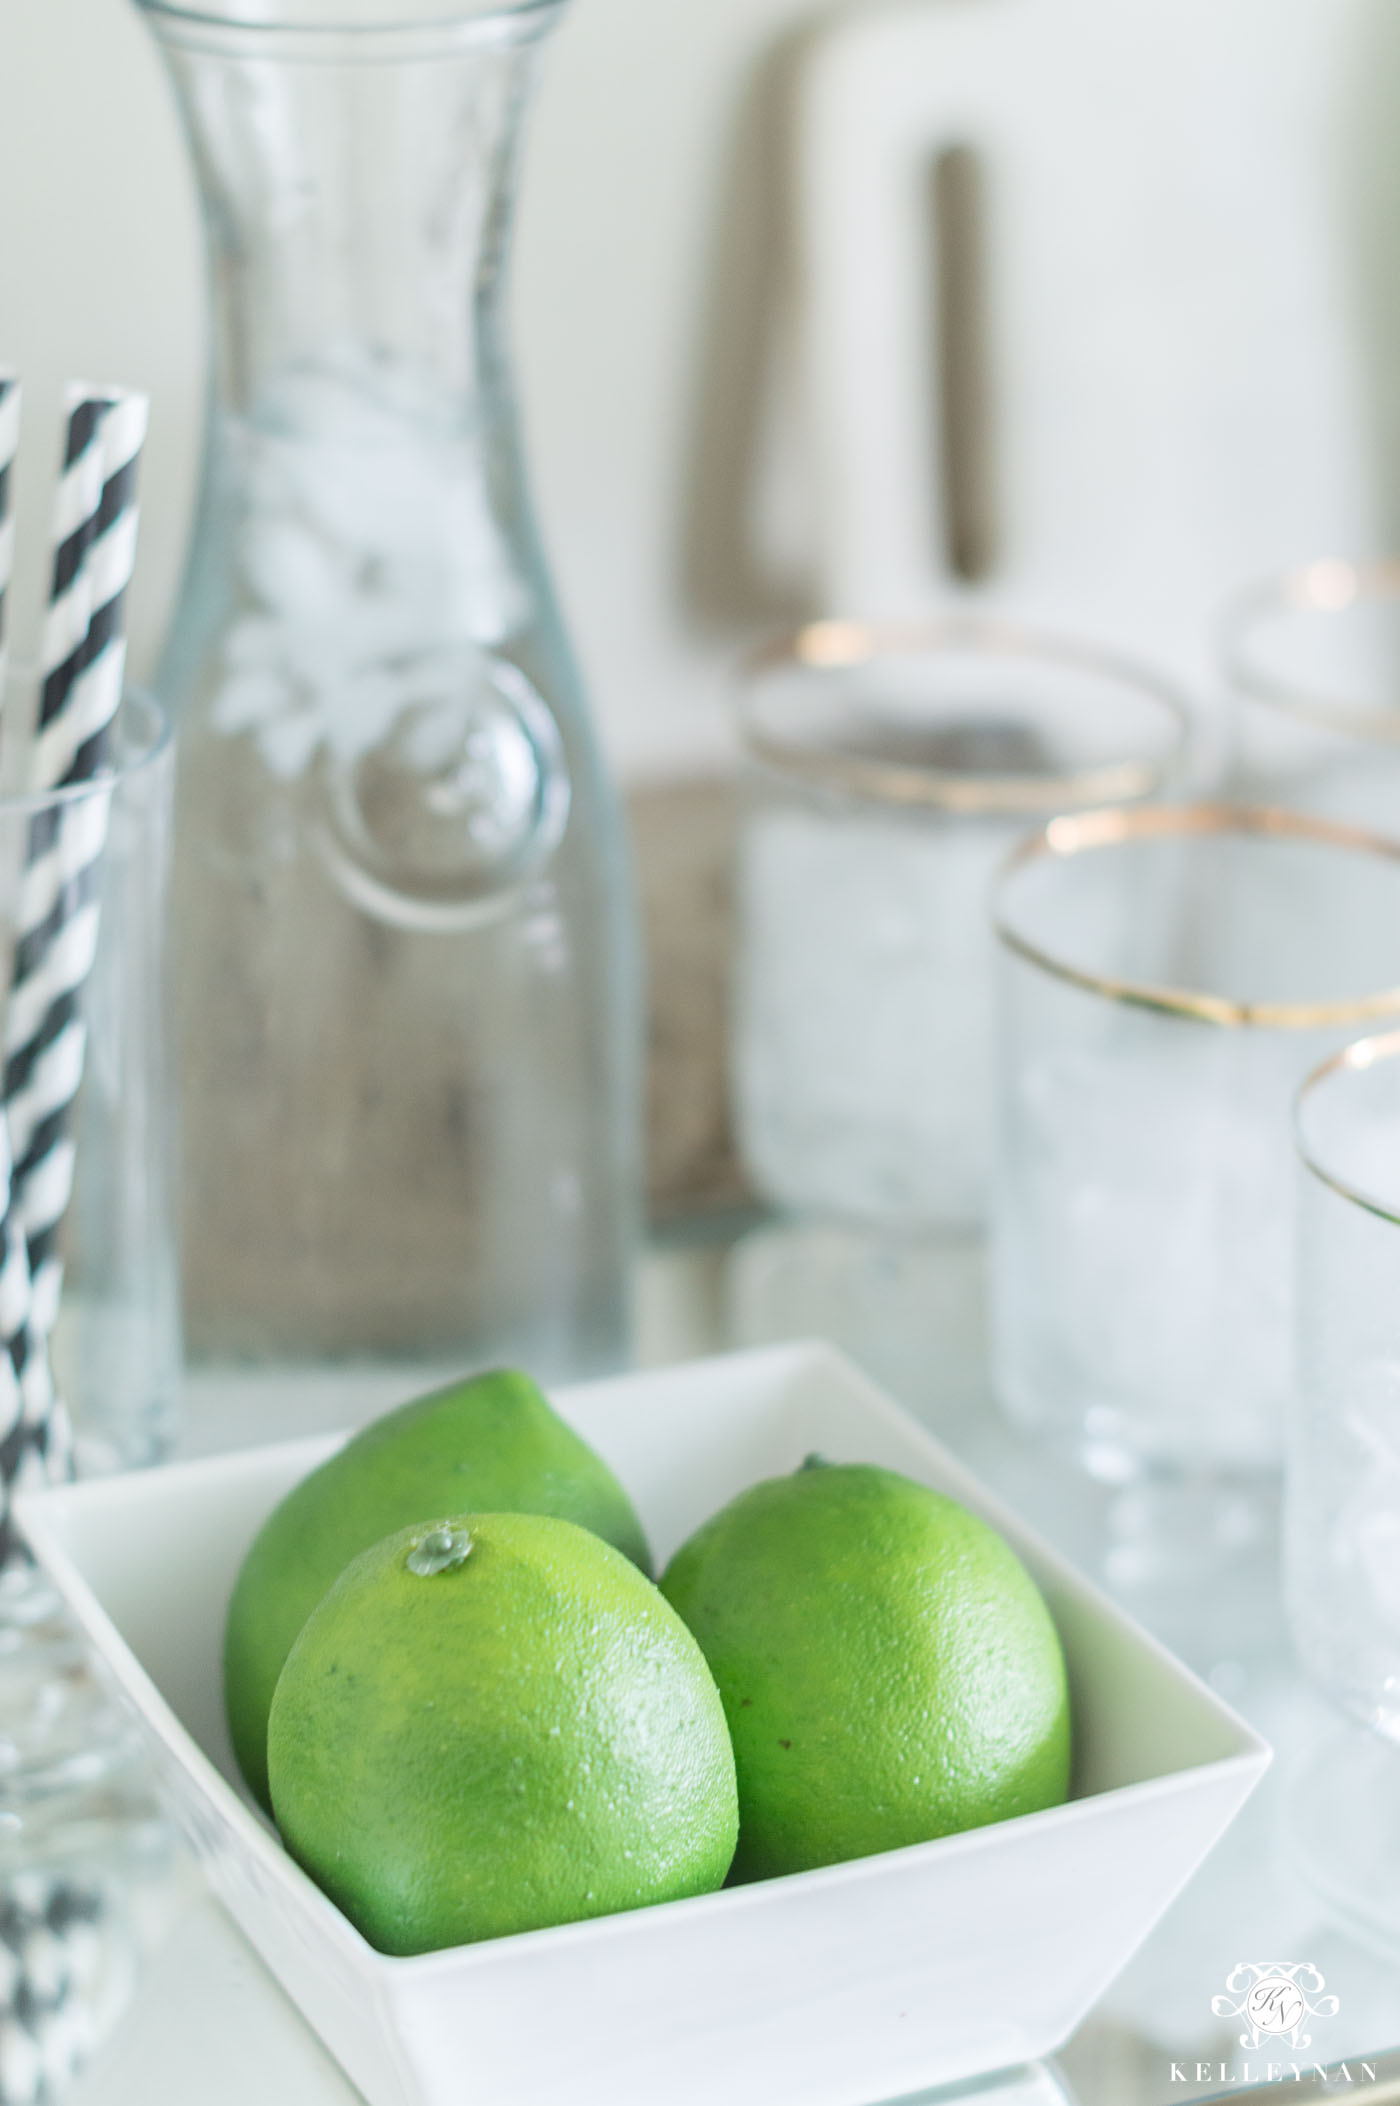
Capiz Flushmount Light | Mother of Pearl Knobs | Tuva Brass & Acrylic Knobs | Grasscloth (similar) | Brass & Mirrored Tray | Marble & Wood Cutting Board | Gold Rimmed Glasses | Faux Limes | Black & White Straws | Apothecary Jar with Wine Corks (similar) | Carafe | Small Vase | Paint: Perfect Greige by Sherwin Williams | Granite: Giallo Ornamental | Flooring: Nottaway Hickory in Weathered Saddle
Wanna see some of my other makeover projects? Check out my full gallery HERE and be sure to subscribe to my emails below and never miss a transformation!
MEMORIAL DAY WEEKEND SALE FAVORITES
Ok, I am going to try my best to stay “on top of it” as I do my own deal-grabbing this weekend but y’all, the sales started early! Here are a few favorites you can grab at a discount right now! See the full list of My Loves, along with discount codes, HERE.






I actually think the wallpaper is better than tile as it is a nice change from the tile of the kitchen. It gives the eye a nice place to rest.
Karen, thank you! I am glad that’s how it ended up. Coordinating but not matching- a little style of its own 😉
Your bar area looks so great! Love love all your choices, especially the light fixture…so pretty and love the way you tied in the cabinet hardware! Very inspiring – so many little projects I need to get done and now I’m going to just do it! Thanks for sharing your creativity!
Kelly, thank you! I so understand. Sometimes, looking at the full big thing is too overwhelming so taking on a small, budget friendly space like this that can be conquered quickly feels good sometimes! Best of luck on your upcoming projects!
I love everything about your alcove but the glass pulls are the charms of this project.
Cecilia, thank you! I love that find; I’ll definitely be using those more 😉
You always do it up right !??
Haha Trudy, thank you!! I am all about ease 😉
Genius! That light is everything!
Haneen, thank you! The price is so so good, too!
OK – that light!! It is so gorgeous!! I love how you tackled this space Kel – so good! And you’re so lucky to have a butler’s pantry! I love how you’ve styled it and I love the function it serves! Beautiful!
Tam, thank you! I am thrilled with such an easy makeover and the price of that fixture! 😉
I love your kitchen, Kelly. Small changes with a big difference. Lovely 🙂
You are so right. Sometimes those little changes do make a big difference, little by little. Thank you for visiting with me!
I am loving that light fixture she is a pretty girl and really dresses up that space. LOVE IT!
Haha Jen, I think she’s so pretty, too! Thank you!
Beautiful, beautiful, beautiful! I do believe you are my new spirit animal! Always love seeing your projects!
Sharon, I love that! Thank you so much!
Awesome Kelley Nan! Love, love, the light and knobs – what great choices! Another fabulous make over – hugs!
Very nice!
Beautiful update Kelley! So nice to see what a difference just a few changes can make. xo
That light fixture is stunning! And I love how you did the grass cloth the other direction! Very smart thing to do!!!
Wendy, thank you!!
Beautiful! Did you go with the large or small light fixture?
Thank you!
The small!