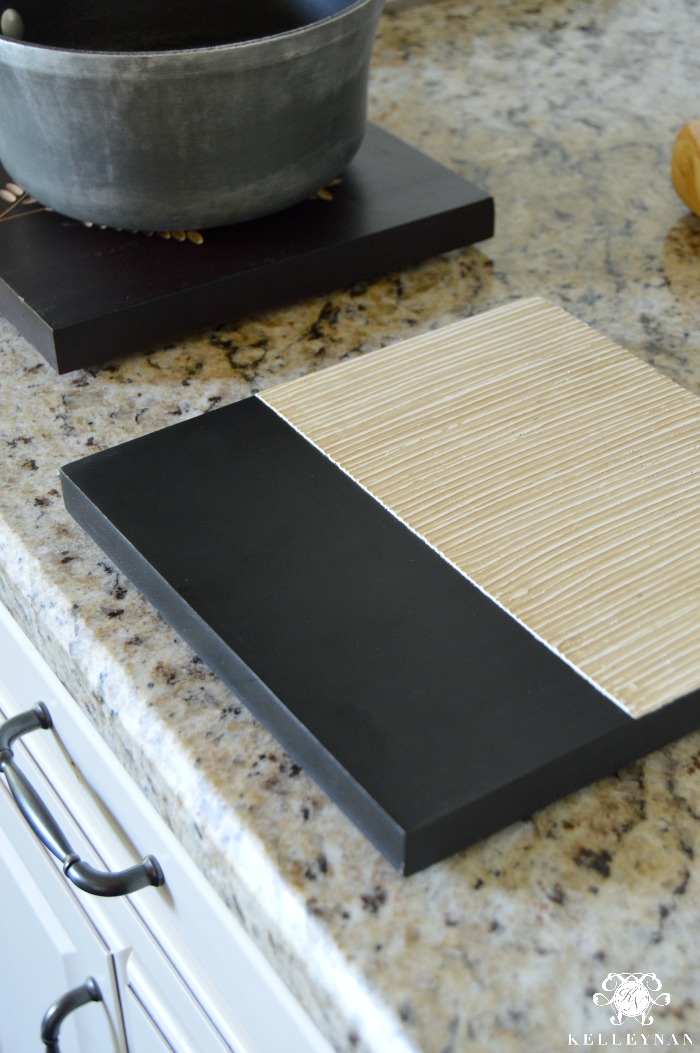
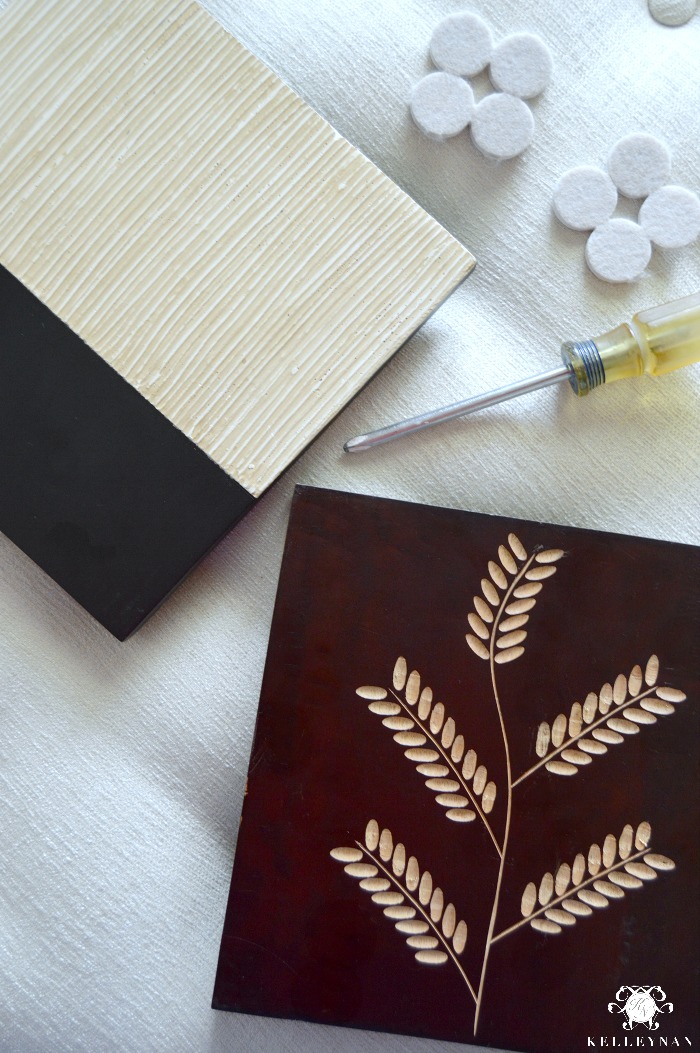
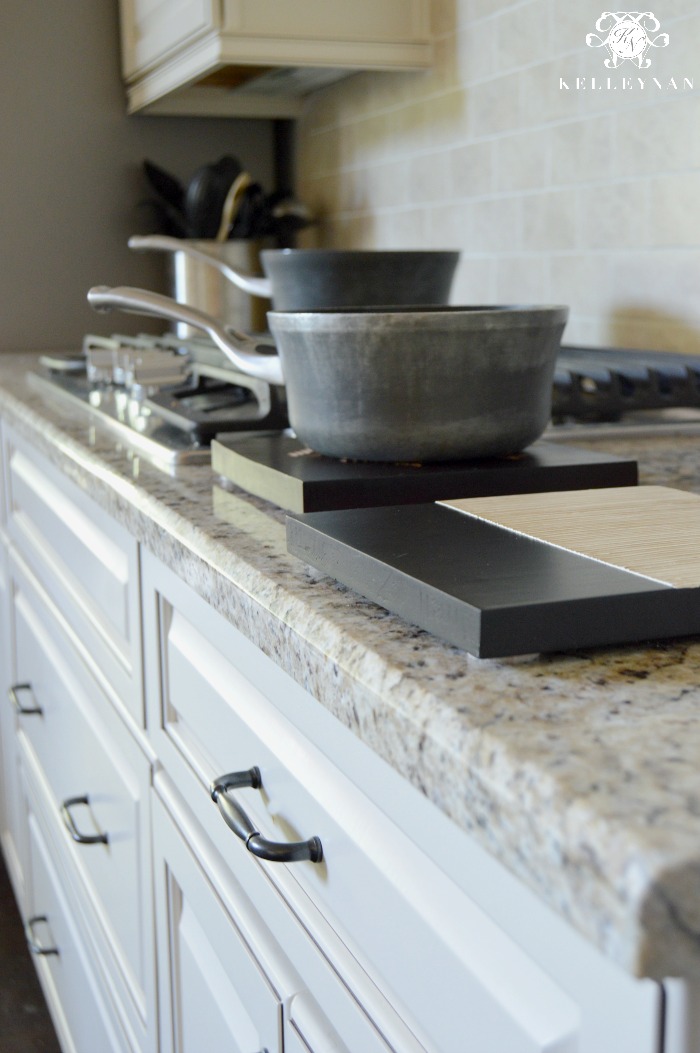
This past weekend, we had a yard sale. While I was thrilled to have the opportunity to de-clutter, after we wrapped on Saturday, I swore I would never do it again (please remind me of how I feel now, this time next year when the community holds its next round). Before the donation trucks cruised through the ‘hood, I scanned the tables and reevaluated some of my items which hadn’t sold. Could it be painted? Used as a prop? Repurposed? There were very few things I pulled to keep, but upon observing my little 10 year old, square wooden wall plaques from World Market, I knew exactly what they were meant to be. (Can you believe that these little guys didn’t sell for a quarter? haha) I remembered back to Thanksgiving when it became super apparent that one kitchen necessity I was short on was trivets. With the exception of Granny’s two well loved trivets she would use for Sunday morning breakfast which I had inherited, I depend on pot holders to protect my counter tops. Below, I will take you through the process I used to transform my yard sale rejects into repurposed trivets in under five minutes.
I contemplated on whether I should even share this quick project as it is so simple, but my husband LOVED the concept and insisted. 😉
Here’s what you need:
- Square art/tiles (no materials which will melt or be a fire hazard) Note: you could use rectangular art for a double trivet
- Sticky felt furniture pads
- Screwdriver
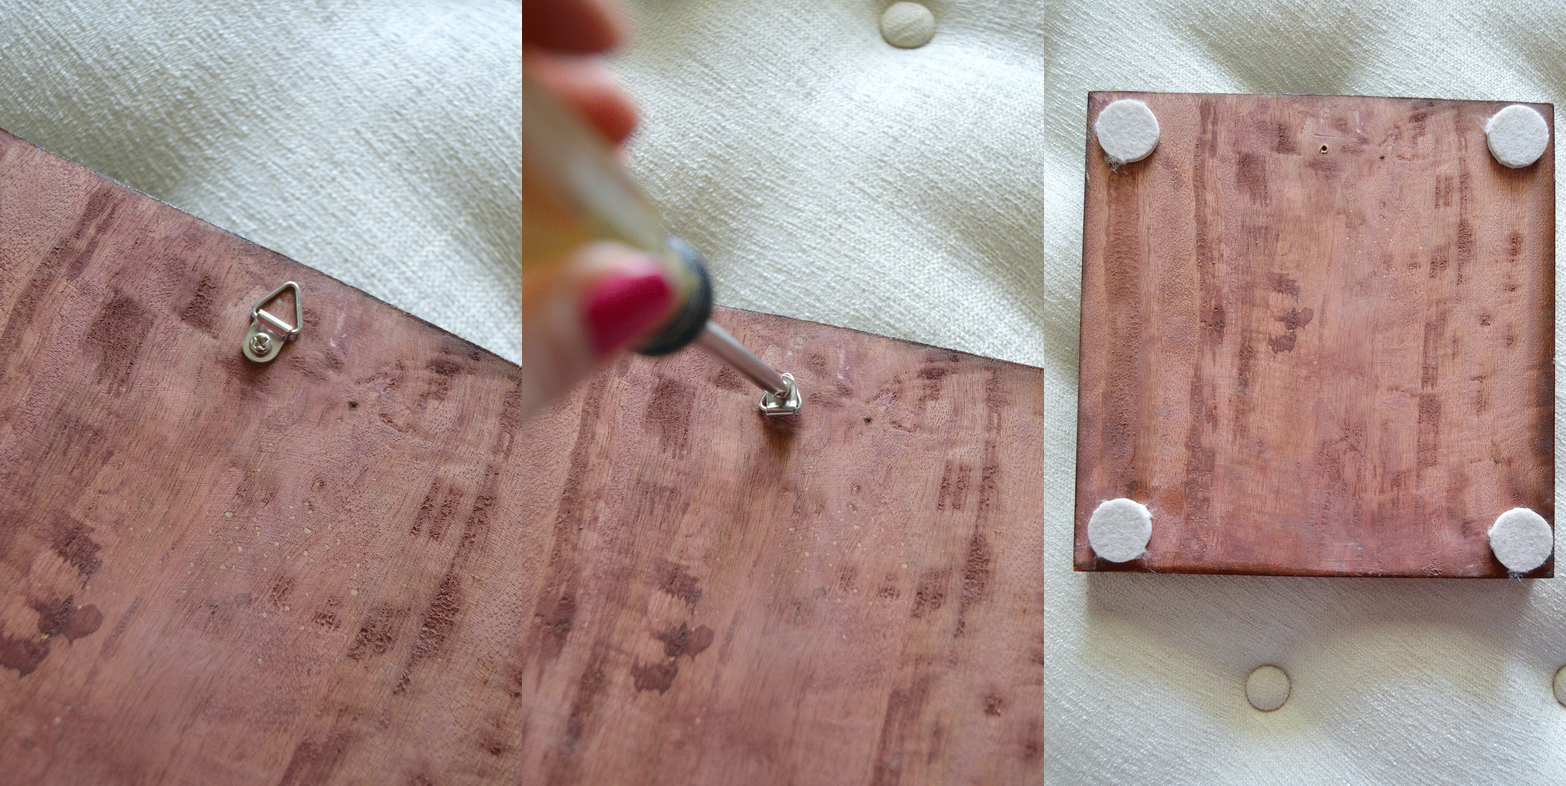
- Take a look at the hardware on the back of your art. Lucky for me, there was one small triangular picture hook.
- Using your screwdriver, remove any hardware to make the back of your art a smooth, flat surface.
- Use semi-thick felt furniture protectors and place on each corner of the back of your new trivet.
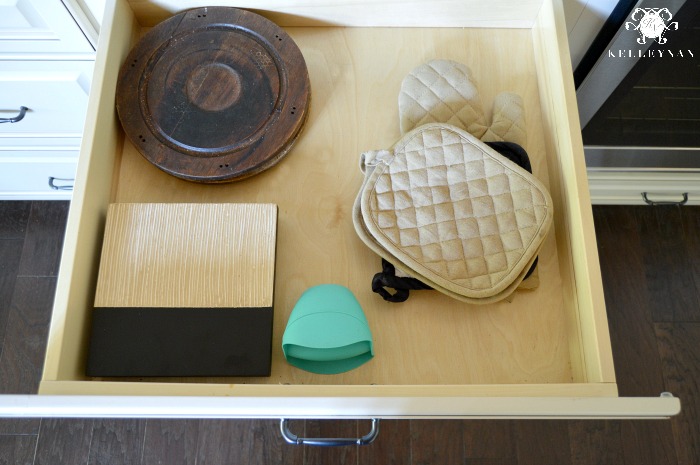
They stack perfectly in the kitchen drawer; you can see my grandmother’s seasoned trivets in the top left.
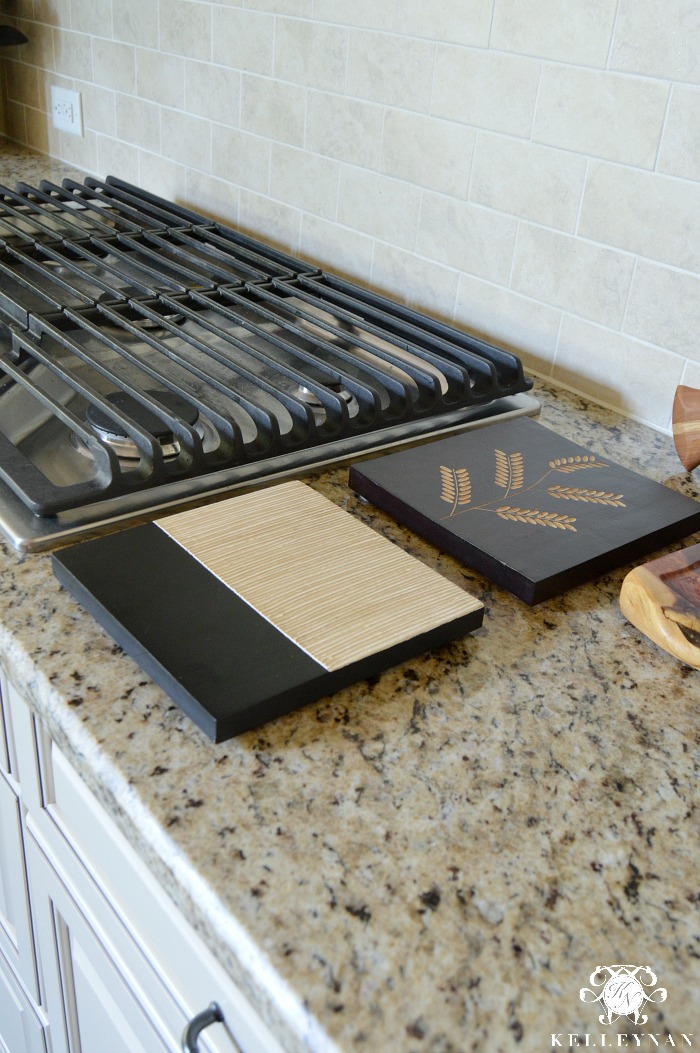
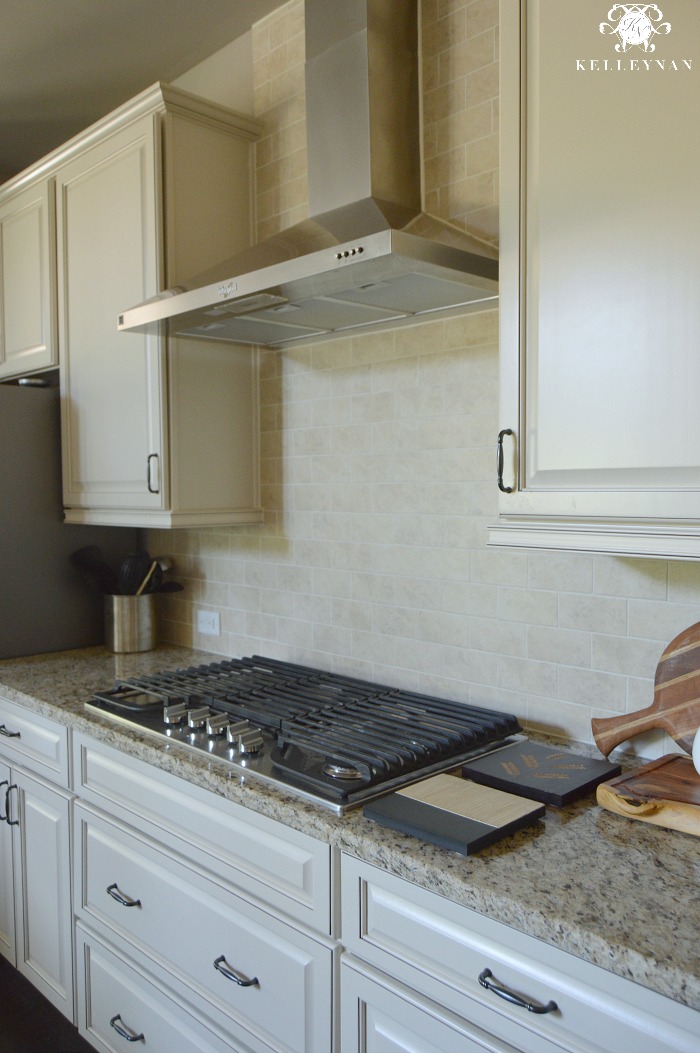
How cute did these turn out? Not only will I be using them to protect my counter tops from heat, but I’ll be using them to protect my tables from water pitcher condensation, too. I love that they bring a sense of intentional art to such a practical kitchen staple.
For my full kitchen details, you can check out my kitchen tour HERE. If you end up giving some of your old art a second chance after reading this post, let me know about it in the comment section!

