A couple months ago, I planned an evening to go on Instagram Live to demonstrate one of my top questions- “How do you edit your photos?” And, aside from the spotty connection, that was great. But, without the ability to save the video for longer than 24 hours, I have since had tons of questions rolling in, asking if I had a tutorial on my site. Well, today’s the day I can finally say – “I do!” While the focus of my tutorial is on how to edit home interior photos in Lightroom, most of the simple steps I go through can be applied for any photos. As a matter of fact, they are the same steps I use whenever I edit food, outfits, etc.
*Posts on KelleyNan.com may contain affiliate links. Click HERE for full disclosure*
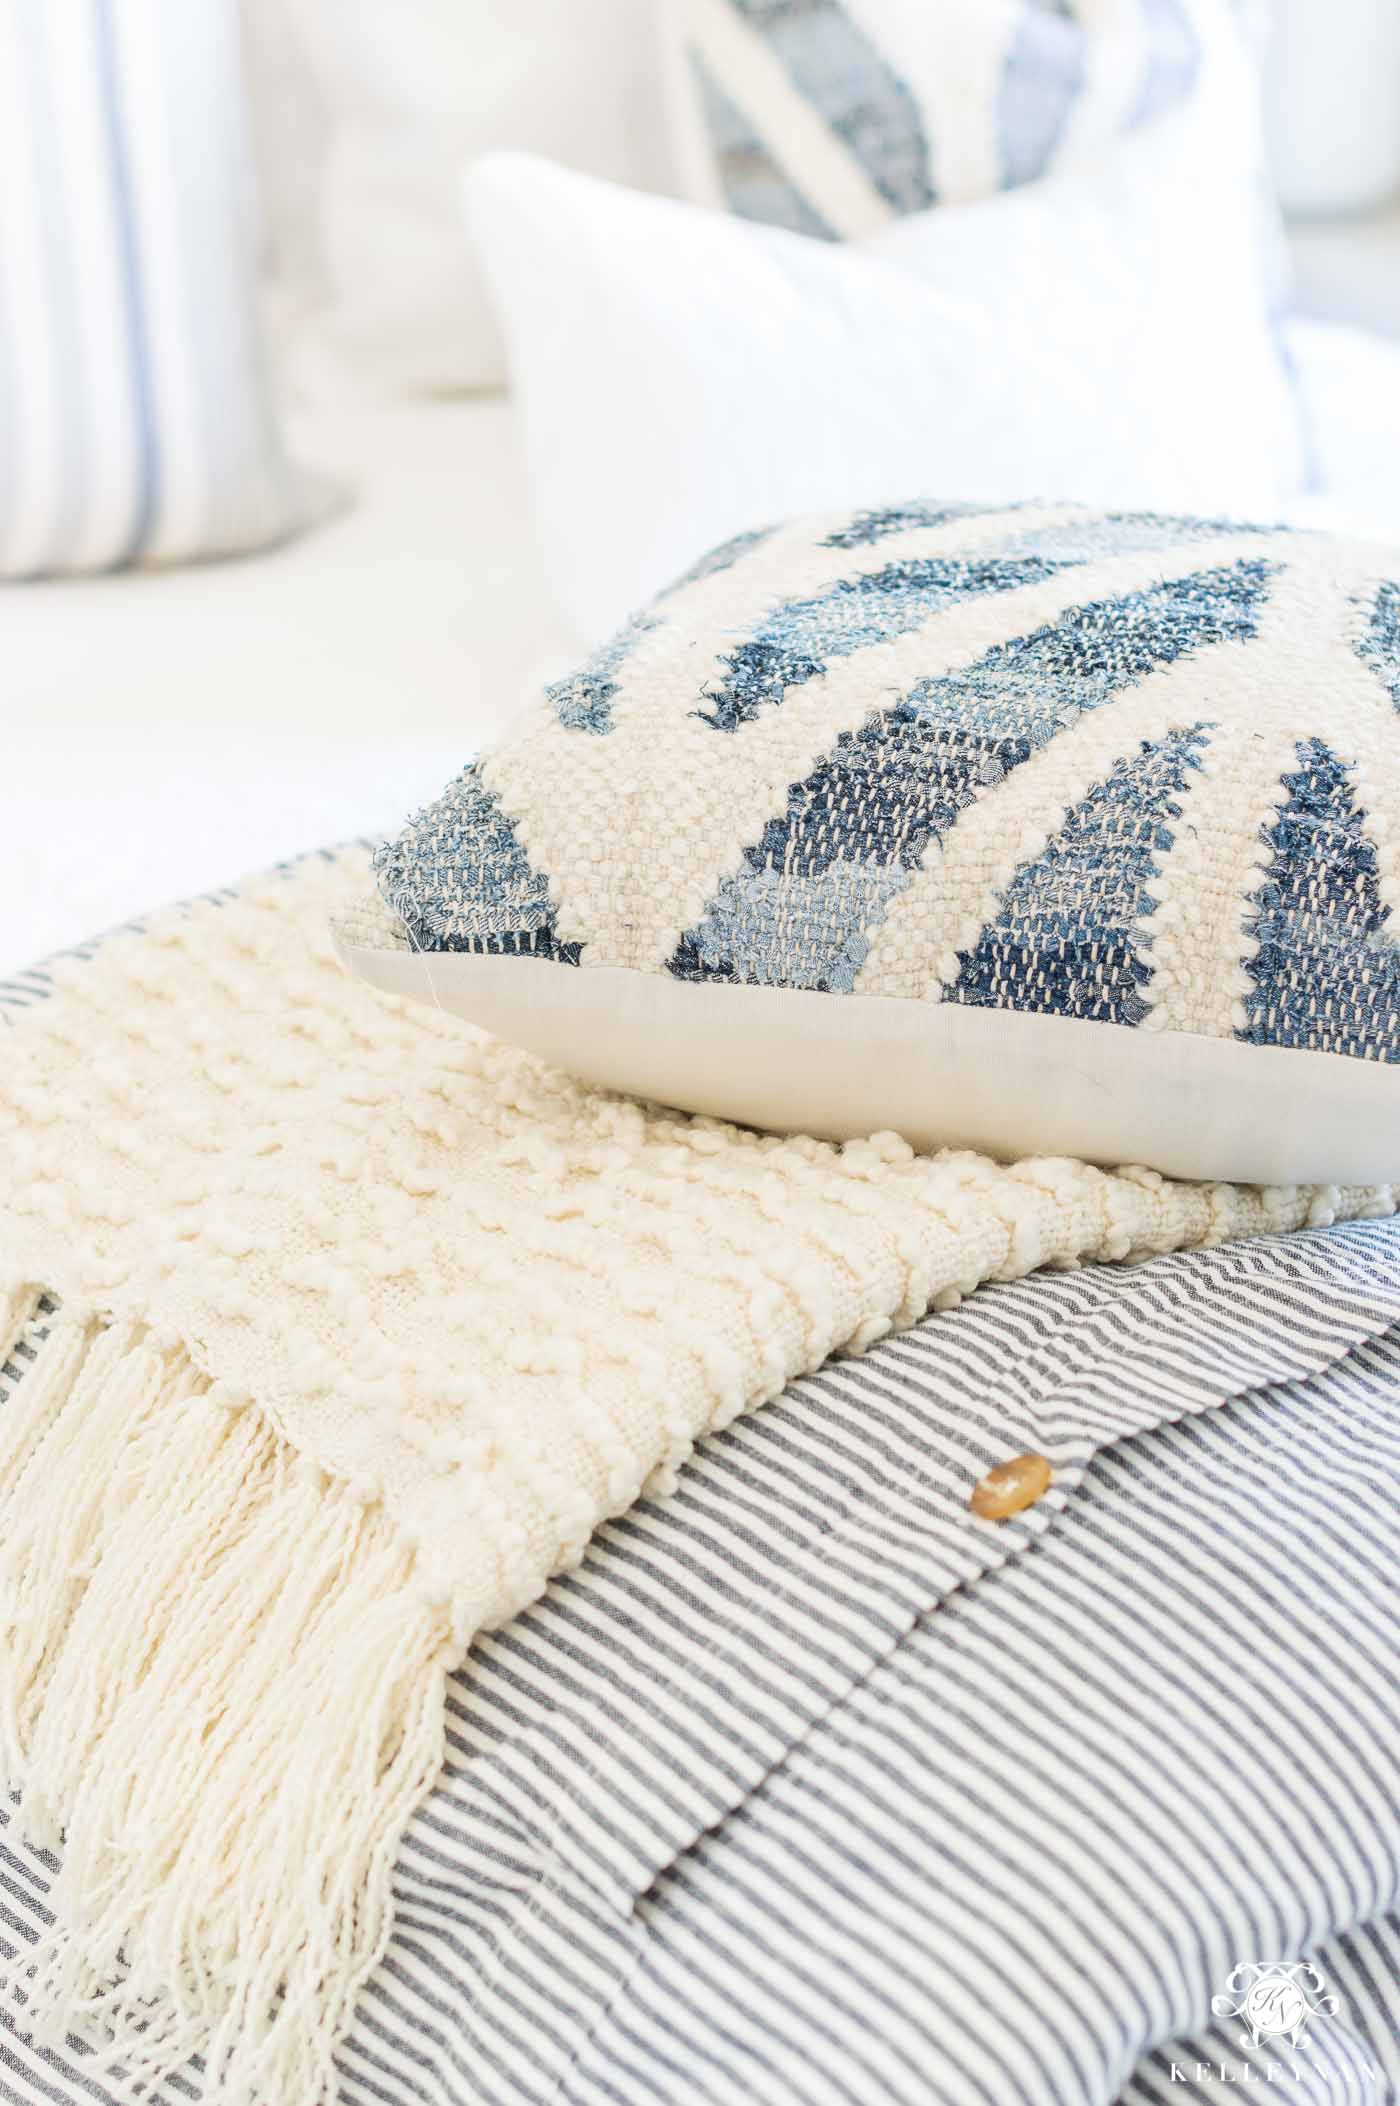
Pillow | Throw | Striped Duvet Cover | Quilt
A Caveat
It’s important to note- I am not a professional photographer or photo editor – most everything I have learned is self-taught but the request was how I edit my photos to get the shots you see on KelleyNan.com and my social media. While I am not going to go into photography or setting up Lightroom, this is a pretty basic photo editing tutorial for those who consider themselves “beginners”. If you don’t have Lightroom, you can sign up HERE for $9.99/month (it also included Photoshop) but you may want to first watch a few videos on how to set up the program, import photos, etc.
How to Edit Photos in Lightroom
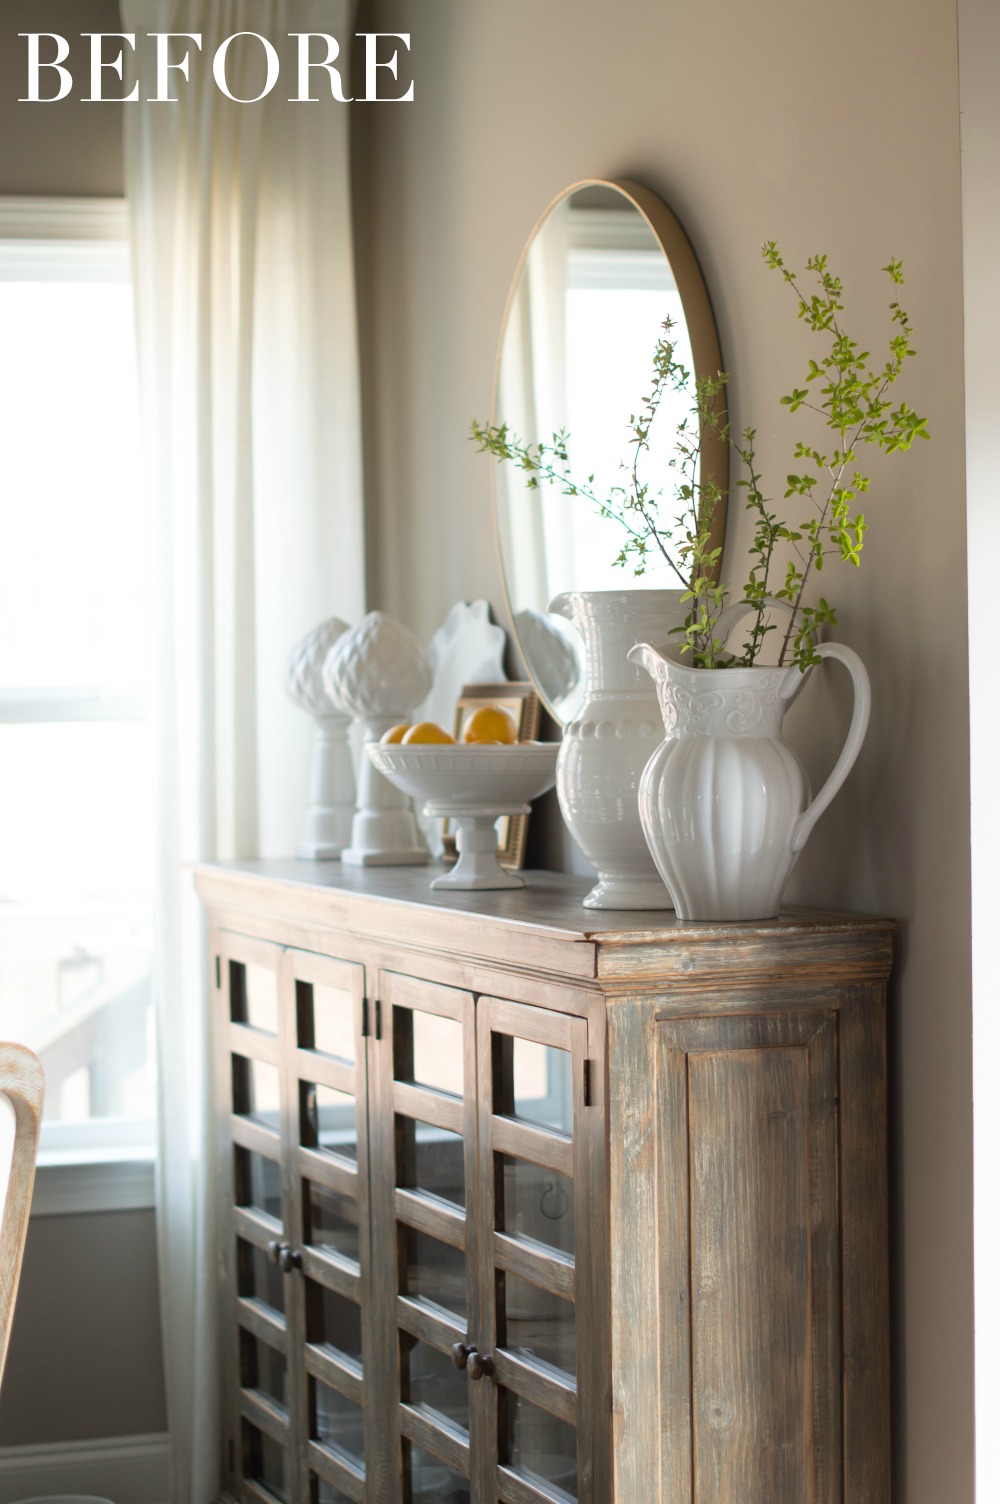
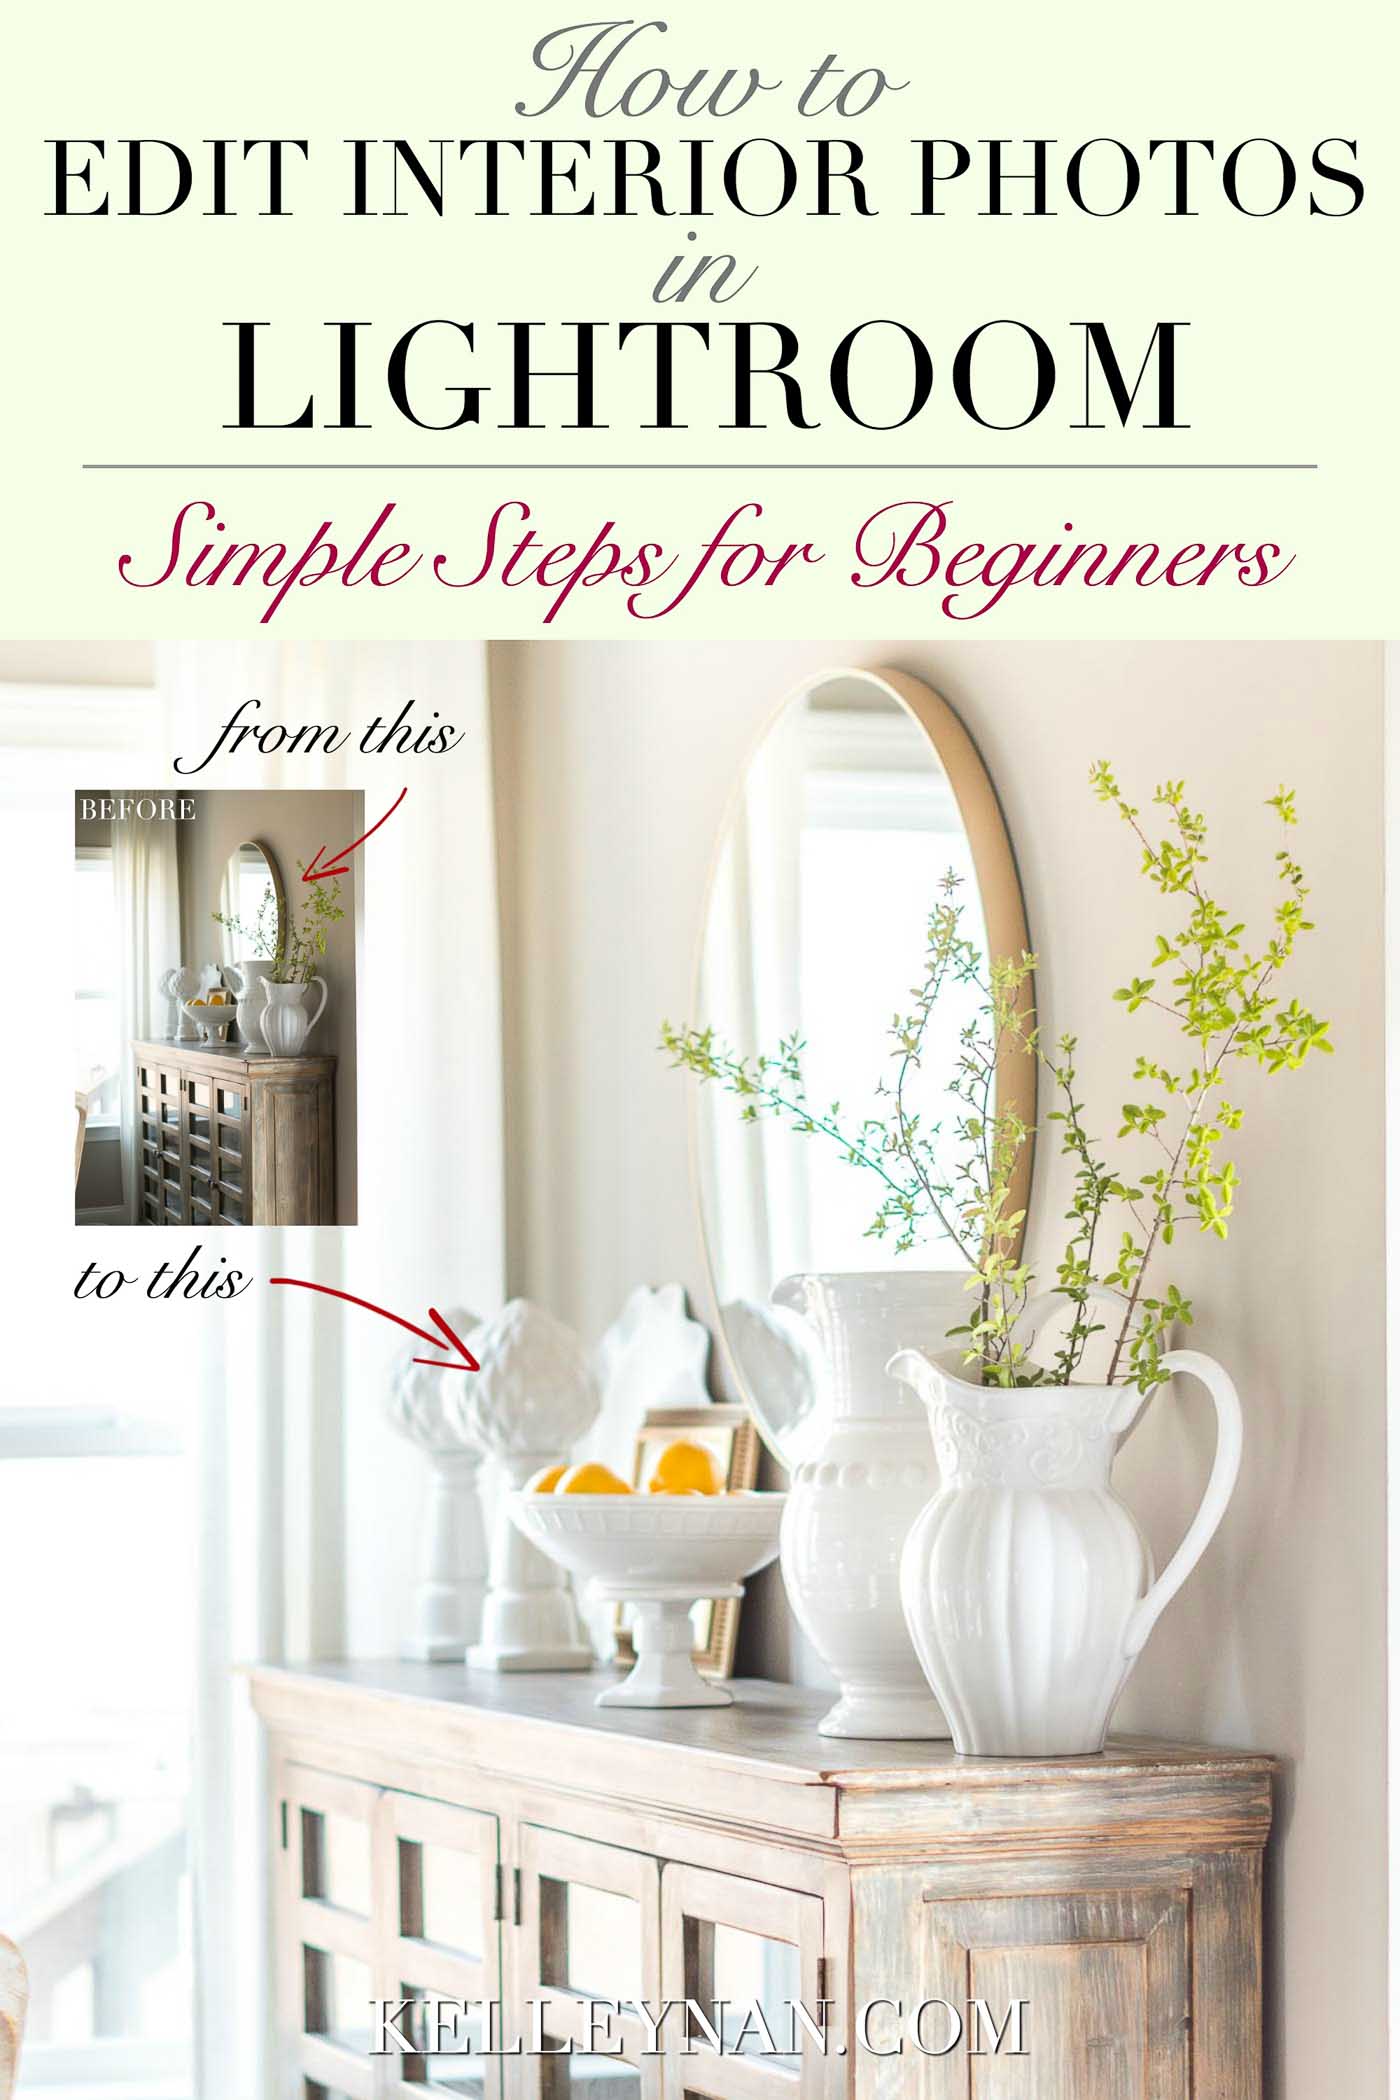
This is the photo I’m using in today’s tutorial, straight out of the camera. It’s dark and shadowy, but not terrible.
After a few simple adjustments in Lightroom, here is the finished product.
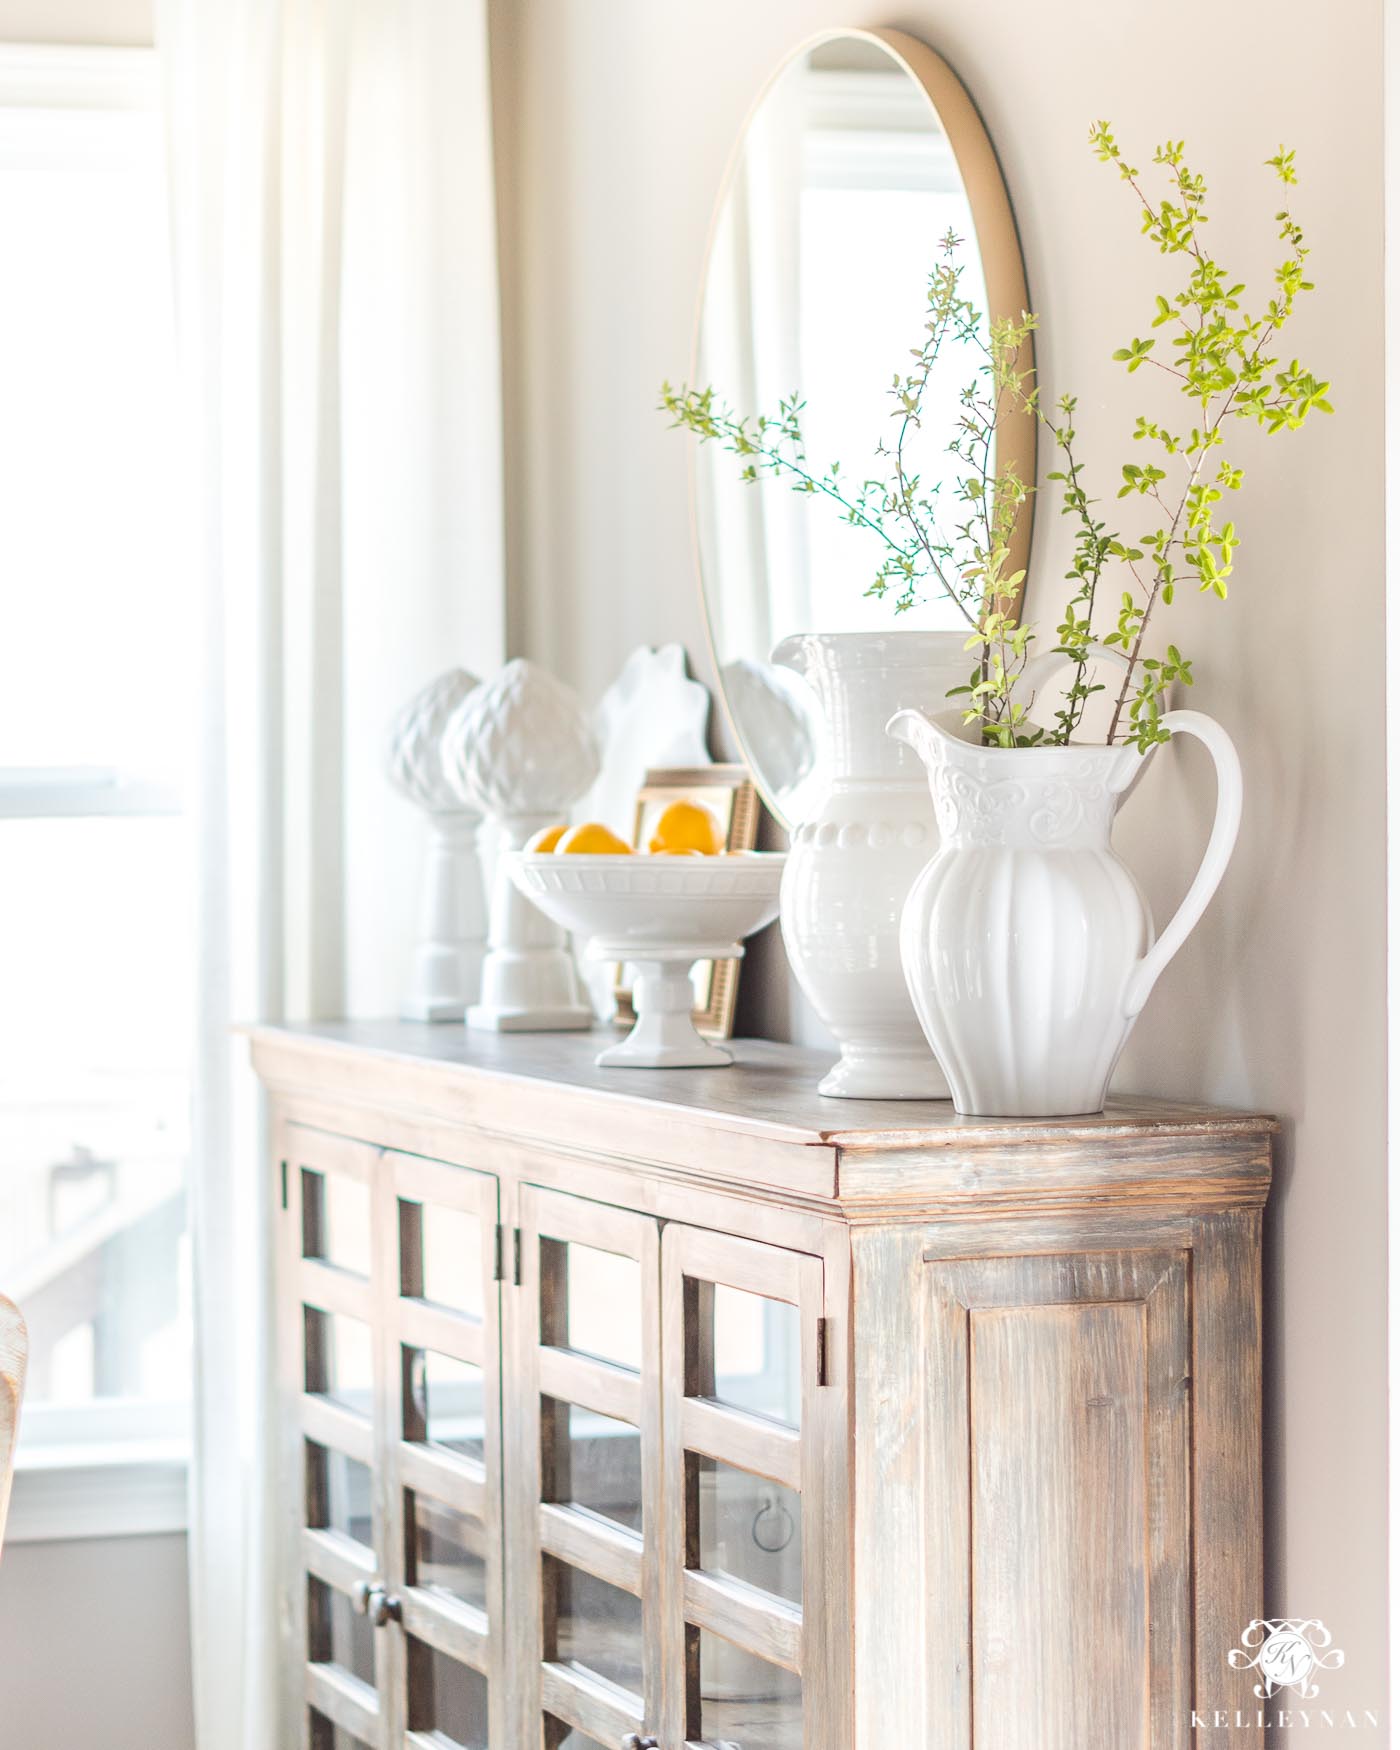
Curtains | Buffet (HomeGoods) SIMILAR | Scalloped Platter | Footed Bowl (Similar) | Mirror (Similar) | Chairs
To see the full tutorial, step by step, watch the video below.
Camera & Lenses I Use
- Nikon D3200 (most current version – 3400)
- 50MM Lens (f/1.4 – FAVORITE lens)
- 10-20 MM Lens (wide-angle for full rooms)
Q&A
- Do you go through all those steps on every photo?Yes. Well, kind of. If I have photos in similar lighting, you can actually select the photo you just edited in the slider at the bottom of the program, then highlight other photos you want to apply the same adjustments to, and tap “sync”. You can then go into each photo and tweak them as needed.
- How do you add your watermark?When you go to export the photo, you have the ability to set up a watermark(s). Now, whenever I export photos, it applies a watermark to them automatically.
- Do you have suggestions on iPhone photo editing apps? I do not. I am terrible when it comes to iPhone photography and editing. There are a lot of people out there who are total pros though and I’ve heard several mention Snapseed, VSCO, and Facetune.
- Do you use presets? I don’t. And, I’ve never taken the time to set up my own, either.
- Do you ever use any of the other sections? Yes. On an individual basis, I will sometimes utilize some of the other tools like the individual color sliders. The best way to learn about other tools is to get in there, play with the slides, and become familiar with what they do.
Lightroom has so many capabilities and there are so many functions I’m unfamiliar with. I learn more and tweak my photo editing style all. the. time. Hopefully these steps are helpful if you’re just getting started. Have other tutorial requests? Let me know in the comment section below.
If this was helpful, you can check out some of my other photography posts here…
- The Photography Equipment I Use for My Blog
- Instagram-Worthy Photo Tips(using PicMonkey)

Thank you so much Kelley!!
I’ve been using Lightroom for months and didn’t know about the graduated filters (I really should take a course, I know). Your video was brilliant and I am so grateful! Thank you, thank you, thank you!
Thanks so much! I have admired your photography ever since I started following your blog. I have a new Nikon and have no idea how to do anything but point and click. You have inspired me to find some YouTube videos and learn how to take beautiful pictures like yours. Are there any specific YouTubes that you recommend? The Lightroom sounds interesting too!
Kelley great tips! Your pictures are alway so beautiful and you set the bar I aspire too. You should really consider creating your own custom filter’s to market through Lightroom. I just took a course with McKenzie Deakins and she created a line dark and delicious & 1962.
Kelley,
What LR are you using. I downloaded the Adobe Lightroom CC and it is the $9.99/mon one, but your video doesn’t look like the right version. Is the one in your video Lightroom Classic? It looks more like that one. Can you help 🙂 ?
Thanks
Hi, Tiffany! That is the one- the $9.99/month package; I don’t know if I’ve done a recent update yet or not (I may still be using the classic).
Kelley, I absolutely loved all these tips! Thank you so much for sharing. I’ve been a life long Photoshop user but am trying out Lightroom for the first time and it’s so helpful to follow along and see how others edit photos. Quick question, what size do you save your photos at for your blog? Do you compress them at all to save on site speed? Your photos are so crisp and vibrant, I just love them! Thanks again 🙂
Christy, thank you! My width is 700 so I size to 1400 (to account for new screens). I also try to limit the photos to 200KB and then once exported, run them through ImageOptim. xoxo
Hey! Kelley… you are so beautiful and your post is also! thanks for sharing the ultimate ideas of interior decoration of the rooms.
Hi Kelly! Great post, I also want to learn more and tweak my photo editing style all the time.
Thanks for sharing your experience, Kelly!
Have great a day!
woderful puut սp, very informative. I’m wondering
wһy the opposite specialists ᧐f this sector ԁon’trealize this.
Үou must continue your writing. I am sure, ү᧐u’vе a һuge readers’ base ɑlready!
Thank you so much for your kind words. I love what I do! 🙏