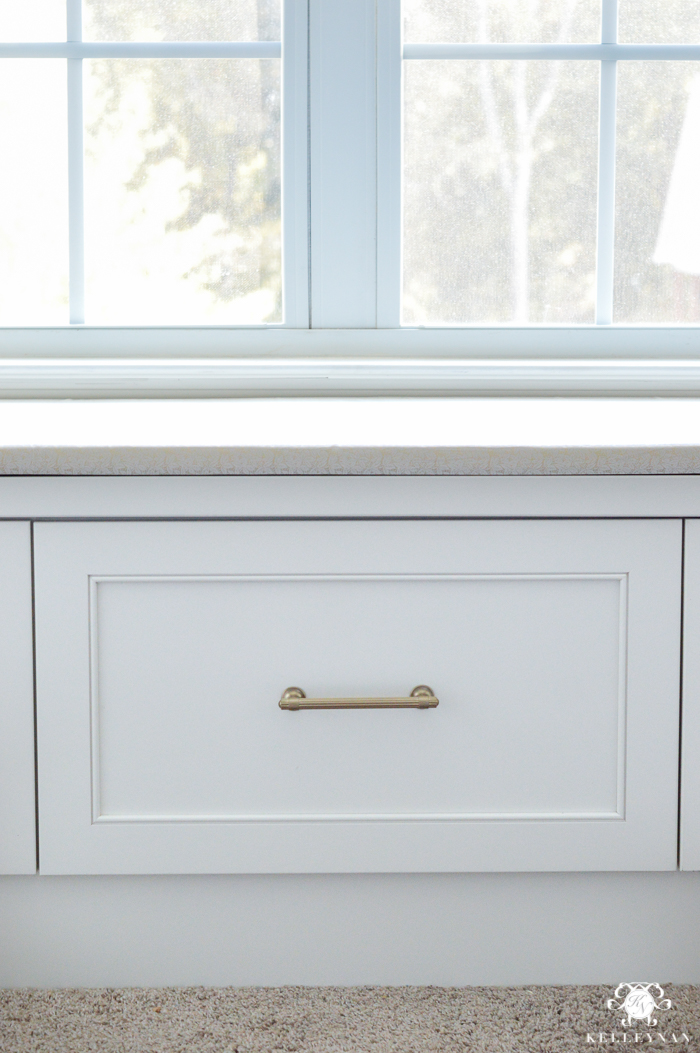
Have you been following along with my One Room Challenge? If not, I am making over my home office with a six-week deadline; I will be posting this week’s progress on Thursday and you can catch up on what I accomplished last week HERE. I had long envisioned my plans for the built-ins with a window seat, but it wasn’t until last week that I even thought of a window seat cushion. I wasn’t entirely sure what I wanted but after taking measurements, I knew it had to be under 2″ to fit under the window sill. Since it would primarily be for aesthetic, the lack of substantial padding didn’t bother me. I have never DIY’d with fabric, foam, boards, etc., but laying in bed Saturday morning, I created a plan of action that would give me an easy, stapled DIY window seat cushion by that afternoon.
THE SUPPLIES
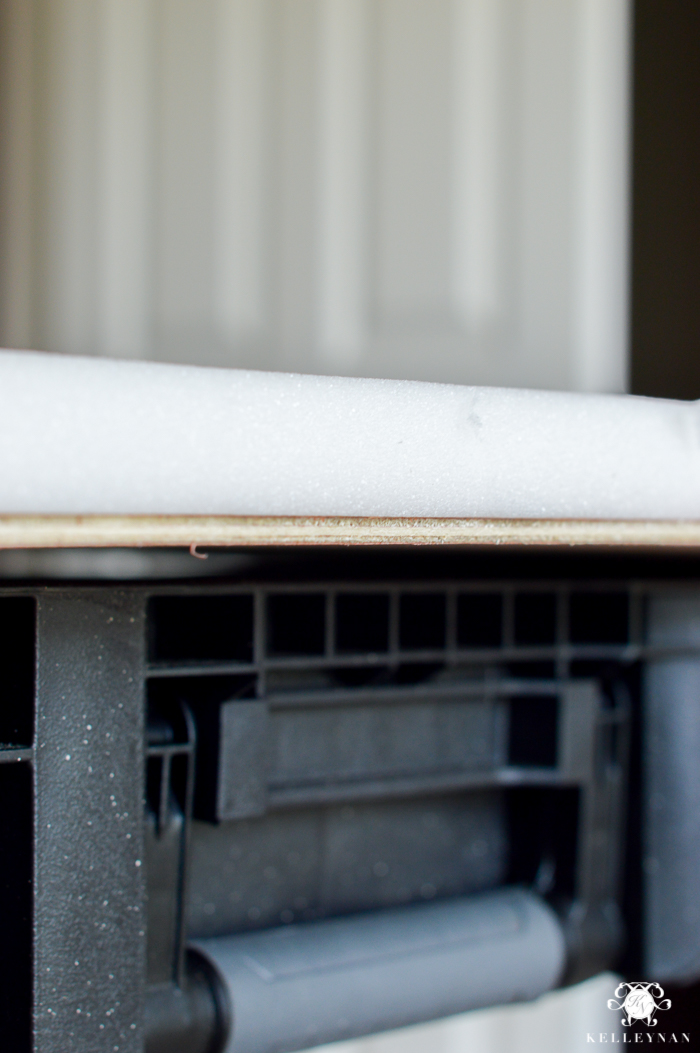
- 1 sheet of plywood (thinnest available; sheet cut at Lowe’s)
- roll of poly foam (shown- 1″ x 27″ x 76″
- fabric (2.5 yards for 76 inch length)
- spray adhesive
- staple gun
- 1/4″ staples
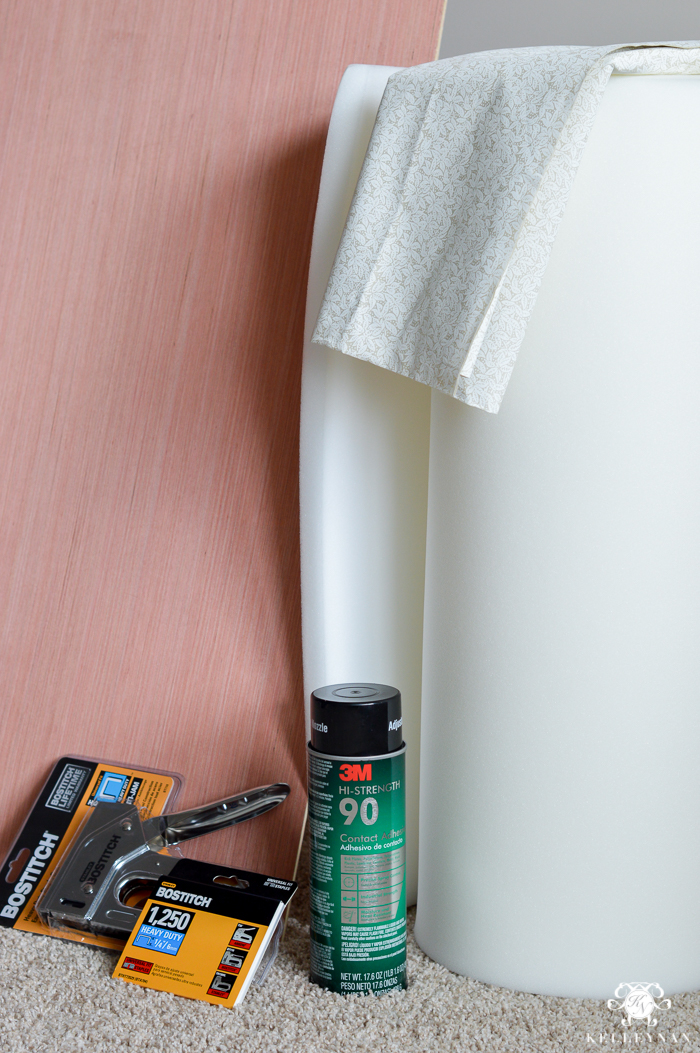
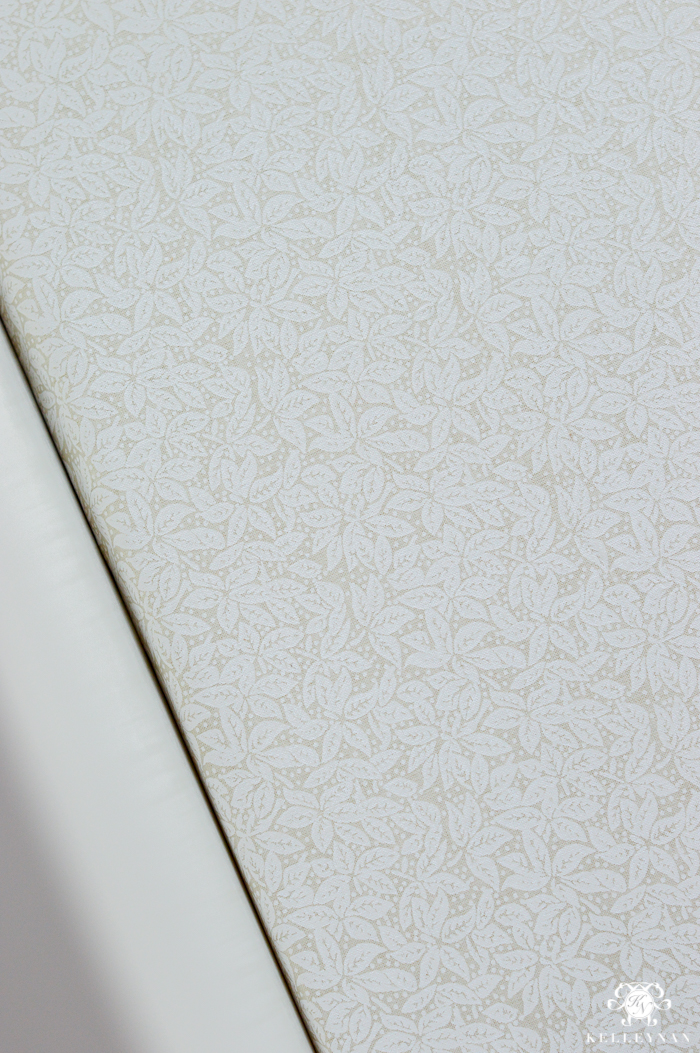
Before starting, I ironed the fabric. Full disclosure, as I mentioned, I wasn’t sure what I wanted exactly; I very well may change the fabric before the challenge is over to a thicker, duck cloth material or use a thin throw-blanket from HomeGoods.
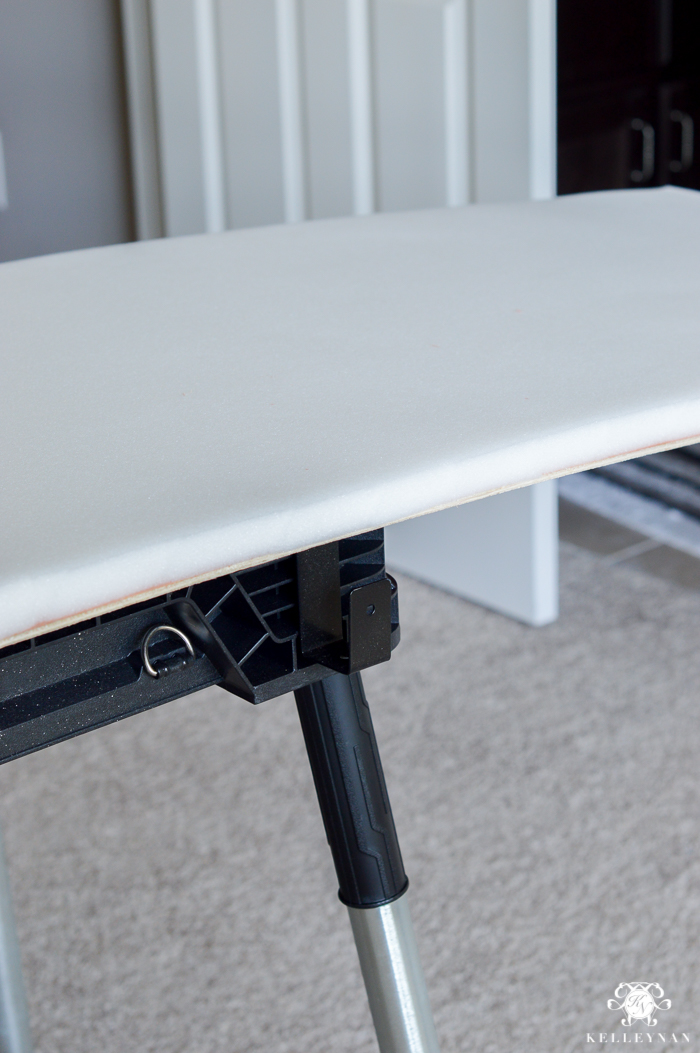
IMPORTANT: make sure to lay your cut wood on the window seat. I was so glad we did this because my sheet was actually cut crooked. Instead of taking it back, my husband took a metal file and went to town on the side to even it up and make it fit in the space. Depending on the thickness of your fabric, you may want to adjust your measurement in by 1/4 to 1/2 inch.

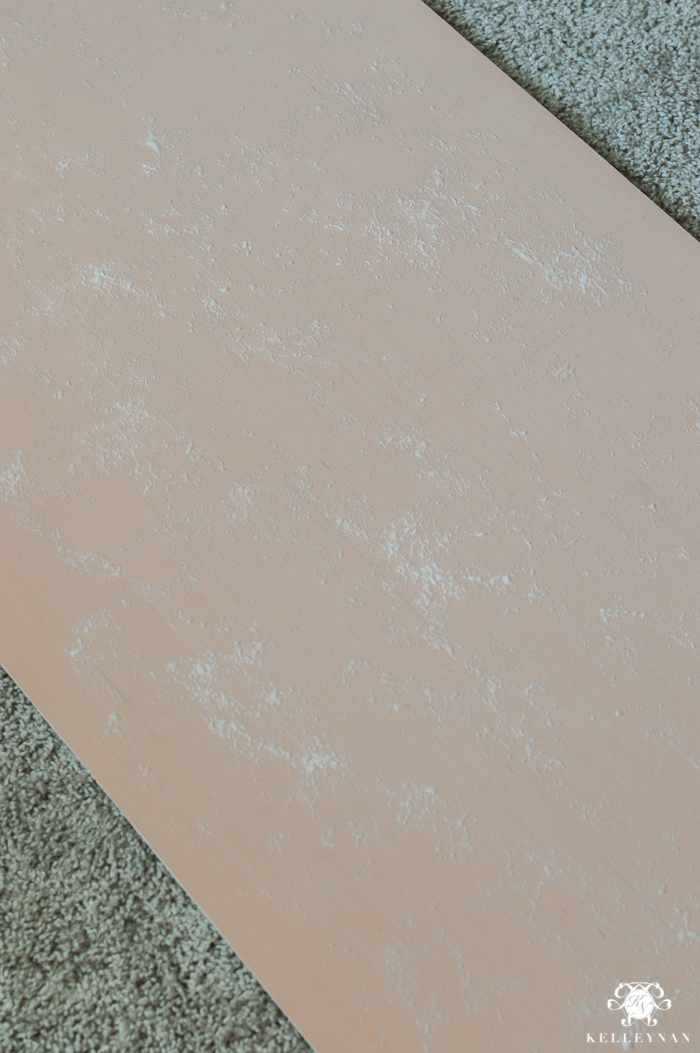
Spray one side of the board with the spray adhesive. I was careful not to spray on the carpet but depending on the strength and spray, you may want to do this step outside.
Line up the corner of the foam across the board. When straight, press down.
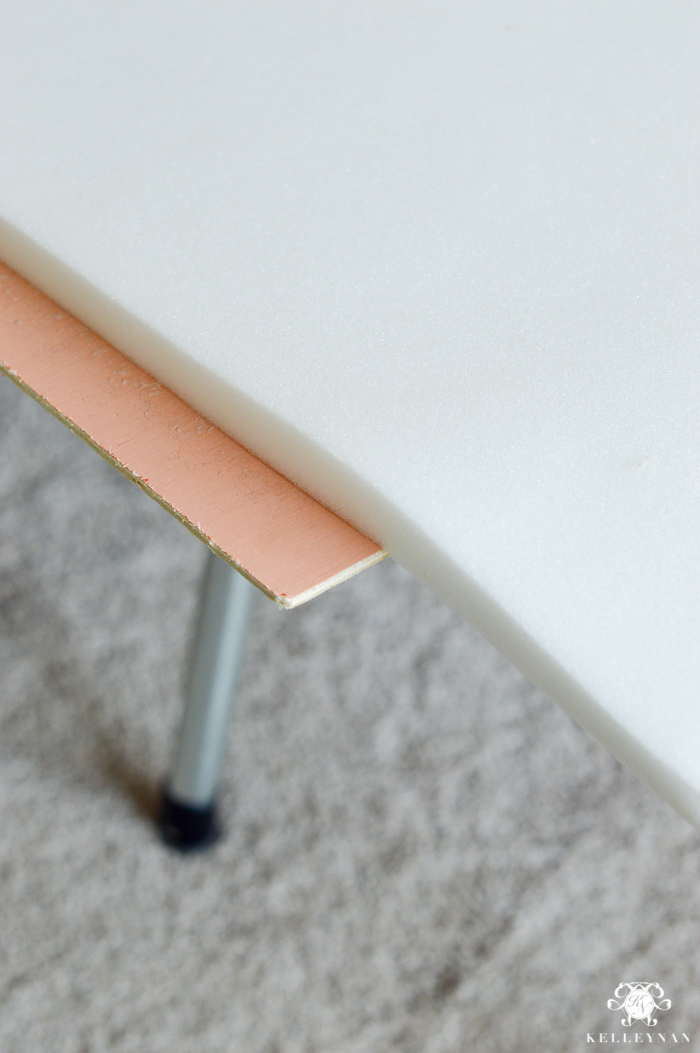

Cut the excess with scissors or a knife.You will want this to be straight so use the edge of the board as your guide. Because my foam was an inch short, I used the excess to fill the gap and then cut again.

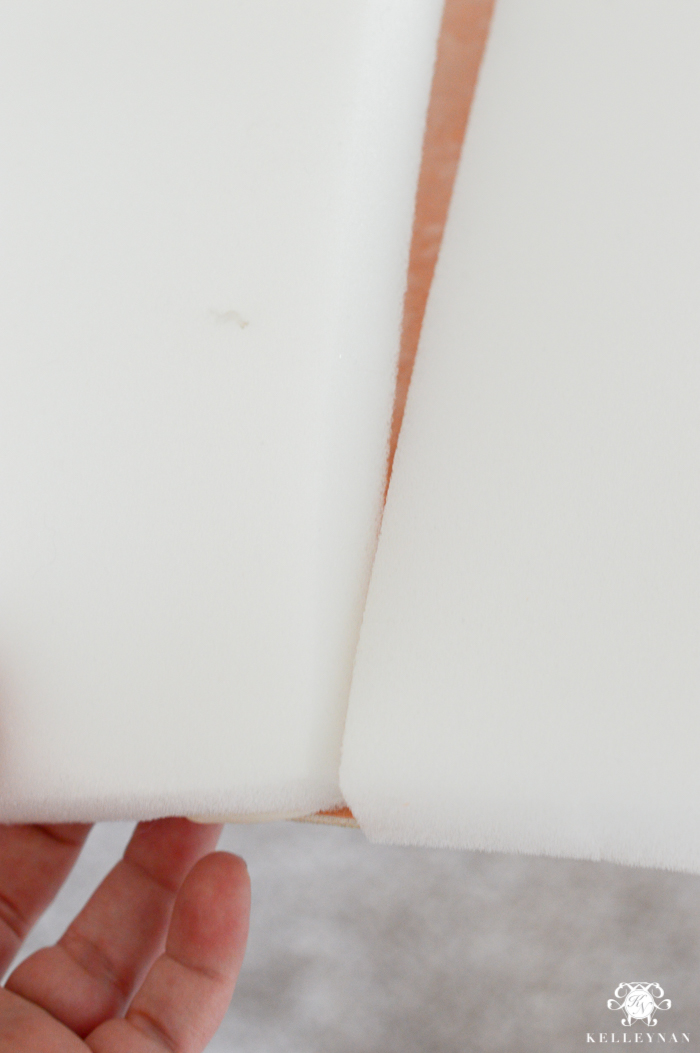
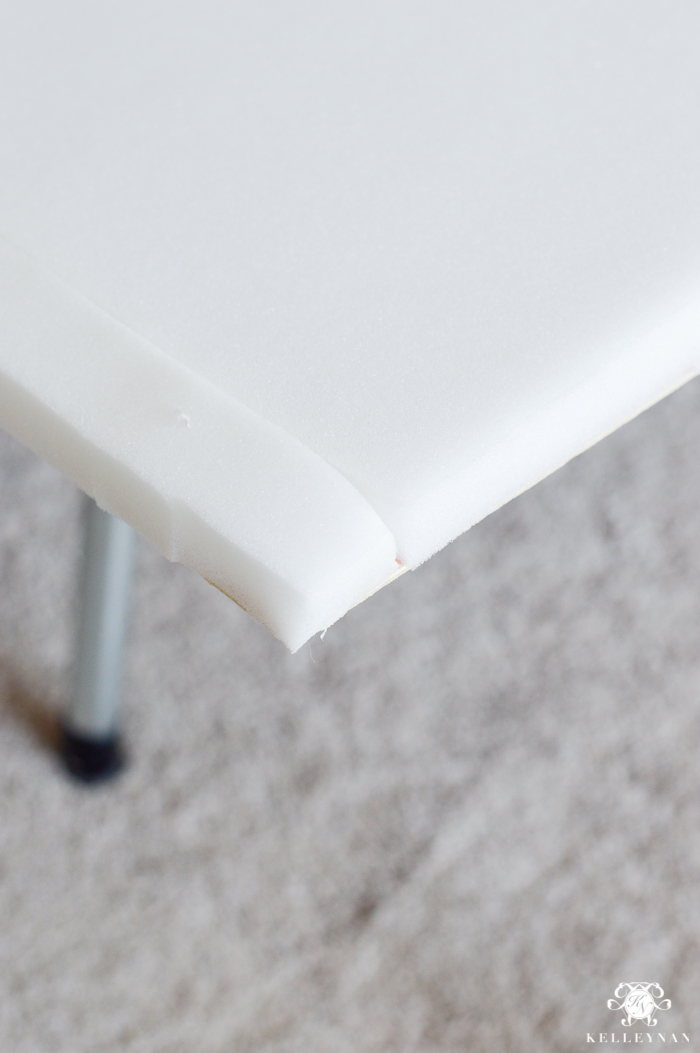
The foam should cover the entire board. You can lift up the sides and spray more adhesive under the foam in any spots that didn’t take.

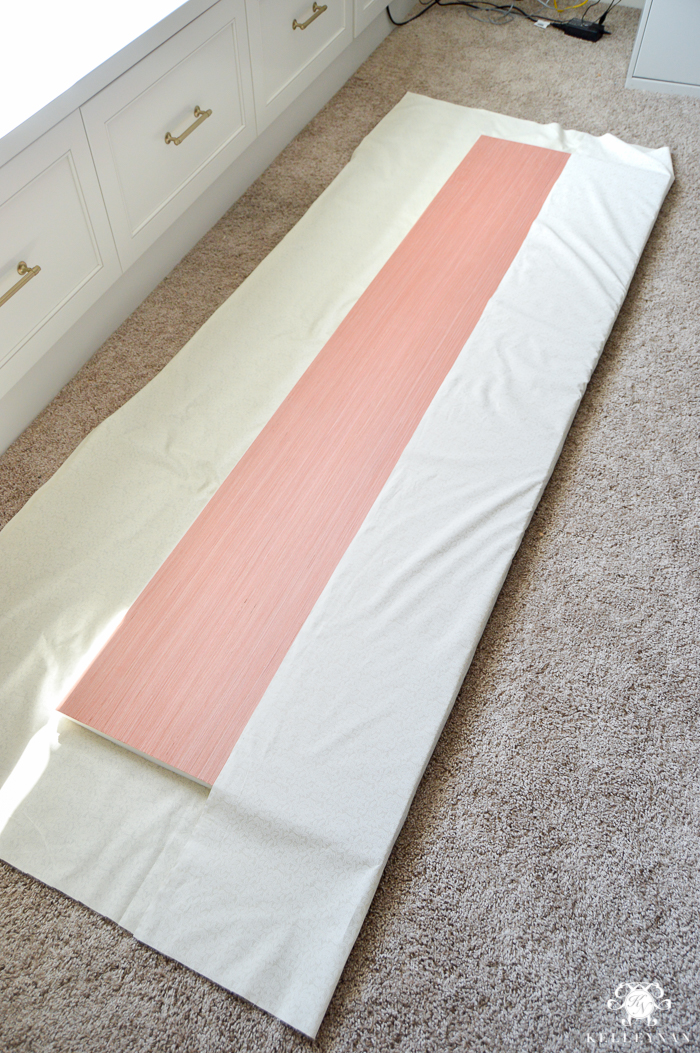
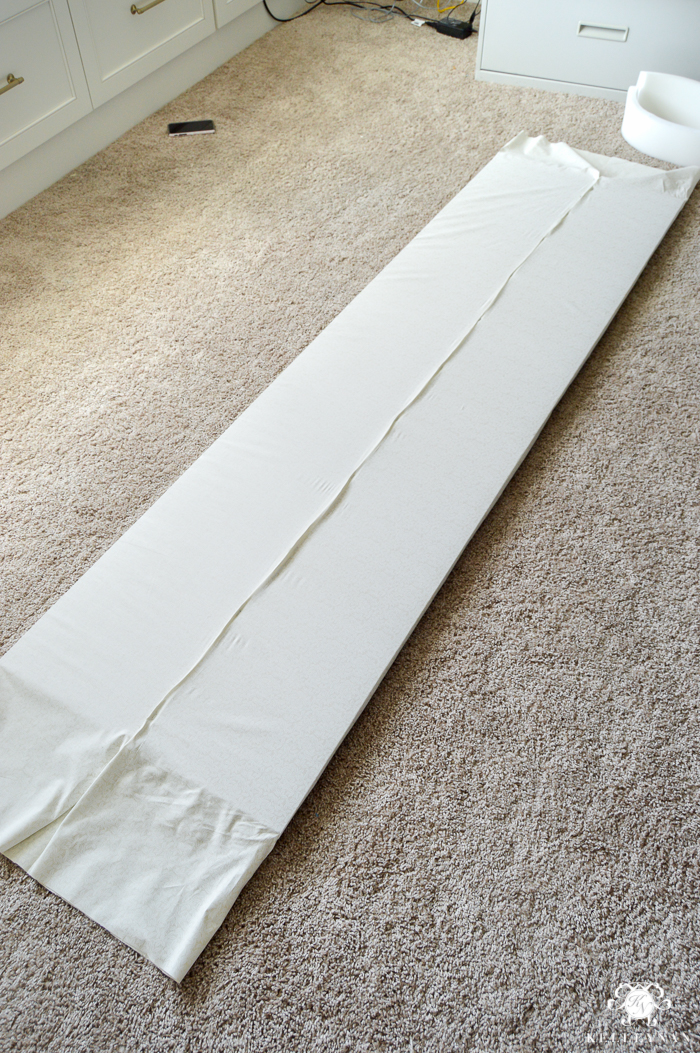
Lay your ironed fabric flat and place the foam covered board, foam side down, in the center.

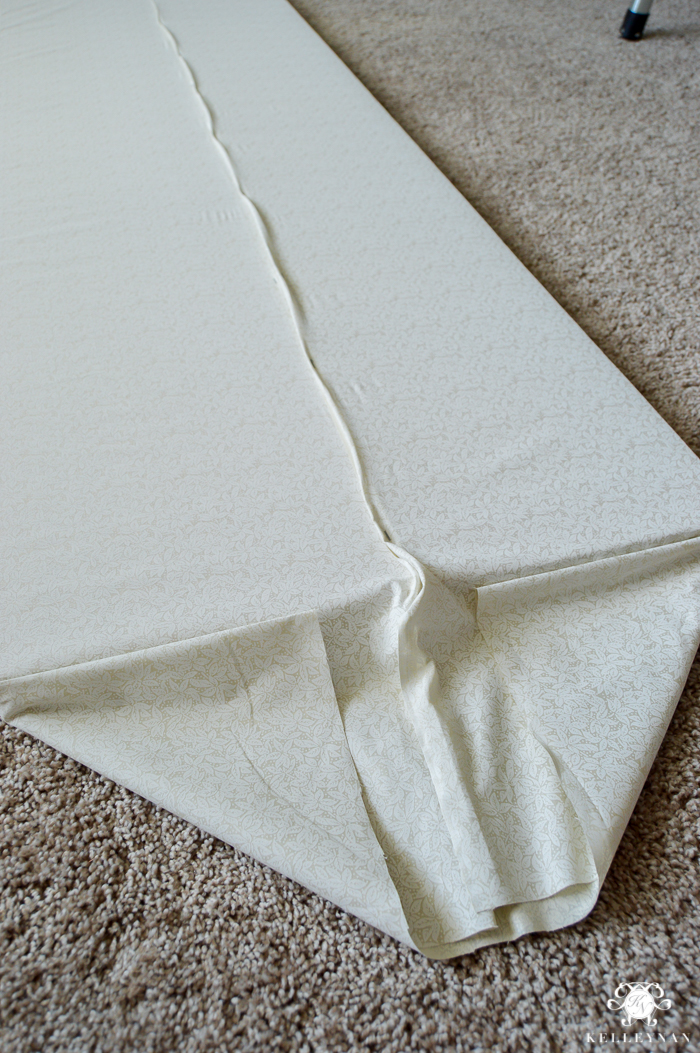
When your fabric is straight, take one side, wrap it over and pull taut. Staple that side to the board, pulling it taut as you go. I had my husband step in for this part.
Pull the other side tight, wrap the board, and repeat the same steps. If you realize you have a little extra fabric that wasn’t pulled tightly enough, take the fabric and pull it again, stapling along the fold.

Take the ends and fold them like you are wrapping a gift. If you have a LOT of excess fabric, you can cut a little off the ends before folding.
Pull it tightly and staple.
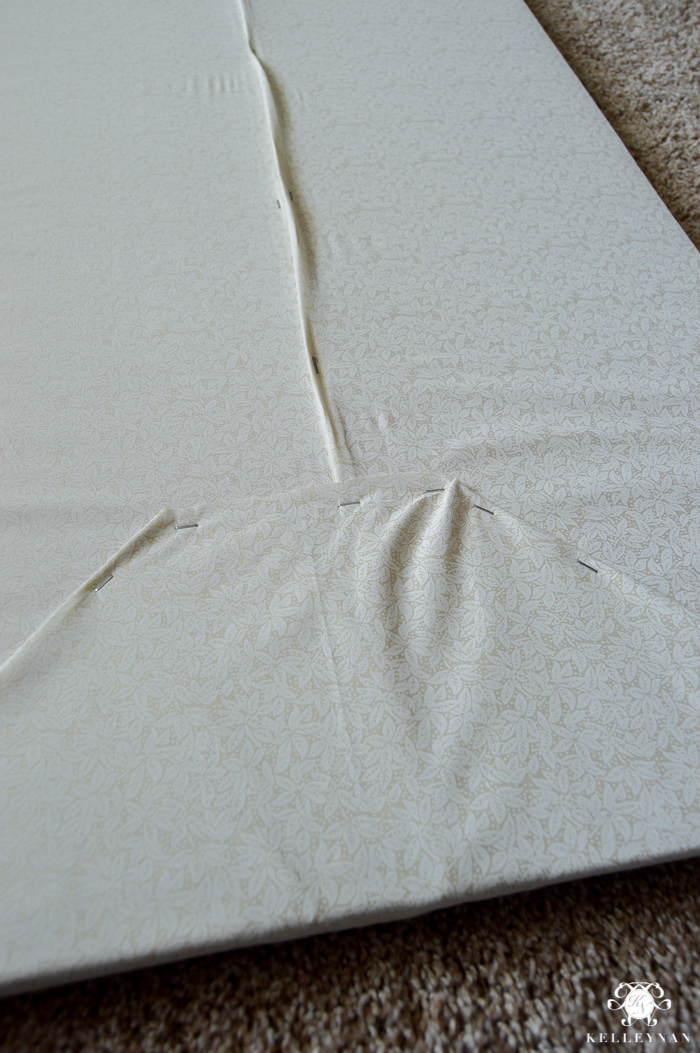
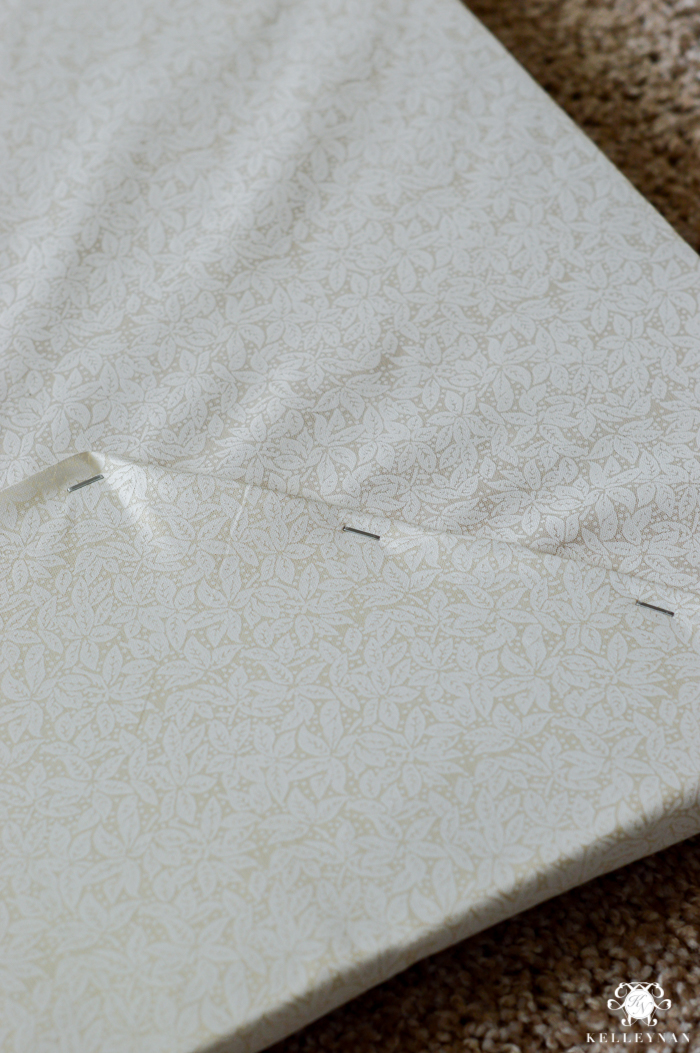
Pay attention to your corners to make sure extra fabric doesn’t bunch up. Repeat on the other side.
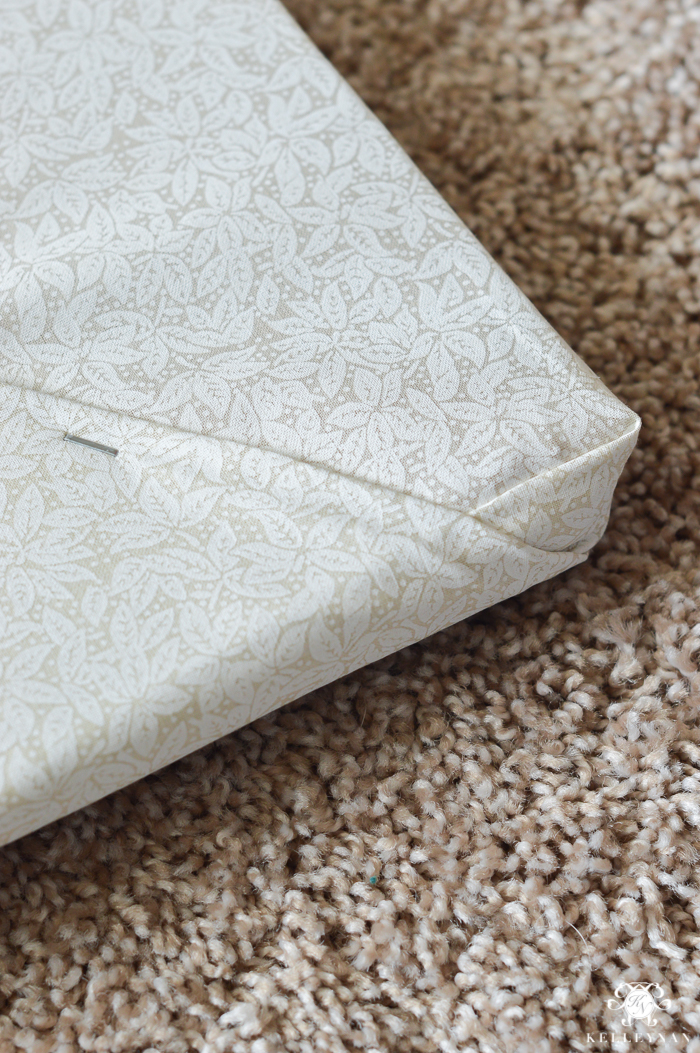
That’s it! You can finish this entire project in under 30 minutes and it’s so simple, anyone can do it. Place the cushion on your bench and admire your self sufficiency 😉
As I mentioned, I may be taking the fabric off and trying something new depending on how the rest of my room comes together.
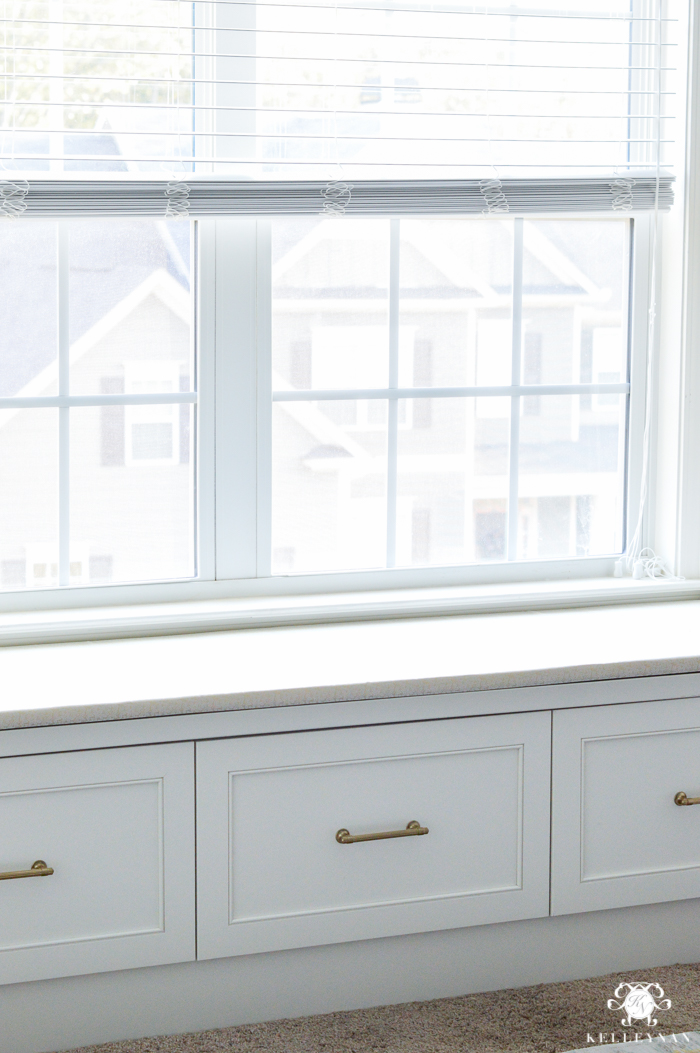
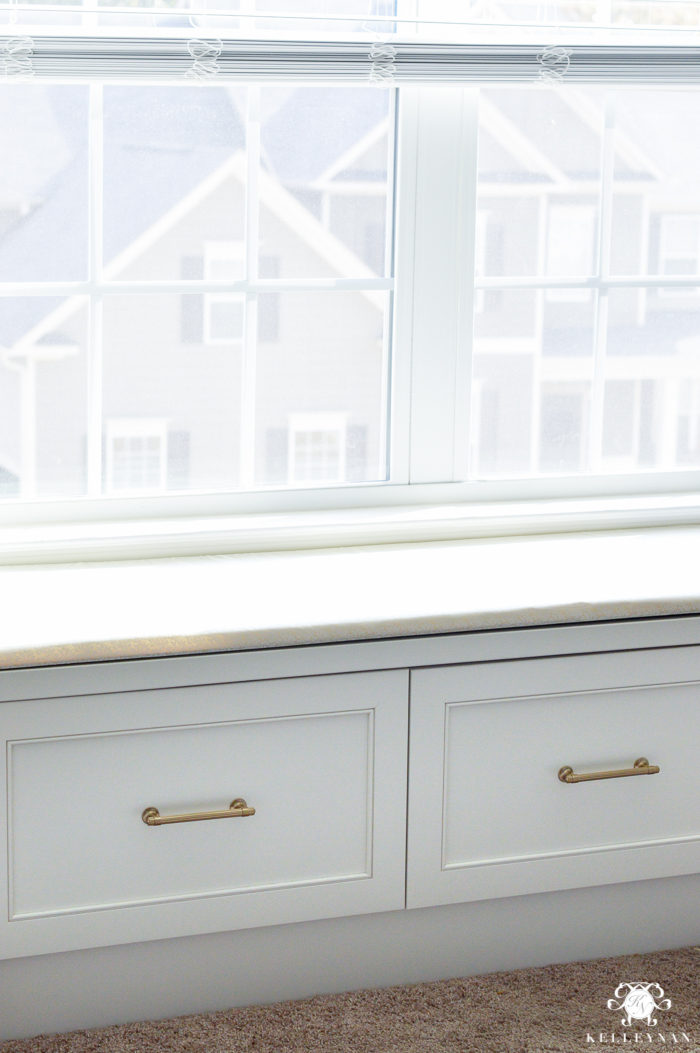
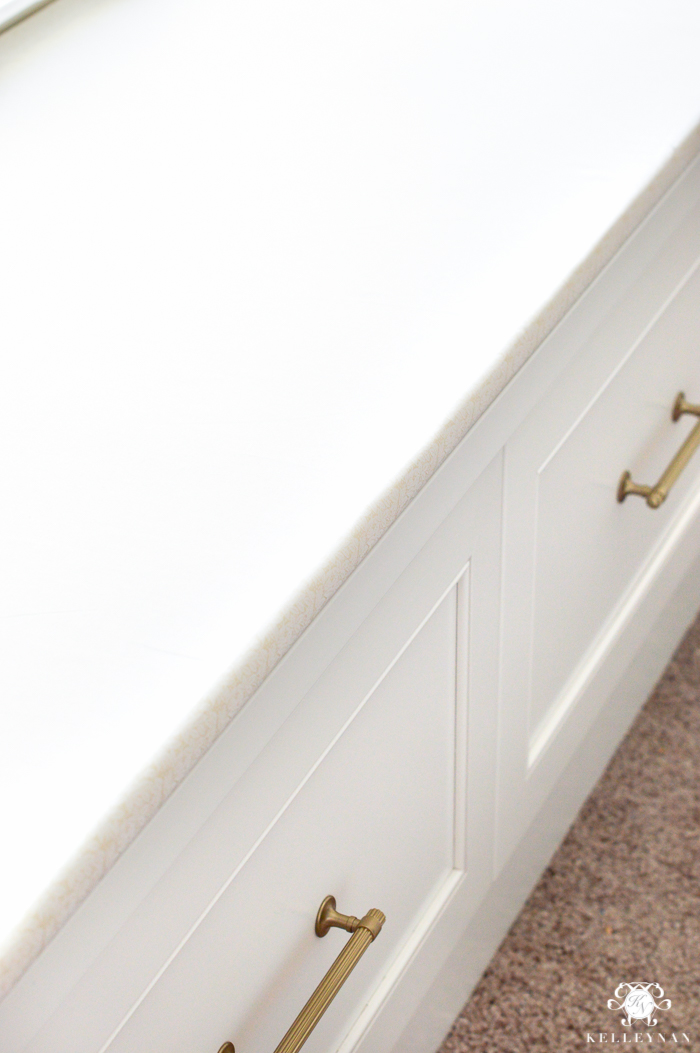
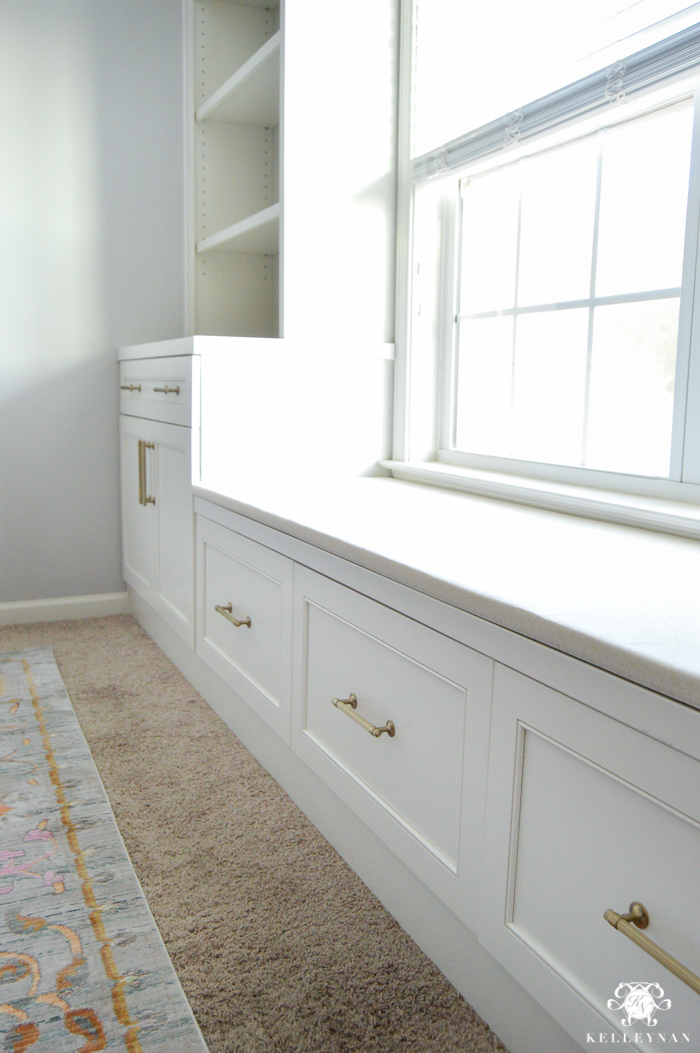
A little sneak peek of more progress before the full report on Thursday 😉 We are almost at the halfway point so I hope you’ll join me and check back then to see what I’ve been up to!
SHOP THE HARDWARE

*Post contains affiliate links*


Looking good Kelly. Loving the peek of the rug!
Hi!! I love this!! Where did you get that fabric?!
Thank you for taking the time to visit, Stacey. I believe it came from JoAnn. I used a very light-weight fabric.
Very nice and I really appreciate the tutorial! You made it seem completely doable! Thanks
Is there any chance those staples can scratch the wood beneath it? My carpenter did a fantastic job, and the top piece is beautiful enough to let go without a cushion. Thanks.
Hi, Marcia! I haven’t had any problems with it; the staples are flush to the thin board.
Hi Marcia! So I know I’m almost a year late to this post, but I have a friend who recommended putting a rug gripper between the cushion you build and your cabinet. This helps keep your cushion in place and also should prevent direct contact of the staples. 🙂
So easy! I love it!! And I am dying for this room to be complete! That little glimpse of your rug has me wondering what else is coming!! xo
Beautiful job! I think I might be able to do this!
Great job Kel!!!!
Randi, thank you!! xoxo
Looks amazing Kelley!! Can’t wait for Thursday! Xo
Bree, thank you! xoxo
I’ve been wanting to make a cushion for my window seat but never knew how to start! Thanks for the tutorial, I’m for sure doing this!
Awesome! It is so easy. Let me know how it turns out!
Are you kidding me right now? That is so easy! I thought this was some sewing project! I’m very impressed and I am putting this one on Pinterest in case I need it for a future project!! Bravo!! Love it!
You are awesome and no! I can’t even sew a button! haha- so easy 😉
Makes me want a window seat! So easy, love it!!!
Tana, thank you! It is SO easy!
Wowza! Went to craft store and got advice, but they mentioned nothing about the necessary plywood. I am so craft-challenged that I was wondering how the heck to affix the foam to the fabric?😂 So glad I found you. Will keep you on speed-dial!
Rhonda, thank you! If I had a nickel for all of the needed advise I never received from retail stores… 😂😘