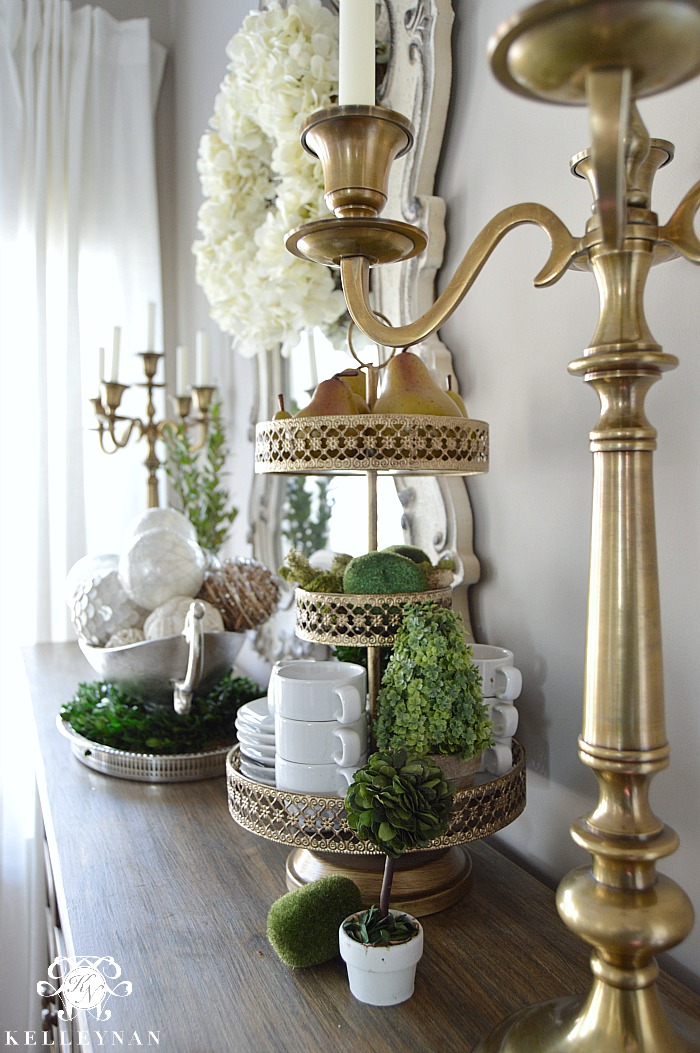
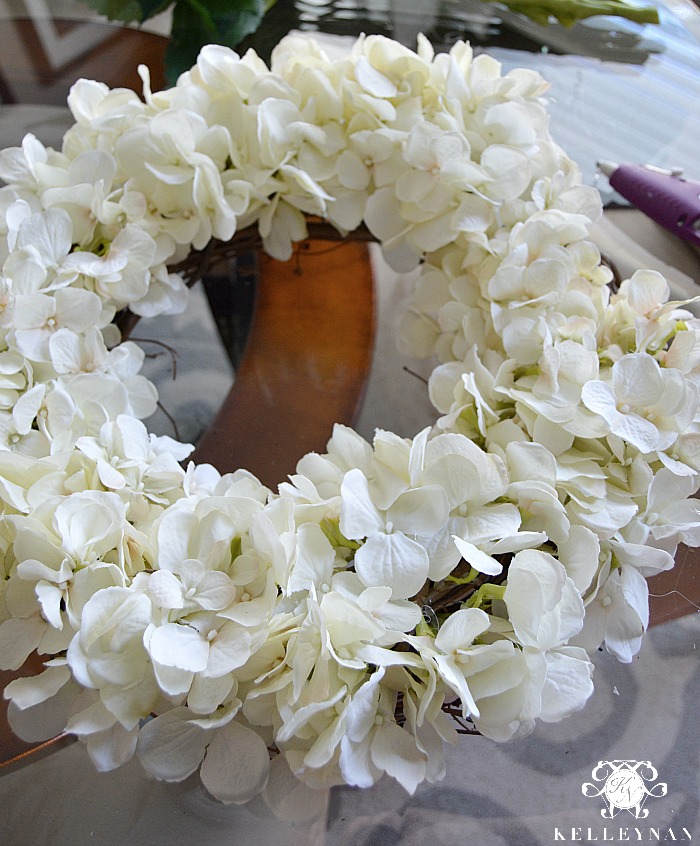
Truth be told, hydrangea wreaths are the only wreaths I have ever made. While they are my favorite flower, they are also super easy to assemble in wreath form and the abundance of petals is super forgiving. No need for perfection here! I hang them both indoor and outdoor throughout most seasons; I even had a silver hydrangea wreath hanging throughout fall. When I received several inquiries on my outdoor limelight wreath, I told myself that the next time I created one, I would capture the easy steps and craft a brief tutorial. In preparation of the onset of spring, I wanted to put on my crafty gloves once again and whip up a white wreath to hang in my breakfast nook. All you need are the following materials to get started.
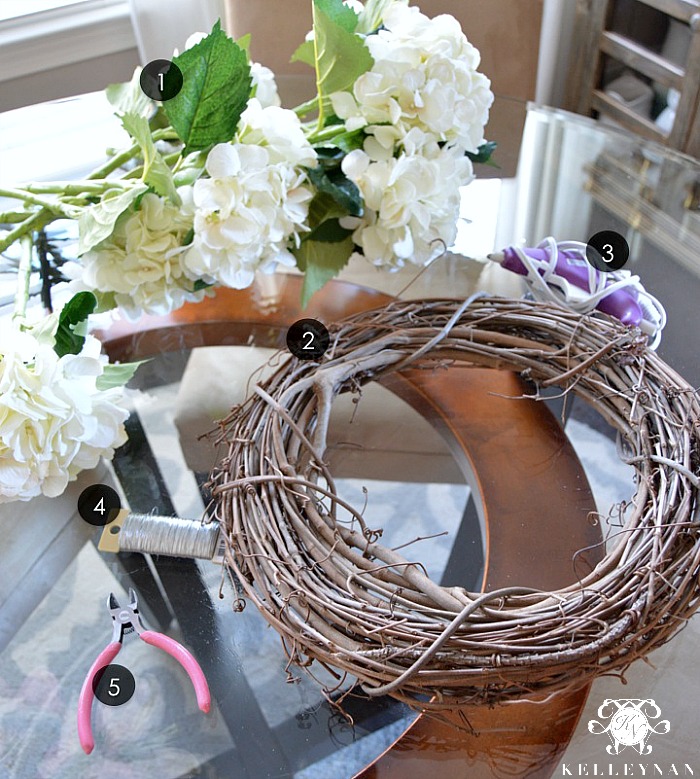
- Faux hydrangea stems (for a medium sized wreath, I selected eight)
- Grapevine wreath
- Hot glue gun
- Thin wire
- Wire cutters

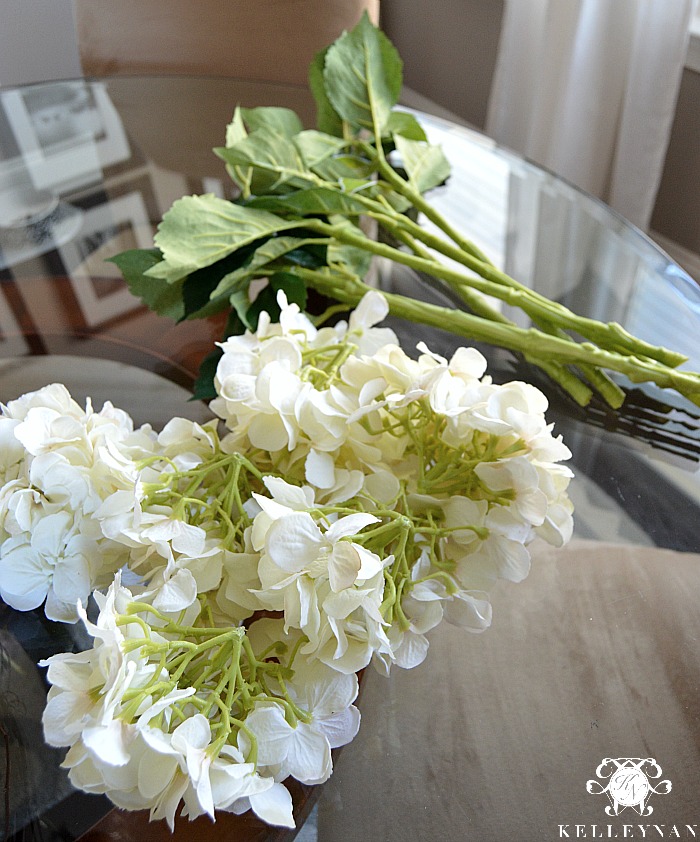
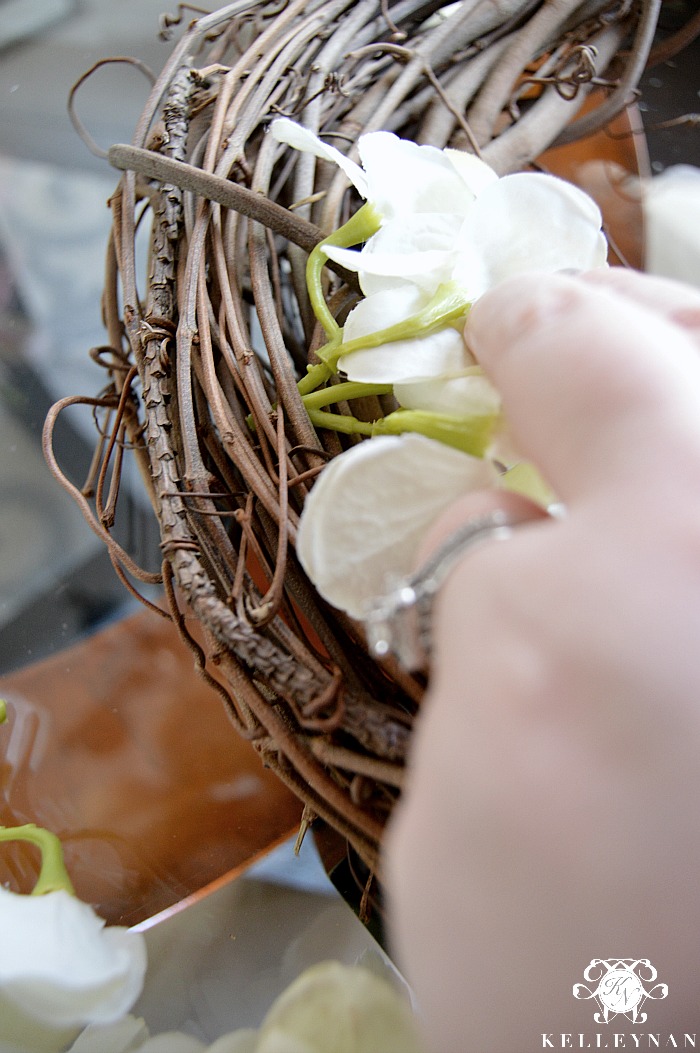
Cut the blooms off of your hydrangea stems. The leaves on these stems were pretty nice so I will be saving them for a potential future project. While I do not, you could also opt to incorporate some leaves into your wreath. I selected eight stems but only started with six; you can keep the others set aside for reserves and evaluate if/how you should use them at the end.

Using the wire cutters, cut each primary sprig of petals from each bloom. While you could use full blooms, using smaller pieces creates a fuller, more custom look.
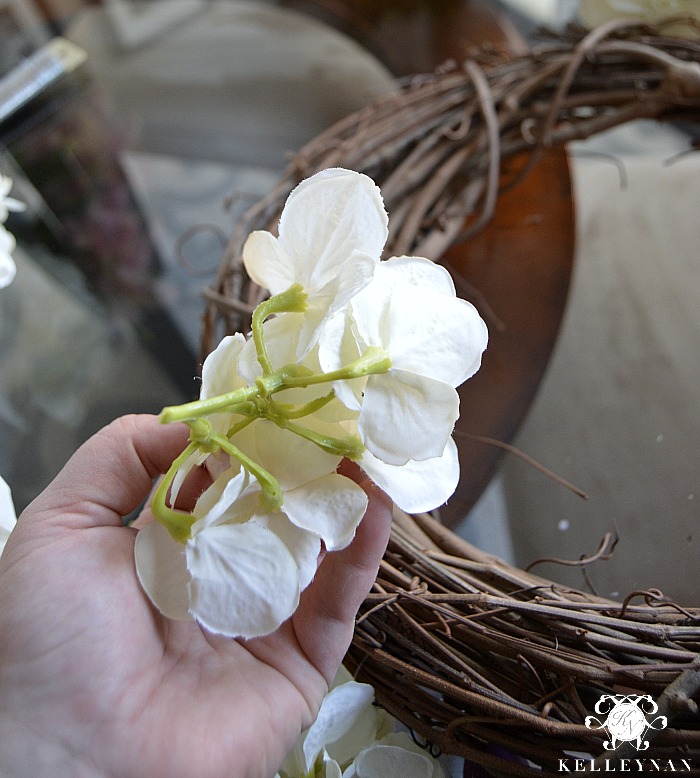

Starting on the top (the center/face as opposed to outside/inside), stick a sprig through the grape vines. Use hot glue to help secure. Don’t spend much time trying to get the glue just right; the vines themselves and wire you use in a bit will help.

Repeat Step Three, concentrating on the “face” and the inner portion of the wreath.
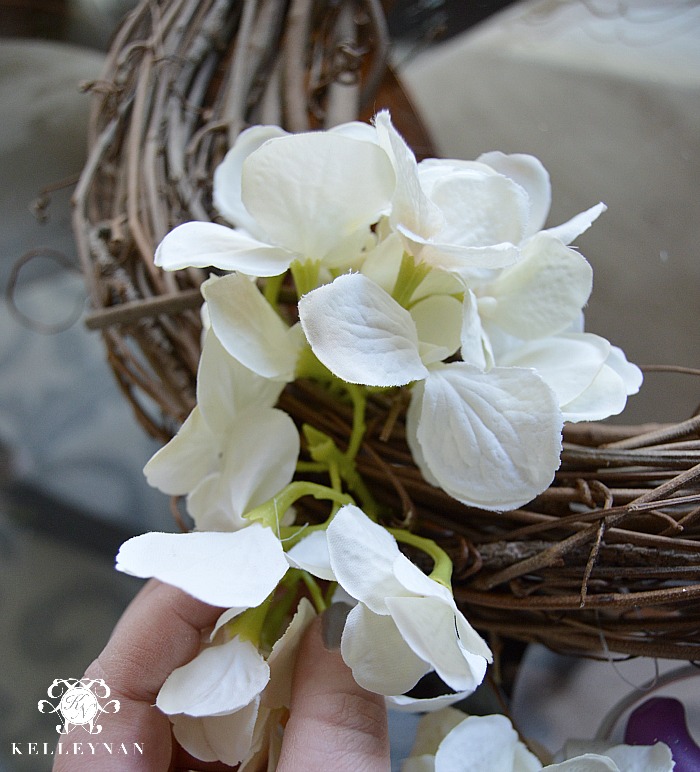
Make sure you place your sprigs close together for full coverage.
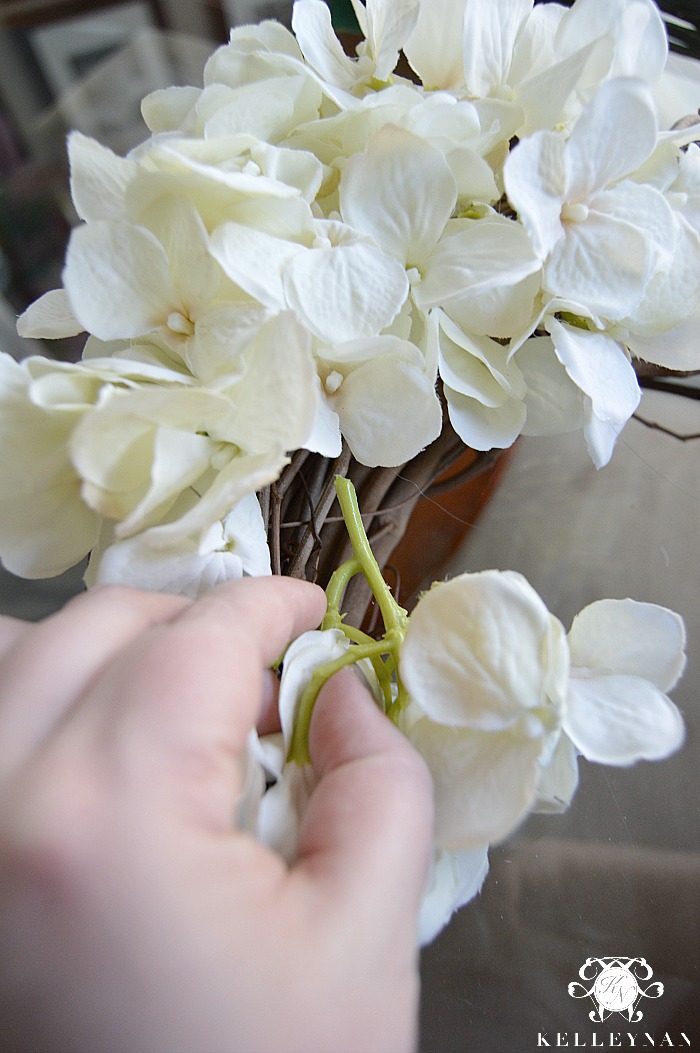

Once you have your blooms placed around your wreath, evaluate the bare spots which may need to be filled in and any uneven sides. Using your stems you had set aside, repeat steps one through four, concentrating on the gaps and the outside of the wreath. Rotate it often as you apply blooms, making sure to even out the weight of the petals.

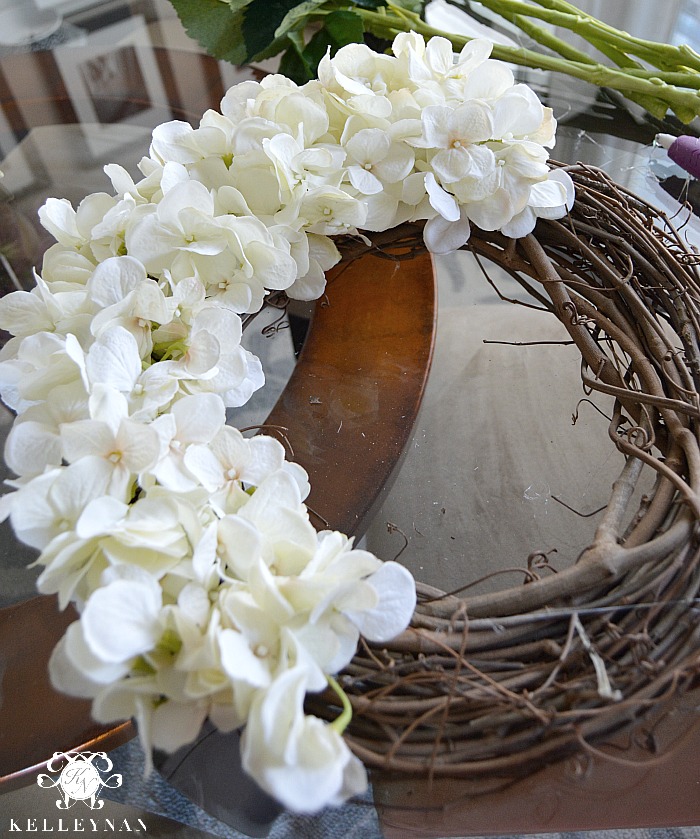
Once your blooms are set, cut a long strand of wire which will serve as reinforcement.
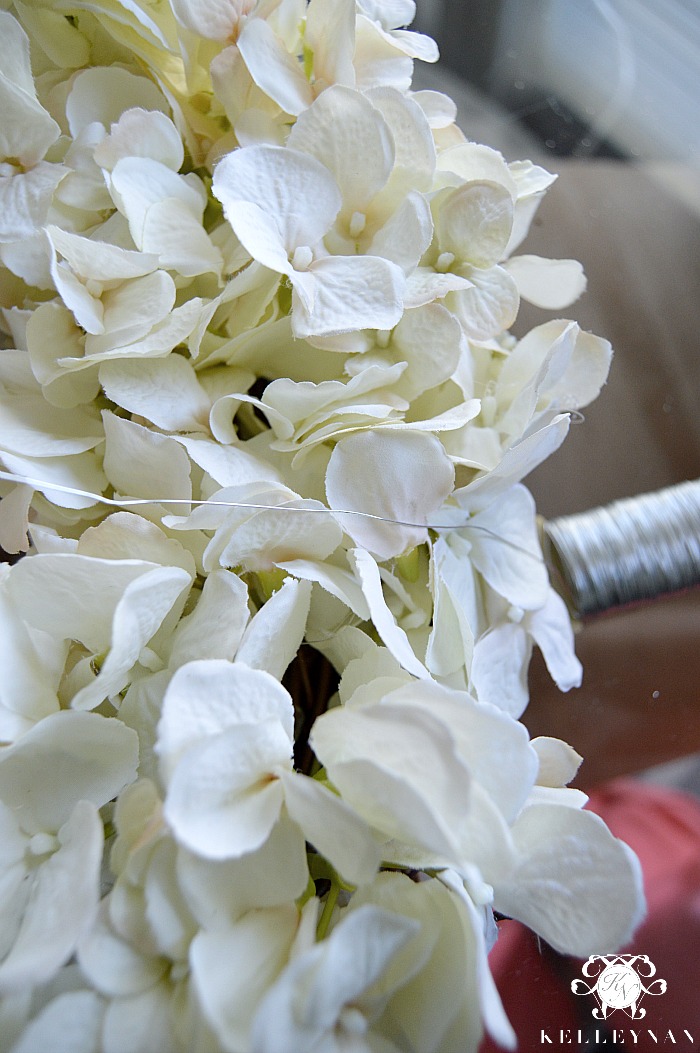
Twist it around itself in the back and then proceed to wrap the wire all the way around the wreath, weaving in and out of petals. You can use multiple strands and loop around as many times as you like. Fluff out any petals that were accidentally pushed down by the wire; no silver should be visible.


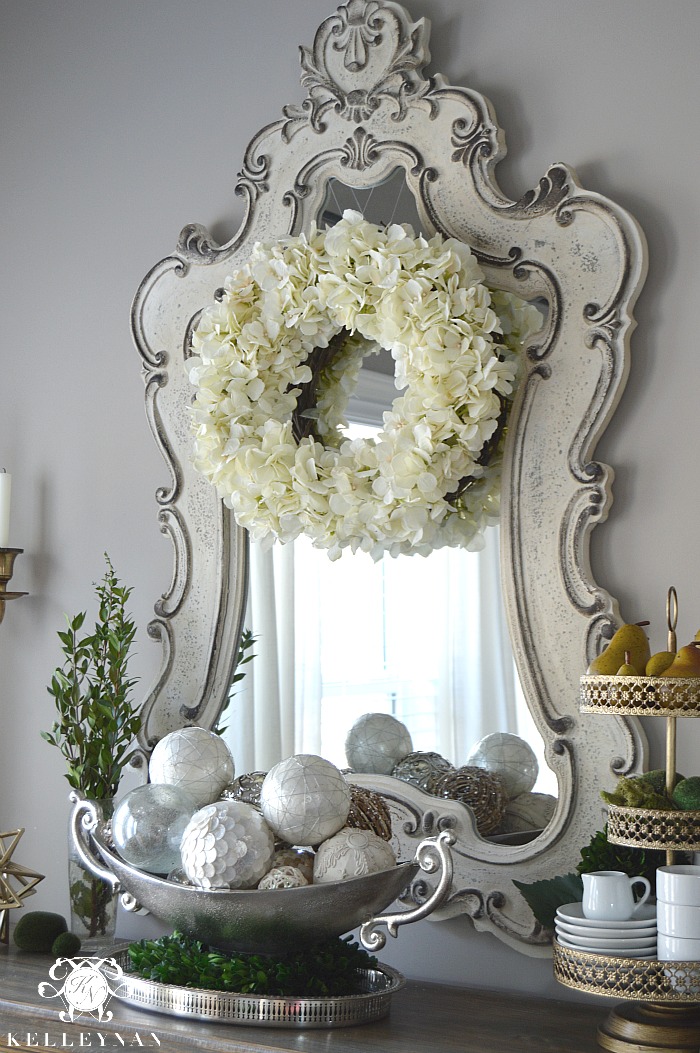
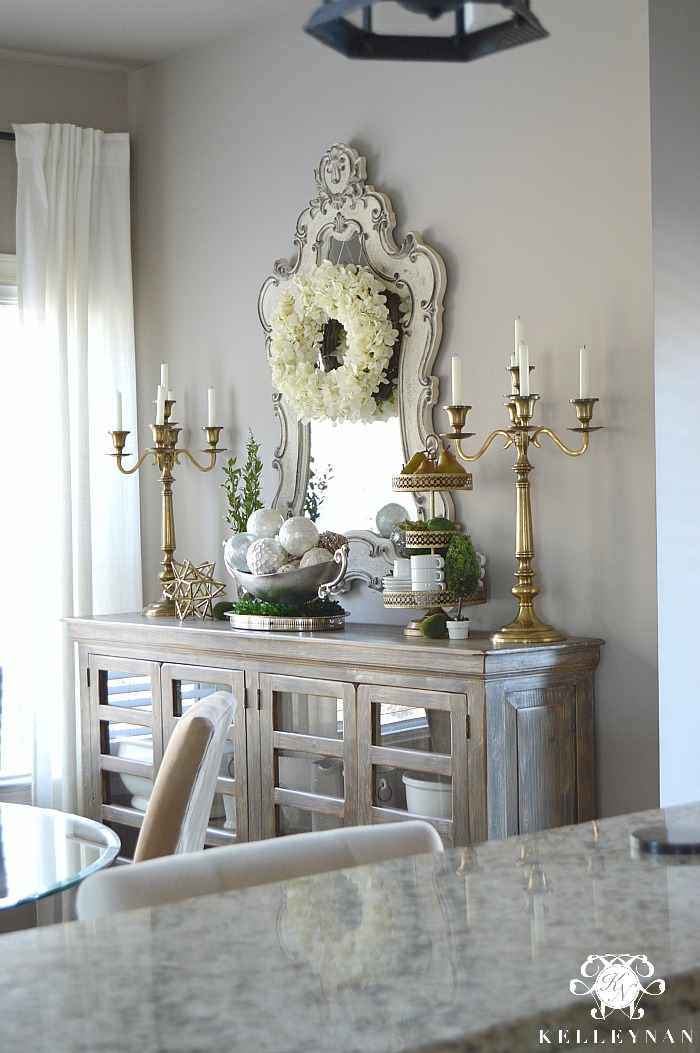
Once your wreath is secure, you can either leave the loose grapevine strands which poke out around the flowers and in the center, or cut them back for a more clean appearance as I did. Lastly, tie on some fishing line (or ribbon depending on where you are hanging your wreath) and position in your chosen location. That’s it!
You can get your supplies at any crafts store (Hobby Lobby, Michaels, etc.) but, know that floral stems are half priced every other week. Be sure to stock up during sale weeks! The total time for this simple DIY was about 30 minutes. the key is to keep the volume even and place blooms close to each other. If you take on this project, I would love to see your creation! You can email me at kelleynan@kelleynan.com.


Thank you for the tutorial! Can’t wait to try one for myself!
Rachelle, thank you for stopping by, and wonderful! Good luck!
I’m going to Hobby Lobby today and try to find all the materials for this project. Thank you so much for posting this! I will definitely send you a pic to show you my final product! I’m going to place it on my front door. Ps. I was so in love with your RH sideboard, I purchased it! It’s arriving in the next few weeks. It was also on sale 🙂
Nikki, you are going to love that sideboard, AND I cannot wait to see your finished wreath! If you are like me, you are going to want to start making them monthly! haha
What is RH? I can’t find this piece of furniture online.
Hi, Kelly! Restoration Hardware
Beautiful wreath, for spring is perfect. Is my new project. ☺
Thank you!! And awesome- if you are like me, you will want to make a new one every other month haha
This is my 1st time on your site & from what I see, I really like your style. I call my style, :Vintage Coastal Glam…a little shabby, blingy & beachy mixing old with new to express the things I love.
Carol, thank you so much for visiting with me! I love an eclectic style, too. I hope you will come back 😉
what brand are the hydrangeas? I saw some at Michael’s but wasn’t overly impressed.
I’m not sure but they were about $8/single stem I believe? I always have to look to make sure the petals aren’t fraying/look too cloth-like. Try Hobby Lobby, too!