Snow covered Christmas trees are all the rage right now (actually, haven’t they always been?!) but if you are looking to bring in your own snow-flocked tree for the holidays, and on a budget, good news! You can easily flock your own using a standard tree you already have. Even better, even if the needles aren’t what you may see in the highest quality trees, cover them in fake snow and no one would ever know the difference. Below is a step by step tutorial on how to flock a Christmas tree and it’s so easy, you may become addicted 😉
*Post may contain affiliate links. For full disclosure, click HERE.*
How to Flock a Christmas Tree
Since we are hosting Thanksgiving dinner at our home, we will not be transitioning to Christmas decor until next weekend. But, I am trying to start preparing what I can now. As ecstatic as I am to decorate our new home, I am a little intimidated. It is a much larger area and the oranges, browns, and reds I decorated with in the past just aren’t going to make the cut this year. The space for our Christmas tree in our old home was also narrow and we had a much lower ceiling. My husband was the first to mention a new, taller Christmas tree and it didn’t take much convincing before I was even more determined that we had to get a new one and we had to get a new one THIS YEAR. We are repurposing our previous tree which will be shared on my upcoming Christmas Home Tour (update: see the latest Christmas Home Tour HERE), but I wanted to do something different without having to fully decorate it. I decided I wanted it to look snowy and more natural. Enter: Operation Christmas Tree Flocking. I ordered ordered my flocking powder (HERE), and finally, set to work earlier today. I am most definitely not a DIY-er so this is as pretty advanced as I get. But, it was SO simple! Below are the steps I took.
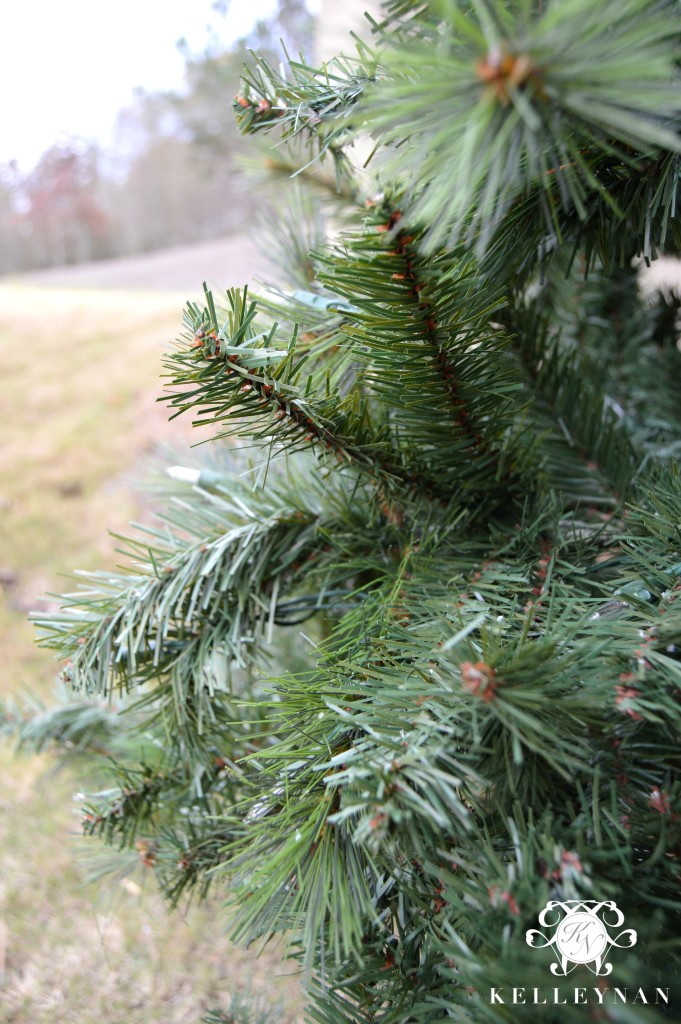
I pulled my old Christmas tree out of the box, assembled its three pieces, unwrapped the gold ribbon left over from two Christmases ago, and took about 15 minutes fluffing the branches. Note: This is a narrow 7.5ft. tree.
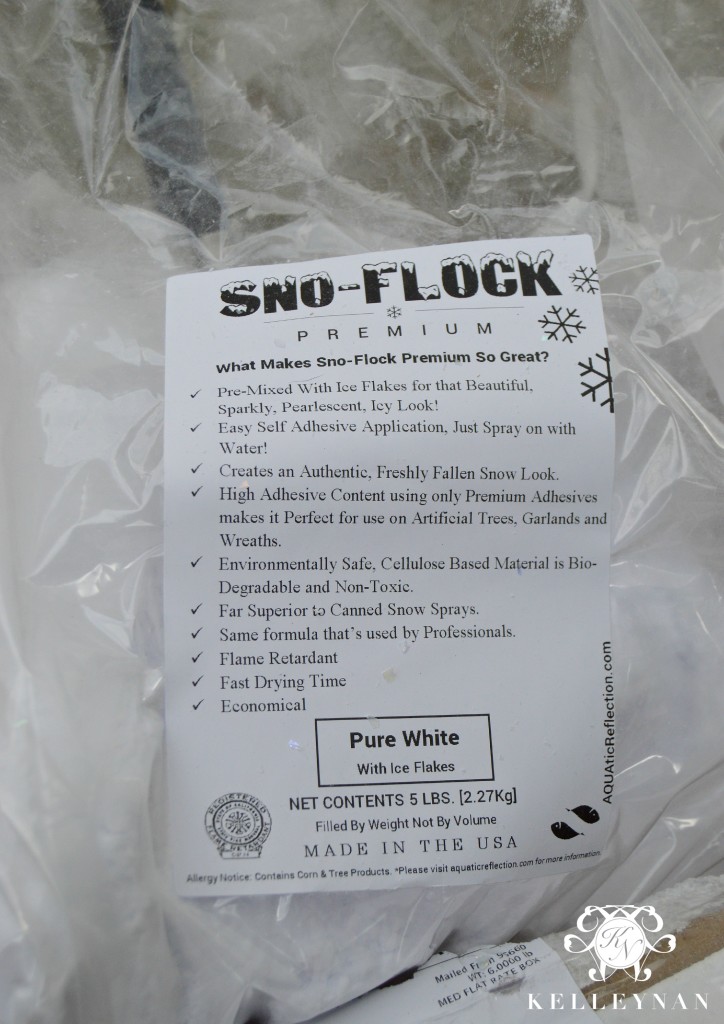
I ordered five pounds of flock off of Amazon for $39.95. The exact brand can be found HERE.
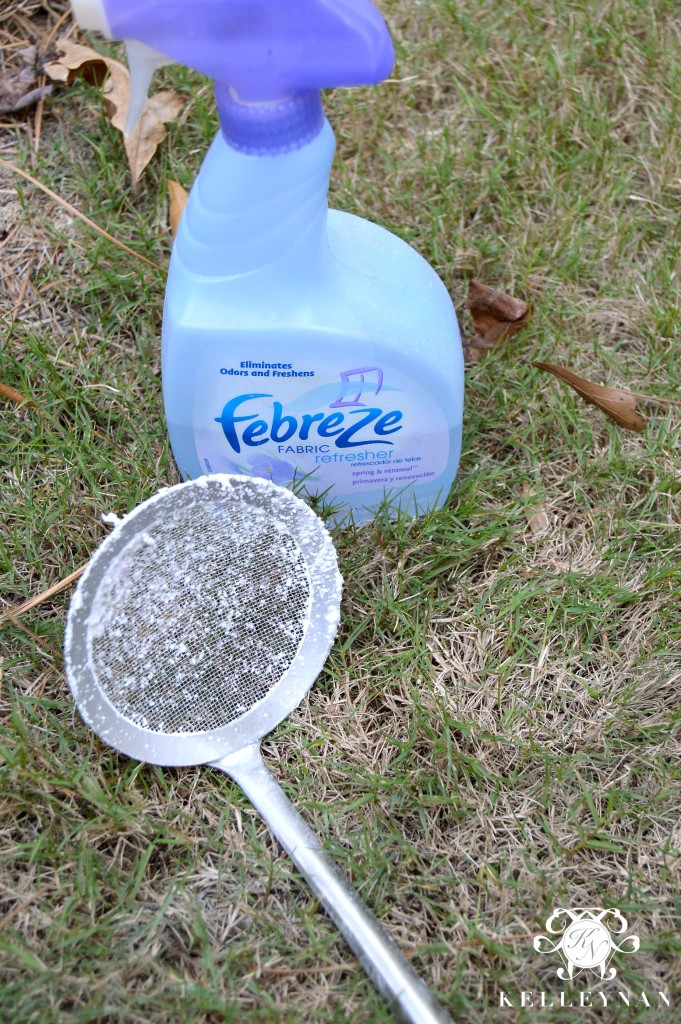
The only other needed items are something to use to sift the powder (this handheld deep-fry skimmer is from IKEA but you can find a similar one HERE) and a water bottle to mist the branches. Believe it or not, I actually did not have a spray bottle; I instead scavenged underneath my sink for the closest-to-empty bottle (which happened to be Febreeze) and went around the house spraying pillows and upholstery until it was empty. Kind of ridiculous but I still believe in “waste not, want not” haha
I would absolutely recommend flocking outside. The powder doesn’t just fall down, it flies out.
Start off by spraying the branches. I worked in a few sections at a time starting at the top. As the flock falls a little, it will land on branches below taking care of itself a bit. One thing to note is that I by no means claim to be a professional. Actually, I am pretty lazy when it comes to projects, always looking for ways to cut corners. I am not patient and I like to see immediate results. So, as I describe the process, please keep in mind that this is simply how I successfully flocked my tree.
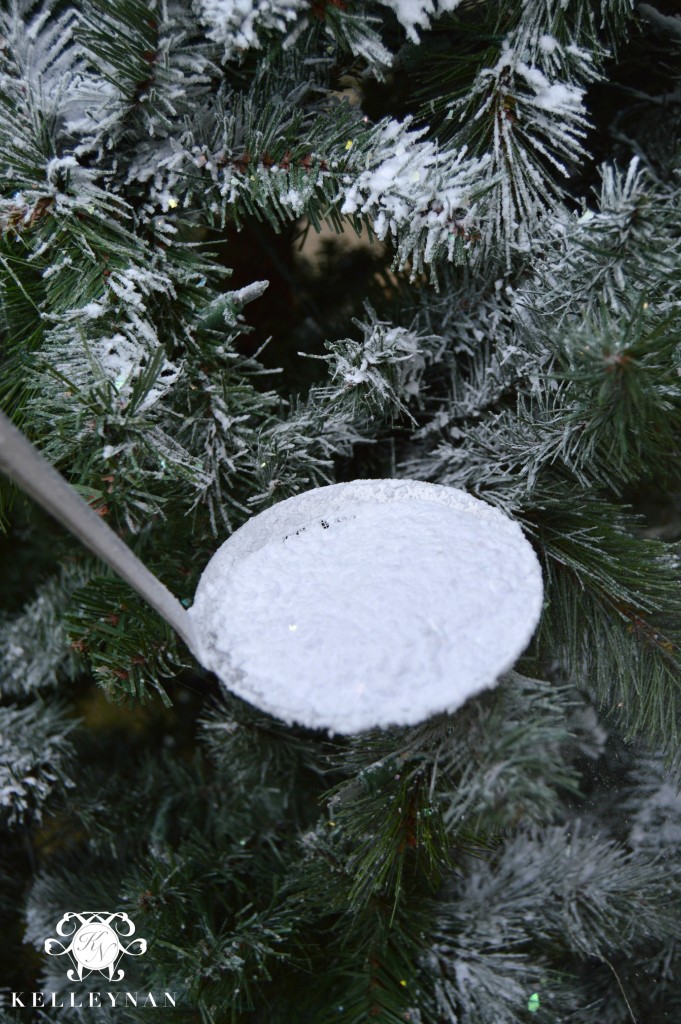
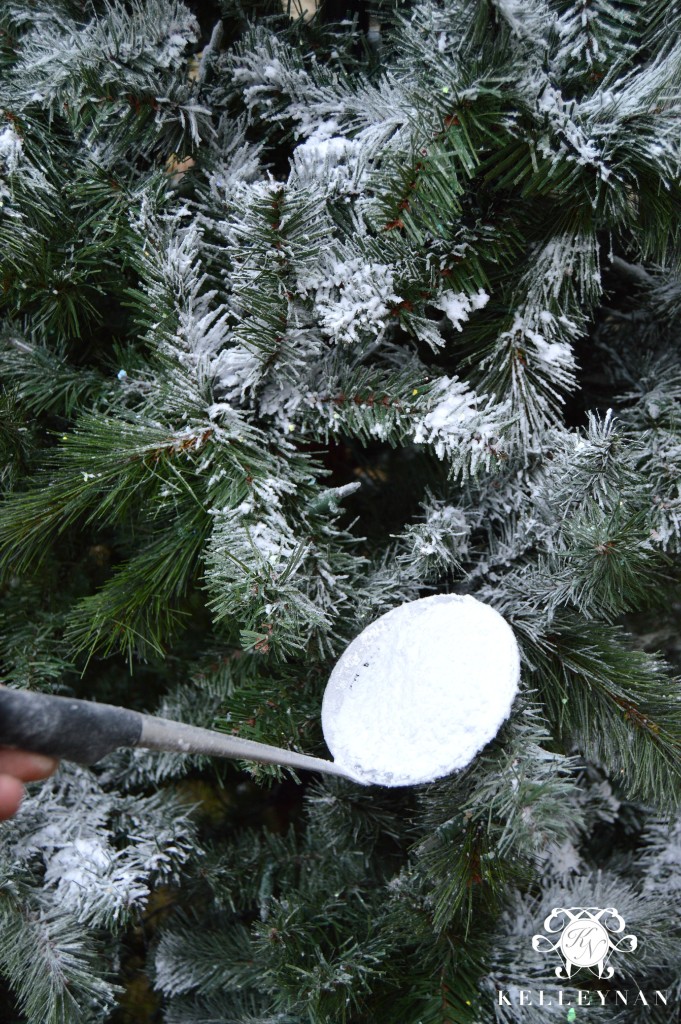
I like the handheld sifting tool because you can dip it directly in the bag.
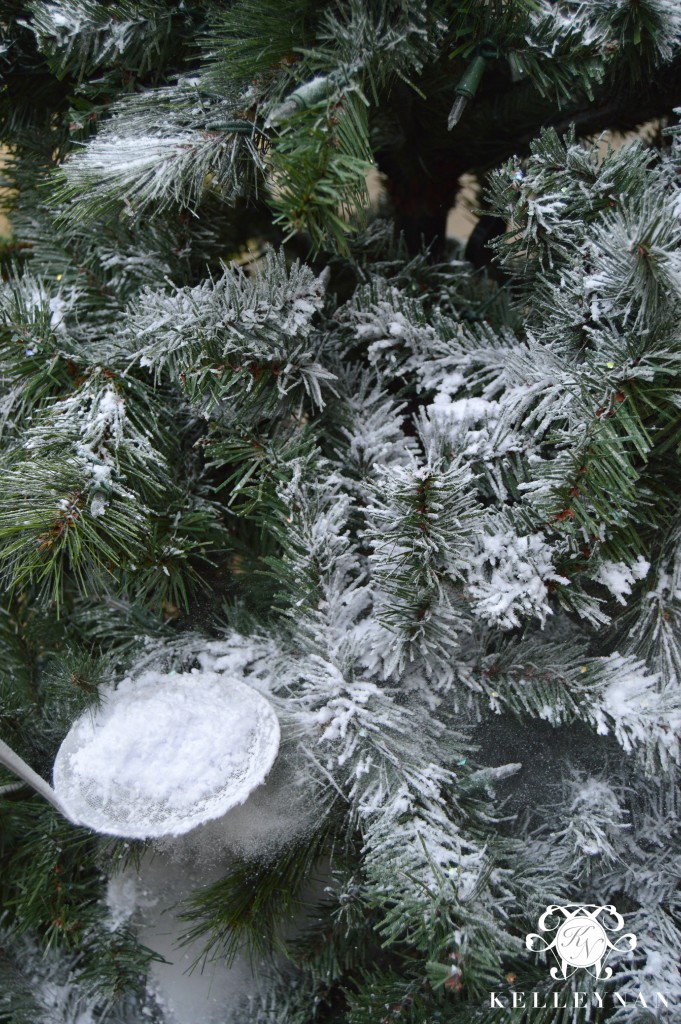
Once the branches have been sprayed, start sifting in a back and forth motion. This is where I get a little lazy; instead of carefully sifting through the bottom, I ended up slinging it off the sides also. Since I was going for a little bit of a “snow build up” look, this worked for me.
Repeat the spraying of sections and sifting from the top of the tree to the bottom. When I sprayed, I didn’t mind spraying over the powder. Since the powder adheres to the tree when it comes in contact with the water, I thought maybe a light spray on top would make it stick even more. The verdict’s still out on that one haha.
Once you finish, you can re-spray any areas that you want more heavily flocked and apply additional powder using the same method.
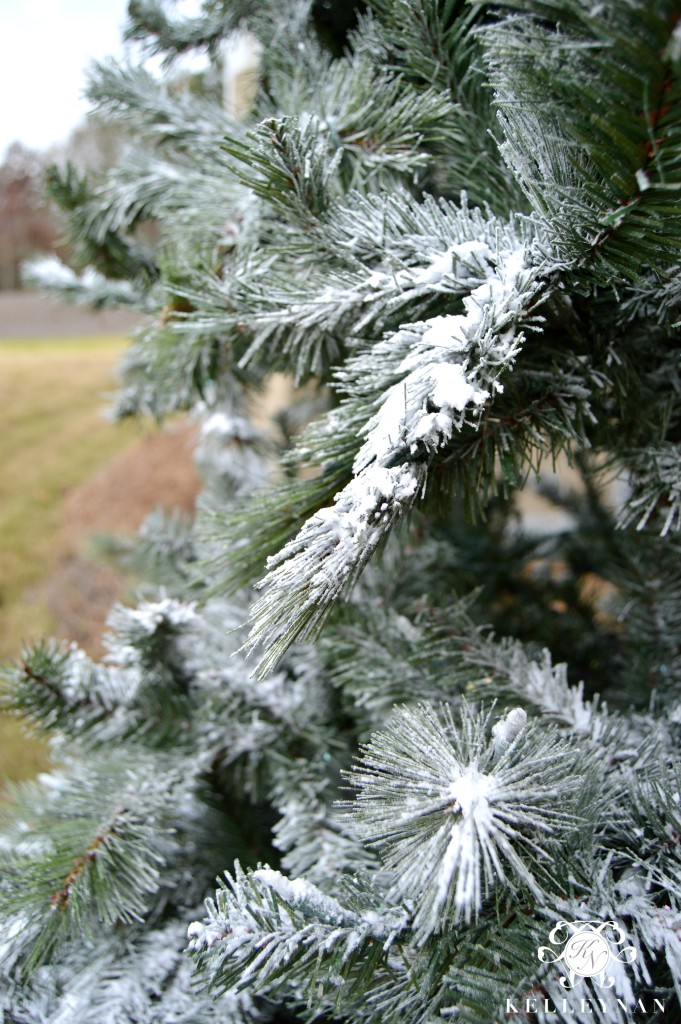
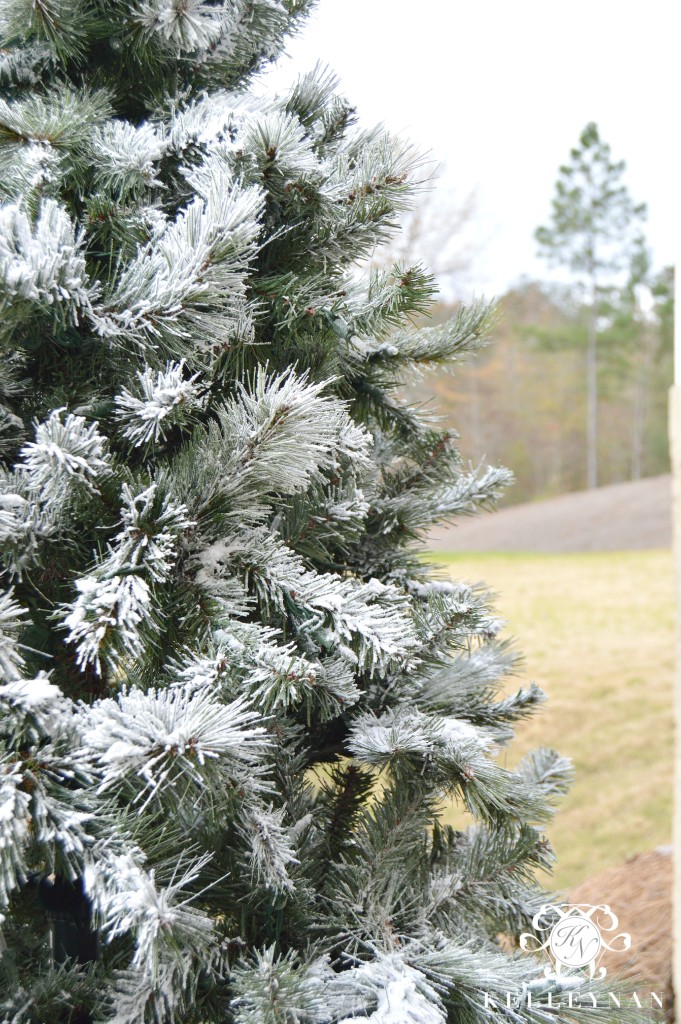
I didn’t want an all-white tree, but you can apply as light or heavily as you like. Some needles only glisten while some have full mounds of “snow”.
This flock in particular dries pretty quickly, but we carefully moved it into the basement to finish setting. Before we bring it upstairs next week, we will shake off a little bit of the loose powder. I will provide an update when my Christmas Tour goes live.
I also flocked a HUGE wreath, which takes substantially less time than the tree. The wreath took about 5 minutes since it is laid flat; the tree took about an hour. After flocking the tree, wreath, and much of the ground, I still have about 2 lbs left so I see more flocking in the immediate future.
Once we brought the tree inside the (unfinished) basement, I decided I needed just a tad more snow; I am so pleased with the final result. Be sure to check back in a few weeks for the final look!
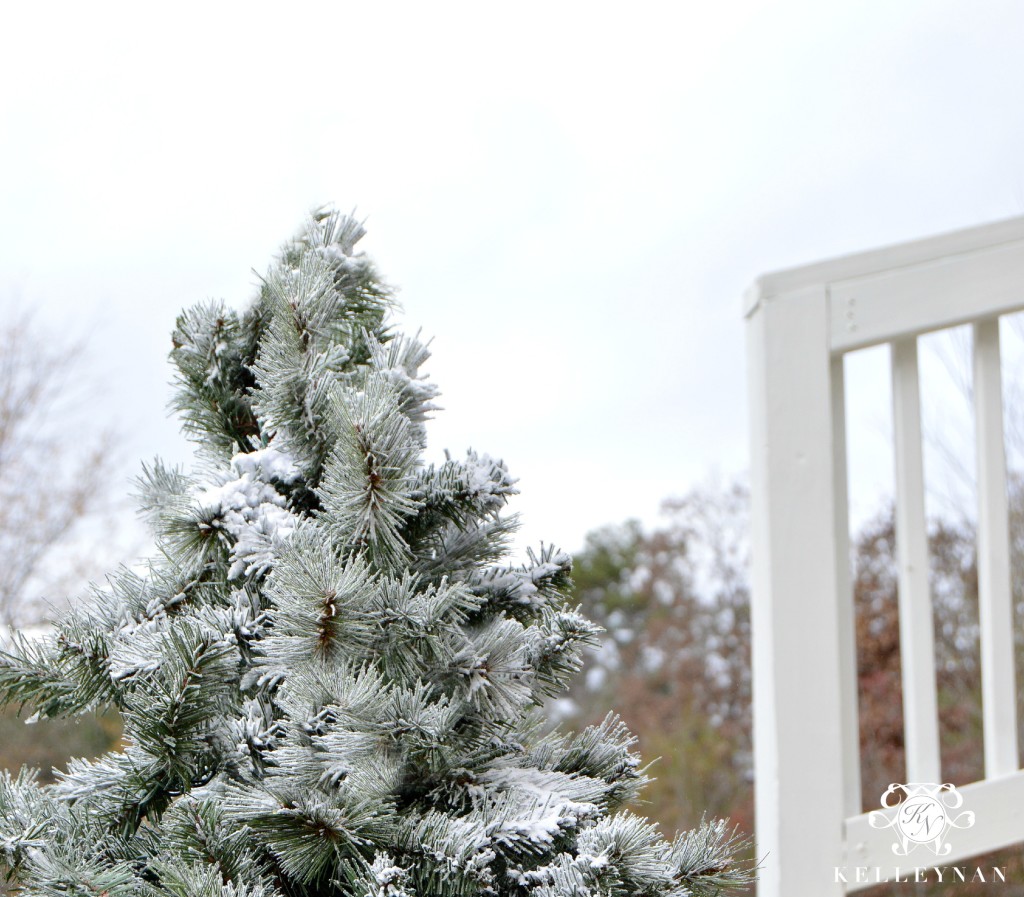
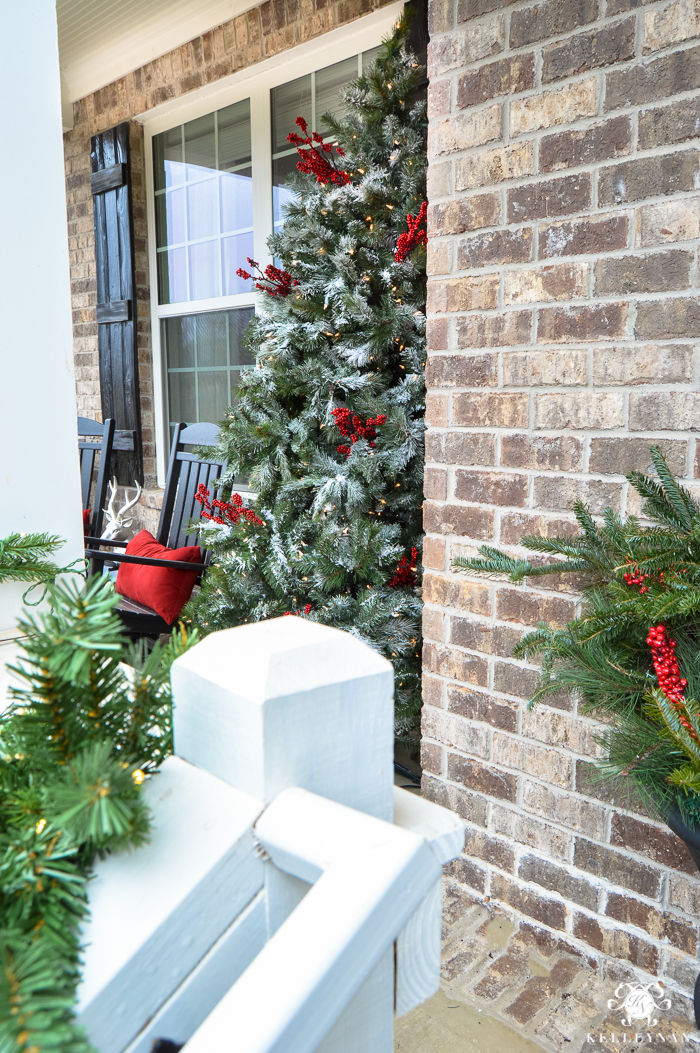
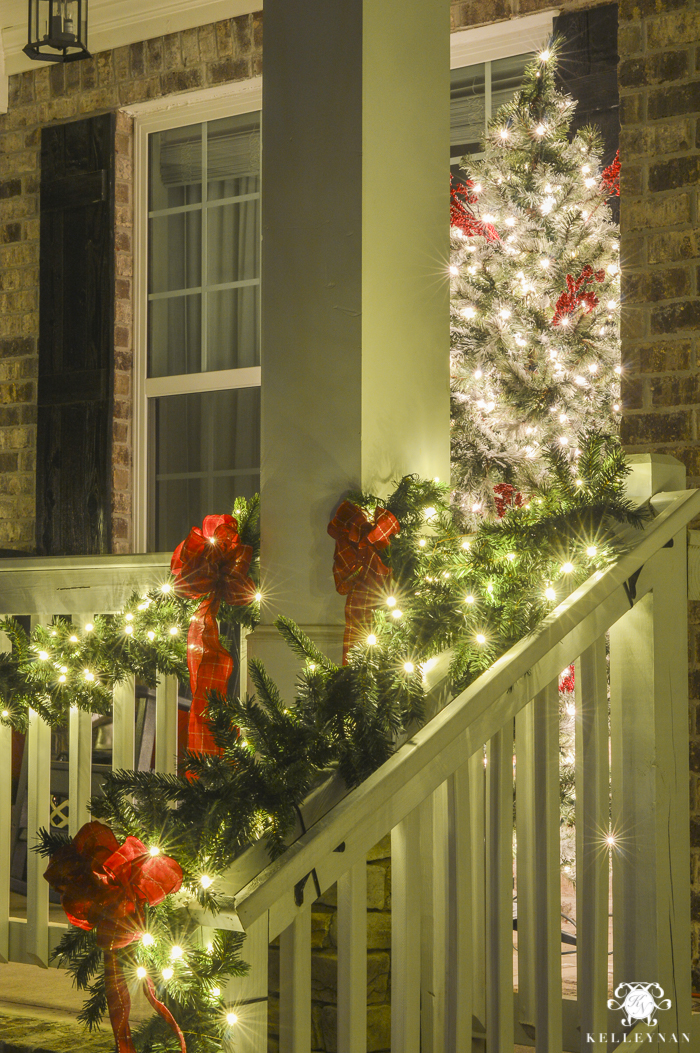
UPDATE 11/8/2017: I haven’t checked the status of our tree since last year to see if it needs a little refreshening but after acquiring a few new trees, we actually used this flocked tree on the front porch this past year. Here’s a look at how it looked without any touch-ups, a year after the DIY flocking. Not as heavy on the snow as the first year but still a beautiful dusting. We will likely add a heavier layer in just a few weeks!







How have I lived without flocking all this time? I LOVE this!
We can flock to our hearts’ content when you get here!
Yesssss!!!! I love it! I should try and do it to mine! Yours looks amazing!
Thanks, K! So so fun and if it is simple enough for me, anyone can do it haha
I even did a few wreaths, as gifts for family. Turned ouy great.
That is awesome!! I did a large wreath that we didn’t bring out this year but I love how that looks!
Kelley, I love this!!! I’ve been asking everywhere if they have “flocking spray” and they all look at me like I’m sweating at them!! ??. Truly!! There used to be a flocking spray can, instead of using water and the two-step process. I’m Ms. Impatient too!! The fewer steps, the better for me! This is beautiful!!! Just love the winter white touches in a home! Now, you’ve inspired me to go for it, and to try this process, since I can’t find my flocking spray!! ????. Thanks, Kel! ???
*swearing at them…not “sweating”!!?. I really should proofread before I hit enter!!! ??
Deborah, I love that!!! And, if you find that flocking spray, please share the deets with me! Bree mentioned it on my post just this morning; she may have inside info!
Thank you so much and thank you for reading!
Hobby Lobby has the flocking spray
Hi, Christa! The spray and powder are really different from each other. The powdery flock will mound while the flock in a can does more of a glaze.
How did the flocking hold up on your tree you put outside on your porch? Did it hold up in the elements? Any rain, snow or wind damage?
Hi, Danielle- it’s covered so a little more protected from the elements but we have continued to have it out there, without issue, for the last few years. I usually add a little more each year once it’s in place to freshen it up but it takes less than 5 minutes. 😉
Love it!!! It’s really perfect!
Your tour is one I am truly looking forward to! Great job on the flocking and the tutorial. May need to give this a go myself.
Chris, what an incredible compliment! Oh my goodness! And if you do, you will have to let me know!!
How have I missed this post??!! Gorgeous!! And I have the spray! I bought it at the dollar store… Now if I can get mine to look this good, I am laughing!! I’m attempting it today!!! Love this Kel it’s so fabulous and I can’t wait to see it all decorated! Xo Tam
Tam, thank you!! I can’t wait to see your flock!
Kelley, I just discovered your blog for the first time today and I had to tell you that I absolutely love everything about your house. Where have you been??? Girl, you have STYLE!!! Please update us on how the flocking holds up. I am curious if the flocking will stay on after you put on ornaments and decorate. Thanks and please continue to update your blog with pictures of your beautiful new home.
Thank you so much for stopping by! So far, so good on the flock. I will post updates throughout the season!
This was such a great demo, Kelley. I may have to start over, take off my ornaments and start flocking.
Thanks!
Julie, thank you! Haha- I did not flock my main tree but am enjoying this one in my dining room.
Did the flocking hurt the lights ?. I want to do this in a pre-lite tree
Hi, Marlene! It did not 😉
i love this and have been wanting to do it.. we used the spray when I was a kid and wondered if it would work on a faux tree–is this permanent? if I flock this year will it stay for next year? or is this a re-do every year kind-of-thing? and does it get flock everywhere in my house? or does it stick pretty well and not shed
sorry for all the questions
WAIT! a co-worker just told me she did hers with the spray but Hobby Lobby has spray on clear glue that will hold the flock on!! yay. will be trying this next year (my tree is up already this year)
Haha awesome!
It is permanent! You can add and refresh but I used this one from last year on the porch (you can see in my home tour I posted today) and didn’t touch it 😉
Thank you so much for this tutorial! I cannot wait to flock my tree! I will send you a pic 🙂
I cam across your blog last year and look forward to all of your updates! You have amazing style and you have inspired ALL of the redecorating I have done in my home!
I just saw this post and ordered two packages from Amazon, I am going to try it instead of spending $800 on a new tree, thank you.
I will try using spray on adhesive, as long as it doesn’t smell too bad. Thanks so much.
Good luck!
Hi!! I am new to your blog (love it btw), and maybe I missed this, but will this work on real trees? Sorry, I know this post is 4 years old.
It absolutely should! Some nurseries have to option to flock before you carry it home, too 😉