
If I were presented with the question “if you were stranded on a desert island and could only bring one decor accessory, what would it be?” my answer would have to be trays. I would comb the beach throwing in shells, driftwood – basically anything that washed ashore – and because my nature was collected in a tray, it would look fabulous. If you are like me, and love are obsessed with trays, you probably can’t resist to snag a new one basically every time you head out to shop. Well, if I continued with that habit, I would probably have to file for bankruptcy. To satisfy my constant tray craving, I discovered a way to “jazz up” the trays I already have when I am looking for a fresh look. If you have visited with me before, you know the only DIY projects I do are super easy. Today, I will take you through a quick way to update and transform the bottom of your trays by using things you likely already have on hand: scissors, tape, and wrapping paper.
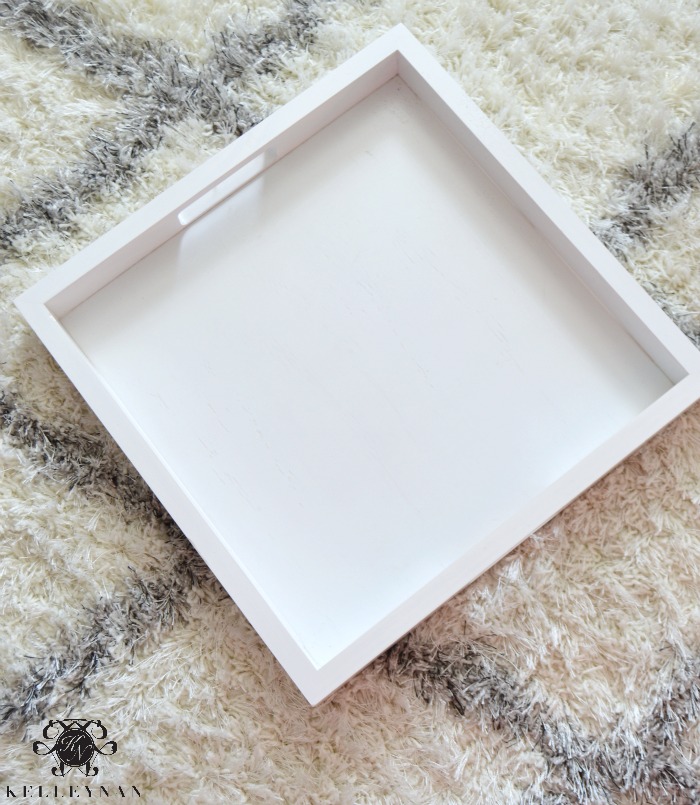
Since this tray is flat and simple, it served as the perfect subject for my makeover. Head to your wrapping paper stash and select a pattern. If you were lucky enough to find Christmas wrapping paper (which is versatile enough to not have to be Christmas paper) on clearance after the season, you can pull it out and put it to use even sooner than you thought! If you have a fresh roll with a perfect 90 degree angle edge, it makes the process even more simple. I lined up one corner of the tray with the corner of the wrapping paper. I went ahead and cut the paper, overlapping the tray, to have a more manageable piece to work with. *Note: if your tray is small, the same method can be used with scrapbook paper.
Next, I pushed the paper into the tray side, making a crease, and folded it over.
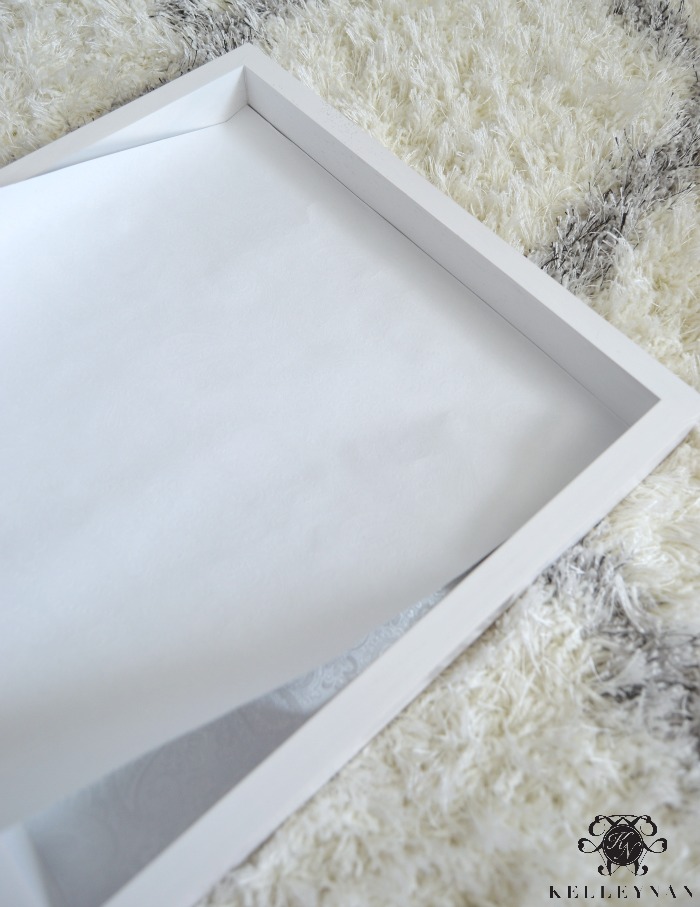
I pushed the shorter side of the paper which I had cut into the side seam, also making a crease.
Lift up the paper and cut along the folds. You should now have paper in the perfect shape of the inside of your tray. In securing the paper to your tray bottom, double-sided tape is ideal. I didn’t have any on hand, so I went with regular scotch tape loops. Start by only taping one side. Starting with one side will let you line up your paper without having tape stick to the sides.
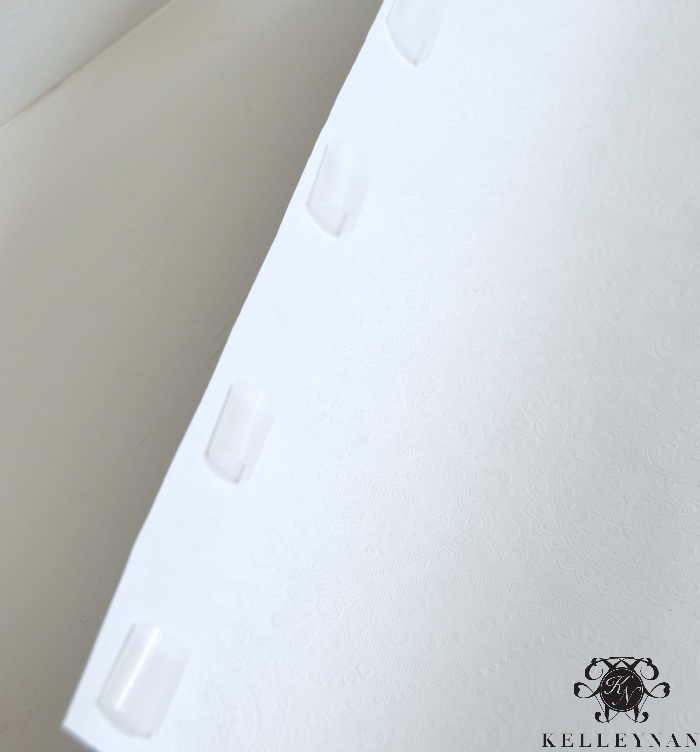
Line it up and push it firmly against the side.
Now, you can lift up the unsecured portion and finish your taping. Once you lay your taped paper down and it is line up with each corner, starting in the middle of the tray, run your hand over the paper pushing outward to get rid of any bubbles.
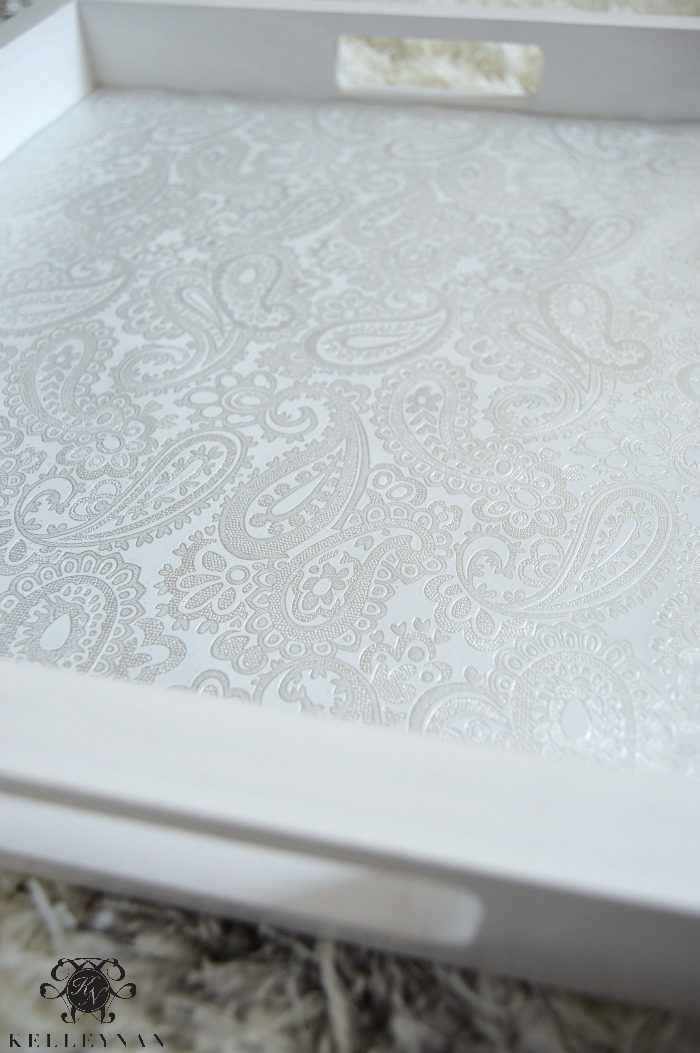
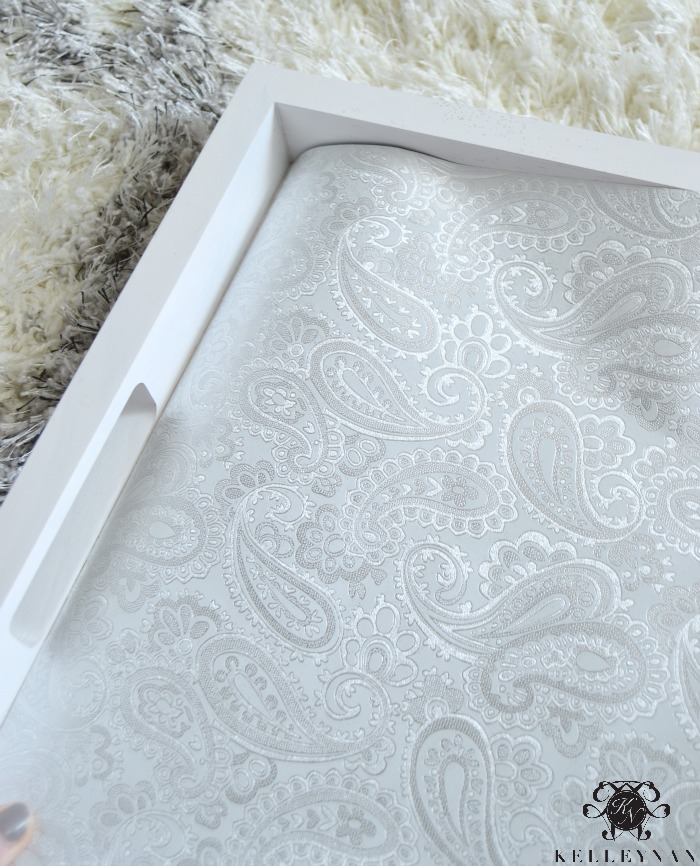
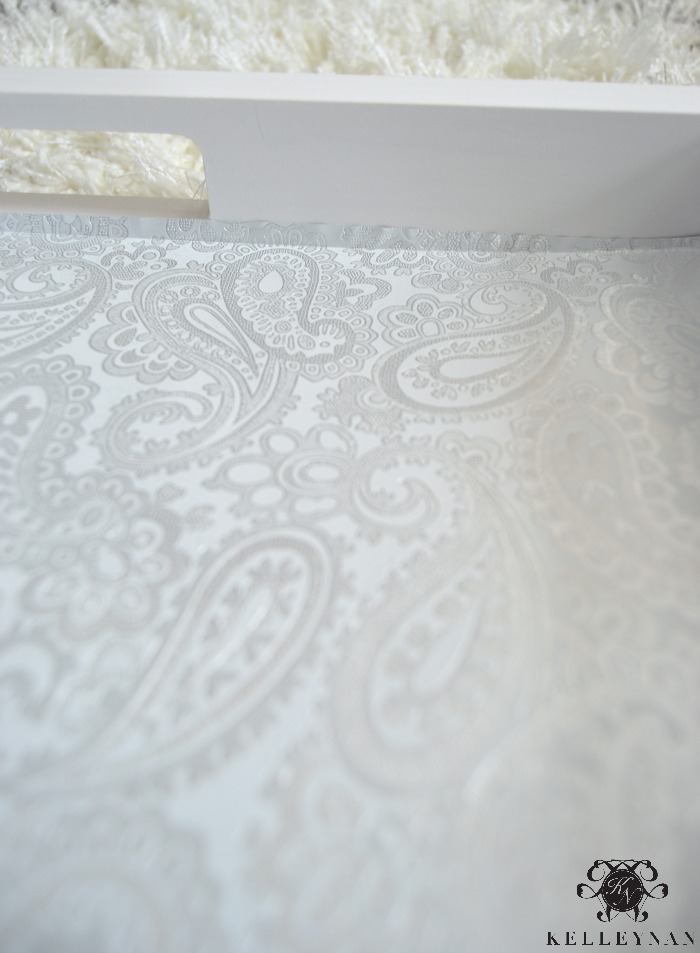
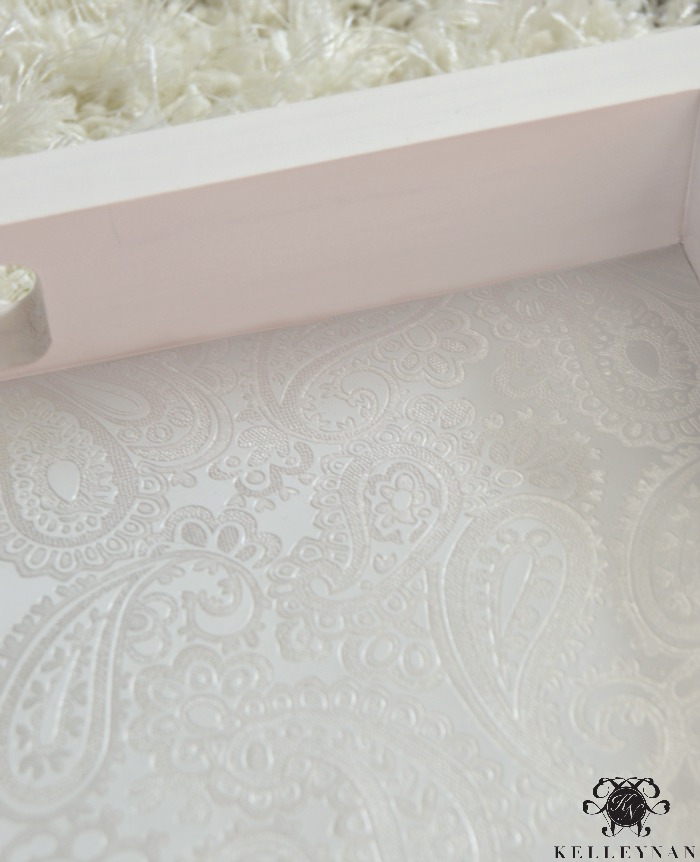
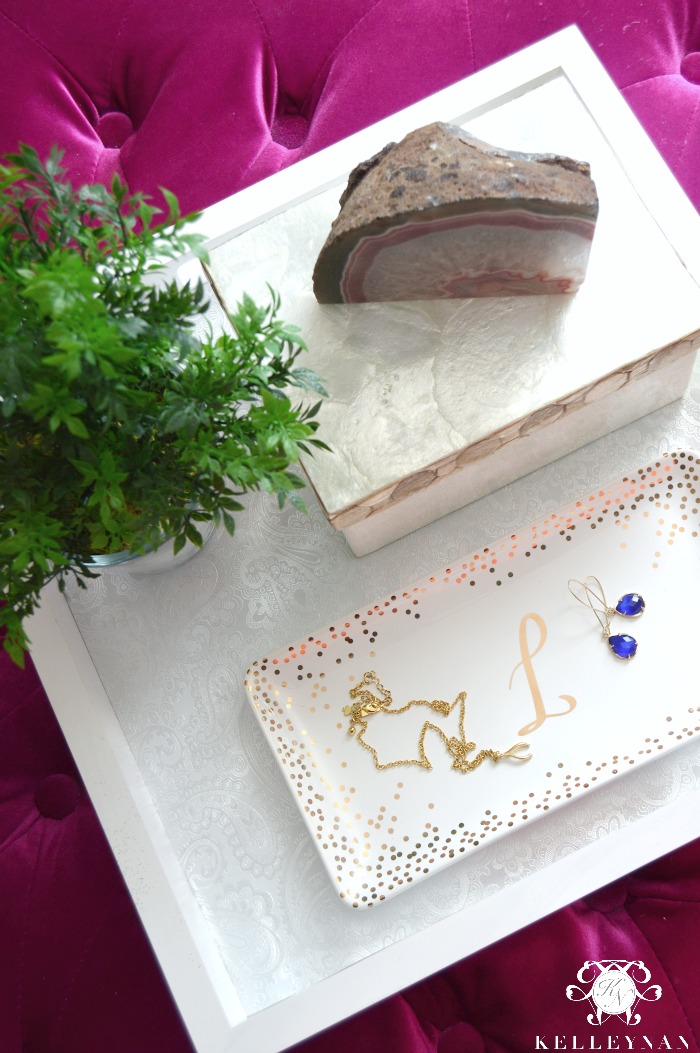
I went with a tone on tone paisley but you can get as creative as you want. I like the subtlety of the pattern in this paper I chose.
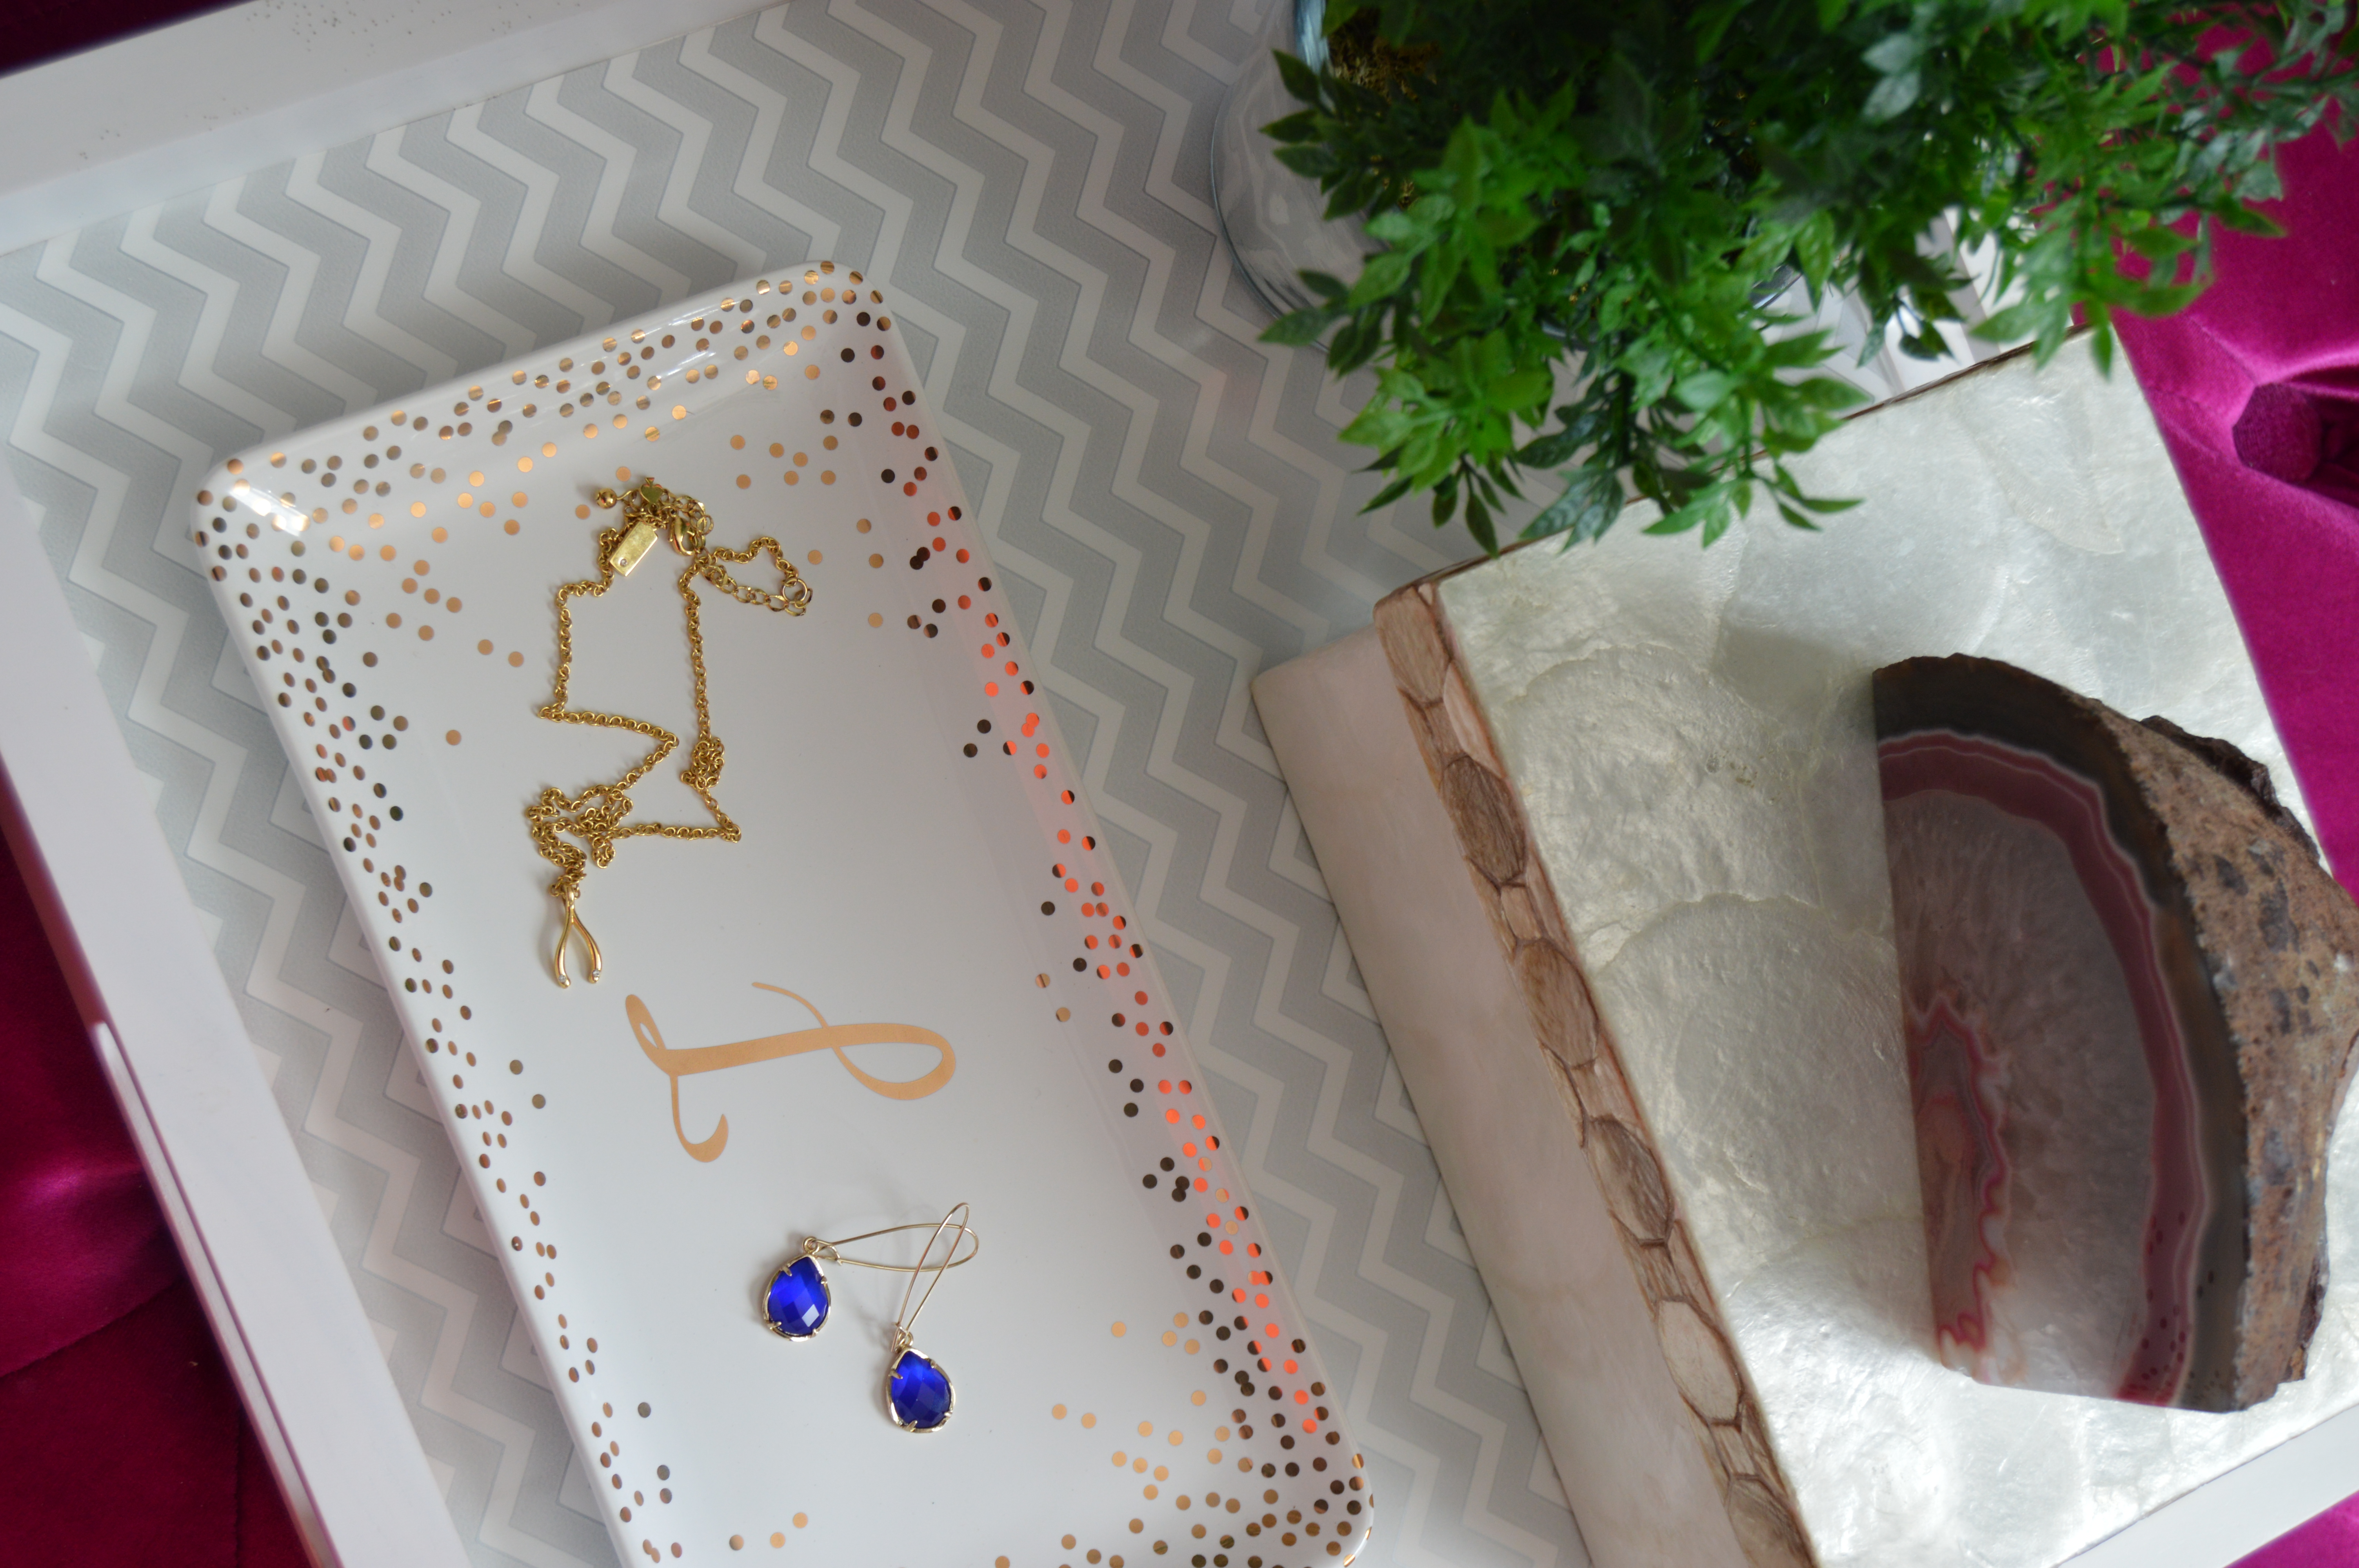
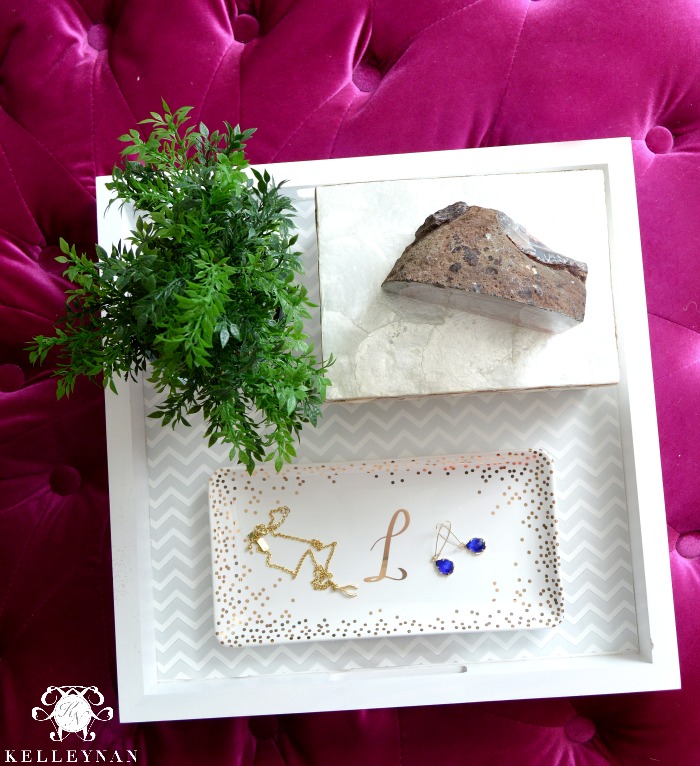
While sticking to my usual neutrals, next, I chose a gray and white chevron for a little more noticeable of a pattern.
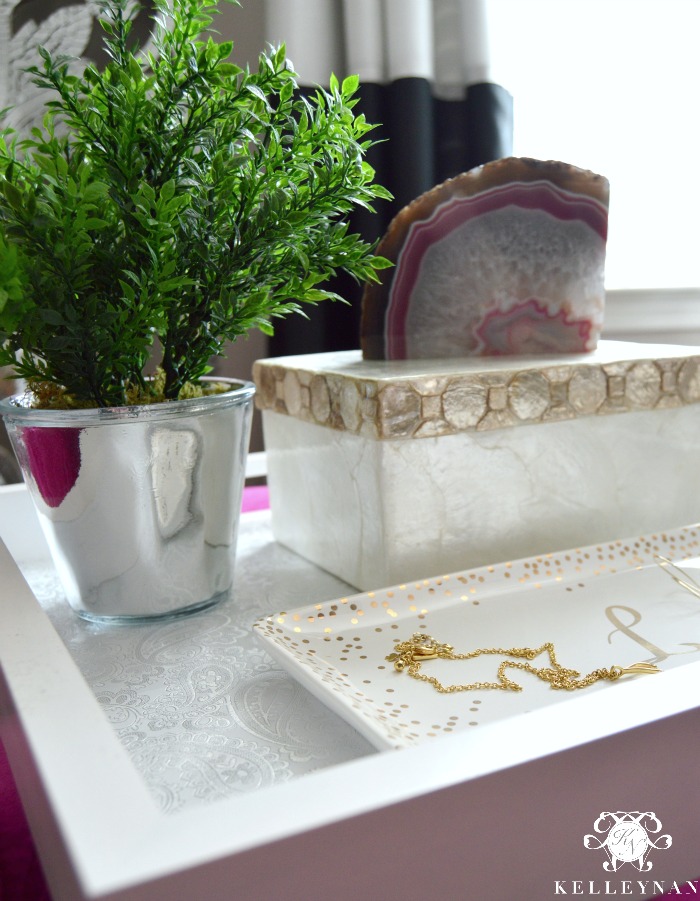
This simple tray makeover can be finished in under 10 minutes, and, when you tire of your current tray bottom, you can easily repeat the process for a whole new look. If you take on this easy project, I would love to see! Send a photo of your finished tray to [email protected].
Shop this look:


Cute, easy idea! Love the tray with the L on it. Happen to know where it came from?
Thank you, Jan! I picked it up at HomeGoods 😉
I so agree with the wonderment of trays! Not long ago, I attempted to count what I now have, and lost count. Of course, you have inspired me on this and more. But your styling continues to be better than mine. Thank you for these great tips!
You are wonderful and I can’t wait to go Nannin’ for trays again!
Thanks again for the great ideas. I just love looking at your ideas! I’m off to Homegoods again today!
Thanks Kelley
Josselyn, thank you for visiting! GOod luck!