Welcome to WEEK TWO of the One Room Challenge- Project: Guest Bedroom Makeover. To get caught up on the what, why, how, and the full direction of the guest bedroom makeover, check out what happened last week, here:
| WEEK ONE |

To make sure you catch all the updates (and maybe even get a little inside info 😉 ), you can sign up to receive my email updates HERE.
*post contains affiliate links | click here for full disclosure*
You are not going to BELIEVE all we accomplished this week! To be honest, I felt like I really hustled to set things in motion, but that’s exactly what it was… setting things in motion. So, that means lots of sourcing and decision making and ordering in the evenings… and that’s basically it haha. Ok, I’ll give credit where credit is due. Dave sold the old bed and dresser that was in this room, cleared everything out, and took down the light fixture. He gave us a totally blank canvas. (Way to go, Dave!)
And then this afternoon, Alfredo came and gave this baby three coats of Sherwin Williams Alabaster. (Way to go, Alfredo!)
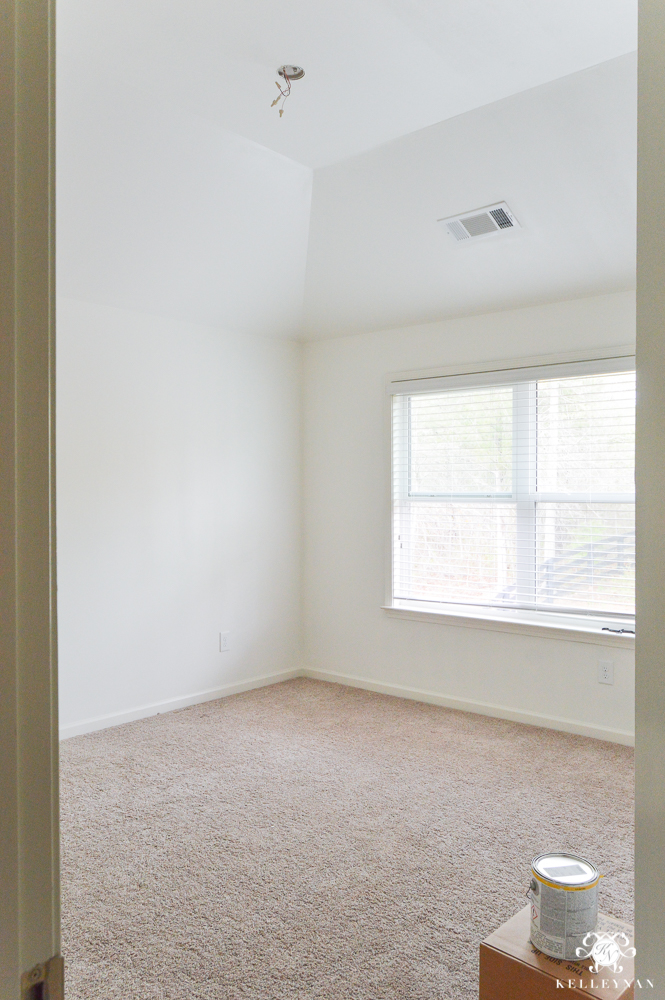
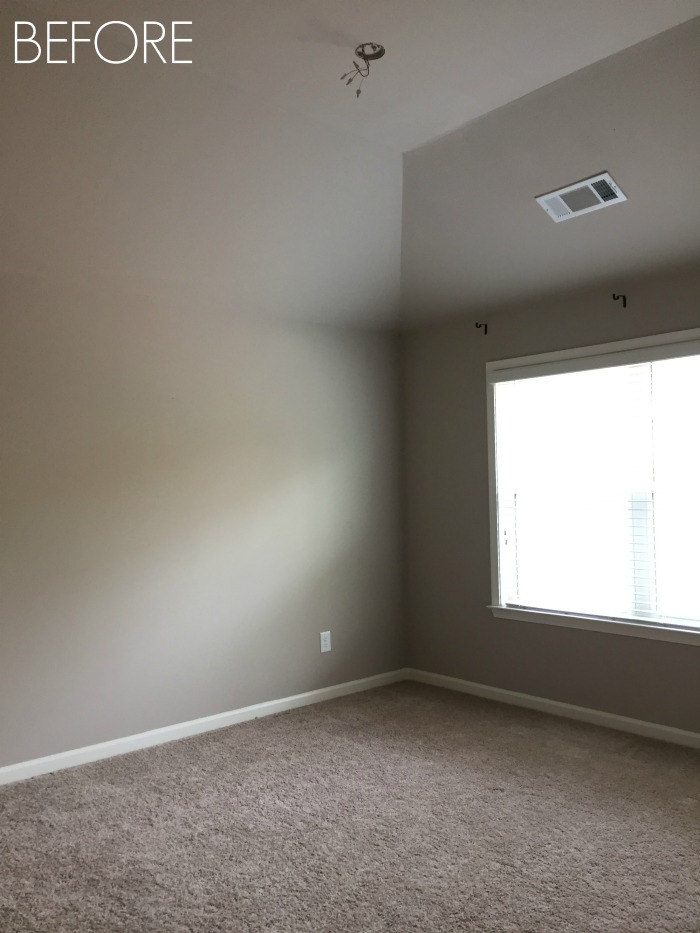
It’s still wet in the photo and with as gloomy as it was outside, the color looks a little off. But I can’t even believe how much the lighter shade brightened this room right up! The former shade is actually the greige color I use throughout most of my house. But situated on the back side with little sunlight, the color looks TOTALLY different. The “before” is Sherwin Williams Versatile Gray, but so is this space.
Kind of crazy, right? Granted, the first photo is a poor quality phone picture (naturally a little darker) but the paint looks totally different in a big, bright room with lots of natural light (which is why it’s so important to always test 😉 ). Ok, I’ll be honest again. Yes, you, I, WE should always test. But, I didn’t this time *covers eyes in shame*. I had to come up with a color quickly and when I found out my painter’s availability, I knew I wanted a shade of white but hadn’t had a chance to make it out for samples yet. So, I went with the same shade I used in the guest bedroom connected to this bedroom through the Jack and Jill bathroom. The lighting in these two rooms is TOTALLY different so I hope I’m still loving it when the paint dries.
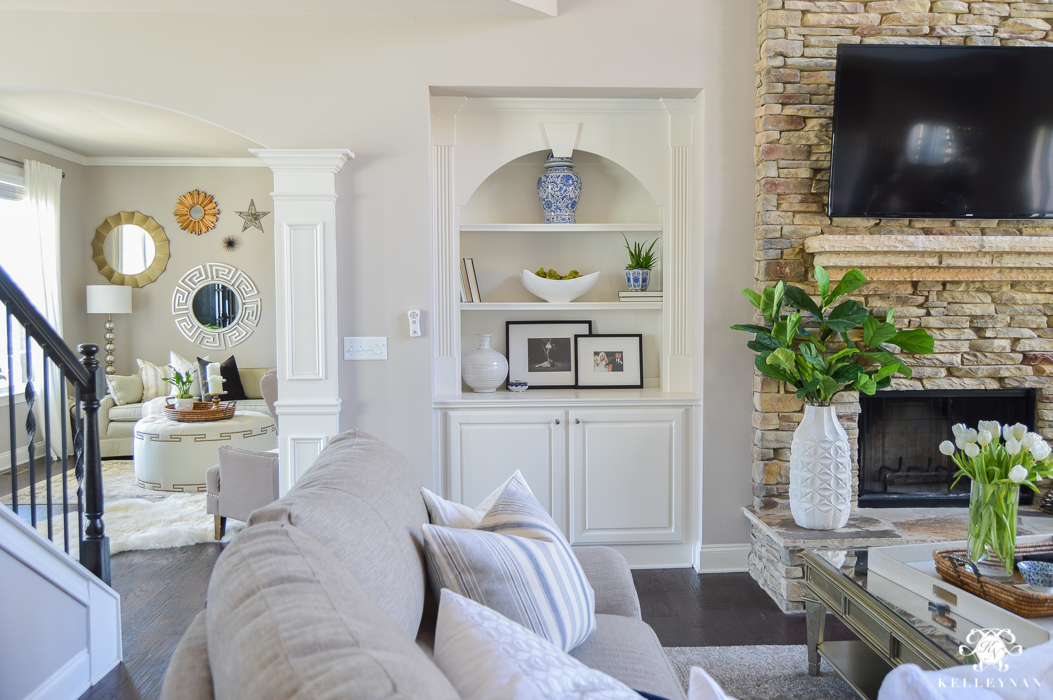
The rest of my house has started turning into a war zone. I didn’t want to move anything in until it was painted so for now, we have boxes throughout our main level looking like this. Yep, that is the bed (HERE).

And over in the dining room, we have the big chandelier box. I haven’t even taken it out just yet but I had to open it- just for a peek. These beads are pretty much all I’ve seen of it but I’m loving it already! To see the full light fixture I went with, visit my WEEK ONE post design board (HERE).

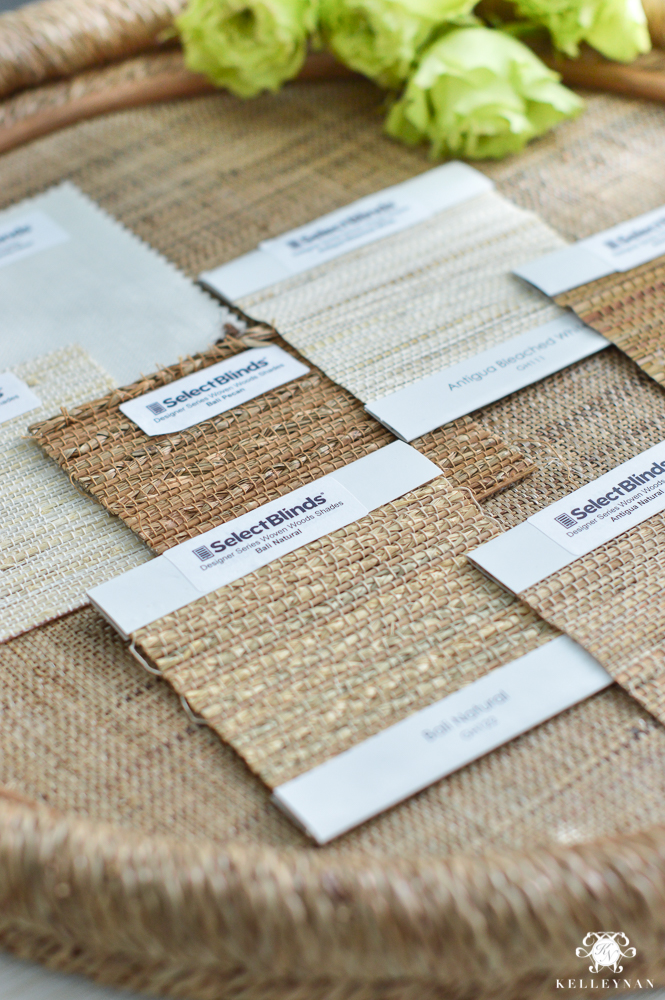
Aside from peeking in boxes and “supervising”, I did get my selected window treatment swatches in from Select Blinds. I’m going with some Roman shades and drapes and am stoked to replace my blinds. To say I was am indecisive would be an understatement haha.
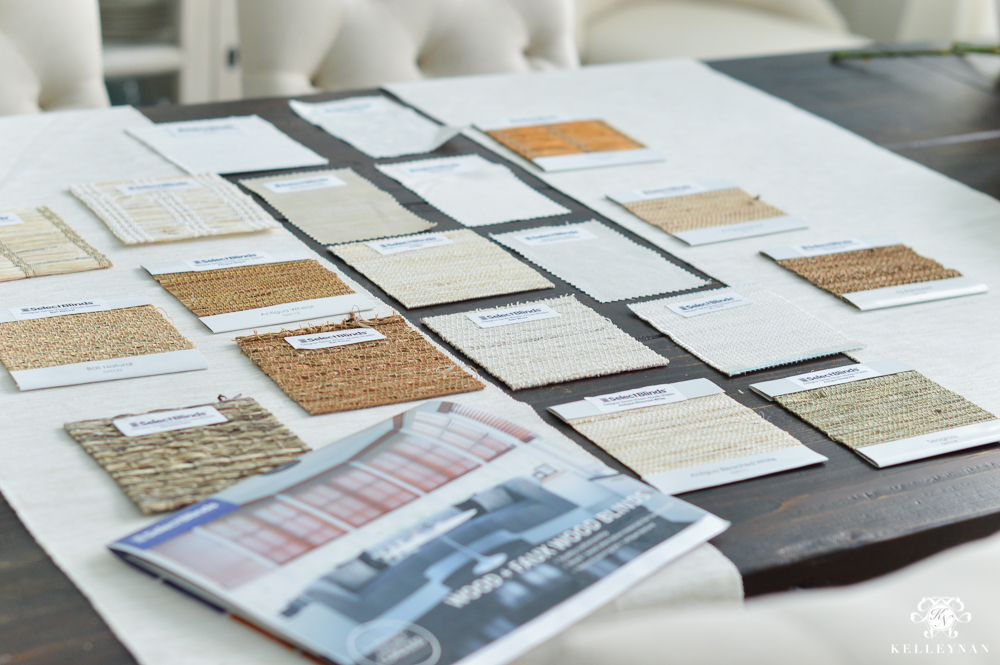
I’ve started to narrow them down, using this tray (my inspiration for the room) I scored at HomeGoods several weeks ago.
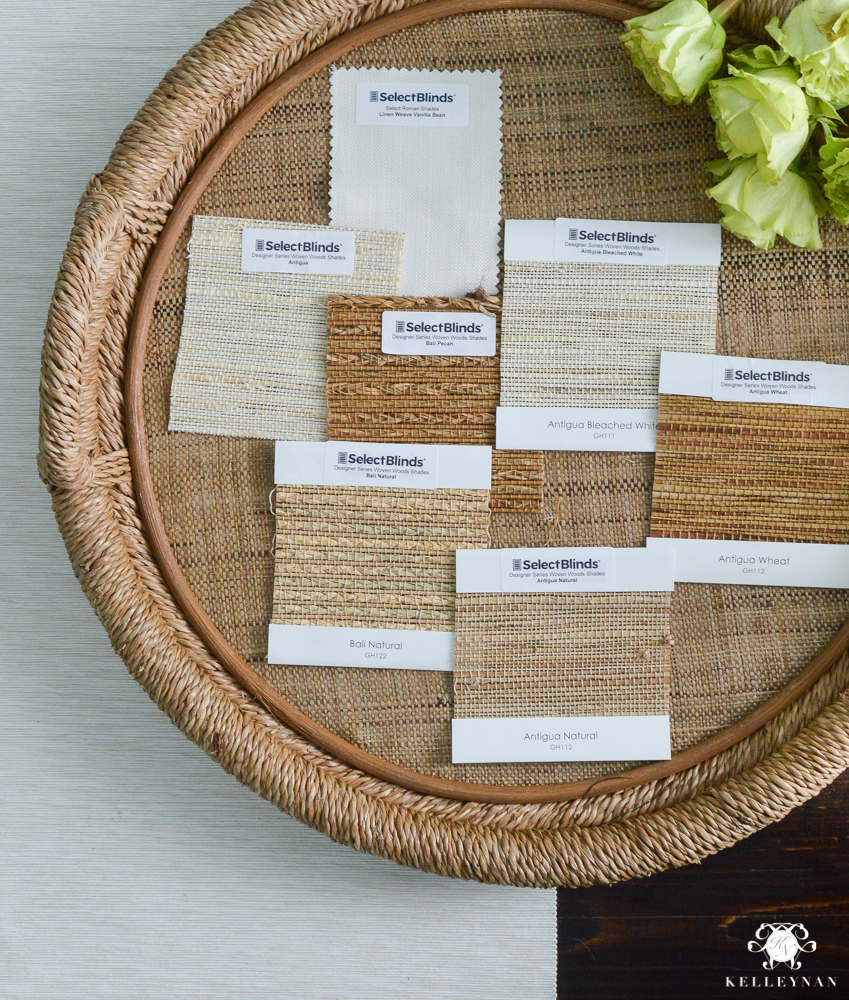
But, I think it is going to take getting the bed set up to really determine what I’m going to do. There are so many options, shades, weaves, textures, etc. that I basically just started scrolling and writing down names of swatches haha. PS: If you are considering new treatments/shades, you can get the sample swatches for free (HERE).
So after peeking in boxes, supervising, and staring at swatches, I did get some items sourced and ordered. Here’s where I am with everything. (You can click in the images below to be taken directly to the source.)

Next Thursday, I’m heading to Texas for a week. What that means is I’ll be trying to make as much progress as possible between now and next Wednesday because I will likely be missing out on a full week (WEEK 4). I will hit the ground running to share for WEEK 5 to wrap things up, just in time for the reveal in WEEK 6. Here’s what I still need to do:
- Set up bed (this week)
- Install light fixture (this week)
- Lay rug (this week)
- Determine and order window treatments (this week)
- Decide on lamps, night stands, art, etc. and order (this week)
- Source throw pillows and order (this week)
- Assemble room as products are purchased and arrive
- Install window treatments
- Shop for accessories and guest essentials
- Find full length mirror
- Organize guest bedroom closet
In reviewing the list, it sure seems like the bulk of things need to happen next week. Hmm… holy cow haha. I hope you’ll check back in next Thursday to see how much we’ve been able to mark off. At the very least, I’m hoping for a few peeks of textiles, the bed, and lighting. It’s looking like this six week challenge is quickly becoming a three to four week challenge *gulp*. (Did I really just write “gulp”? haha! But seriously, it’s a little scary!)
A big, HUGE thank you to featured sponsors this week for contributing to this project.
Wayfair | Lighting Design Company | Select Blinds
I would love for you to let me know your thoughts in the comment section below as we go through progress updates. And, if you want to make sure you are getting the latest updates each week, straight to your inbox without missing a single detail, you can sign up for my emails at the bottom of this post.
![]()
Thank you to Linda of Calling it Home for hosting this highly anticipated bi-annual event! To check out the other bloggers and their projects, be sure to visit the link-up page HERE. And, you you can check in on the 20 featured bloggers for Week 2 (HERE).


I can’t believe the difference with only a few coats of paint! Also, those beads are yummy!!! So great already my friend! xo
Looks like it is off to an amazing start! Alabaster is such a wonderful paint color…. it really does transform a room!
So you’ve always knocked it out of the park with your progress shots – I mean, the shot of the blinds samples are styled to perfection and look better than 95% of my house, ha! Also, I just love, love, LOVE the way you used the rS boutique widget to add progress notes about each item – what a way to be efficient! Hope you don’t mind if I borrow that idea in future posts!
Oksana, I am OBSESSED with your nursery plan! And absolutely! 😉
this is going to be one soft and pretty bedroom…. your guests won’t want to leave!
Cassie, thank you! I hope so 😉
I just love your style! Can’t wait for the final reveal!
Vicki, thank you so much! I am looking forward to it and so appreciate you following along!
Wow…what a difference the painting made…and you are just getting started!
Lesli, it brightens things up so much. It makes me want to go over every dark room with white!
I can totally relate to living in a war zone…it’s amazing how making over one room can mess up the whole rest of the house 🙂 Good luck getting everything done before you go away!
Wanda, you are so right! Thank you- we have definitely made a little progress this week 😉
It’s going to look great! I used Alabaster in my master bedroom at my last house and loved! We actually thought it was a little too much white with the trim and all since we had huge trim in the old house, but we ended up painting the trim a gray color and that paired with the Alabaster wall looked fabulous! This is my first year to take part in the ORC and I pretty much jumped in last min so I am loving following along with everyones progress!
Holly, that sounds beautiful! I need to go check you out!! xo
I so so love watching your room transformations. So inspiring. I hear ya on the war zone!
Thank you so much! I love the feeling of accomplishment after they are finished 😉
Paint colors are so tricky! I hope you are loving the color now that it’s dry! And those beads already have me swooning! I can’t wait to see the rest of the chandelier!
You are such a great designer, and I can hardly wait to see the end results.
I’m loving all the choices and the direction of this room, Kel!!